
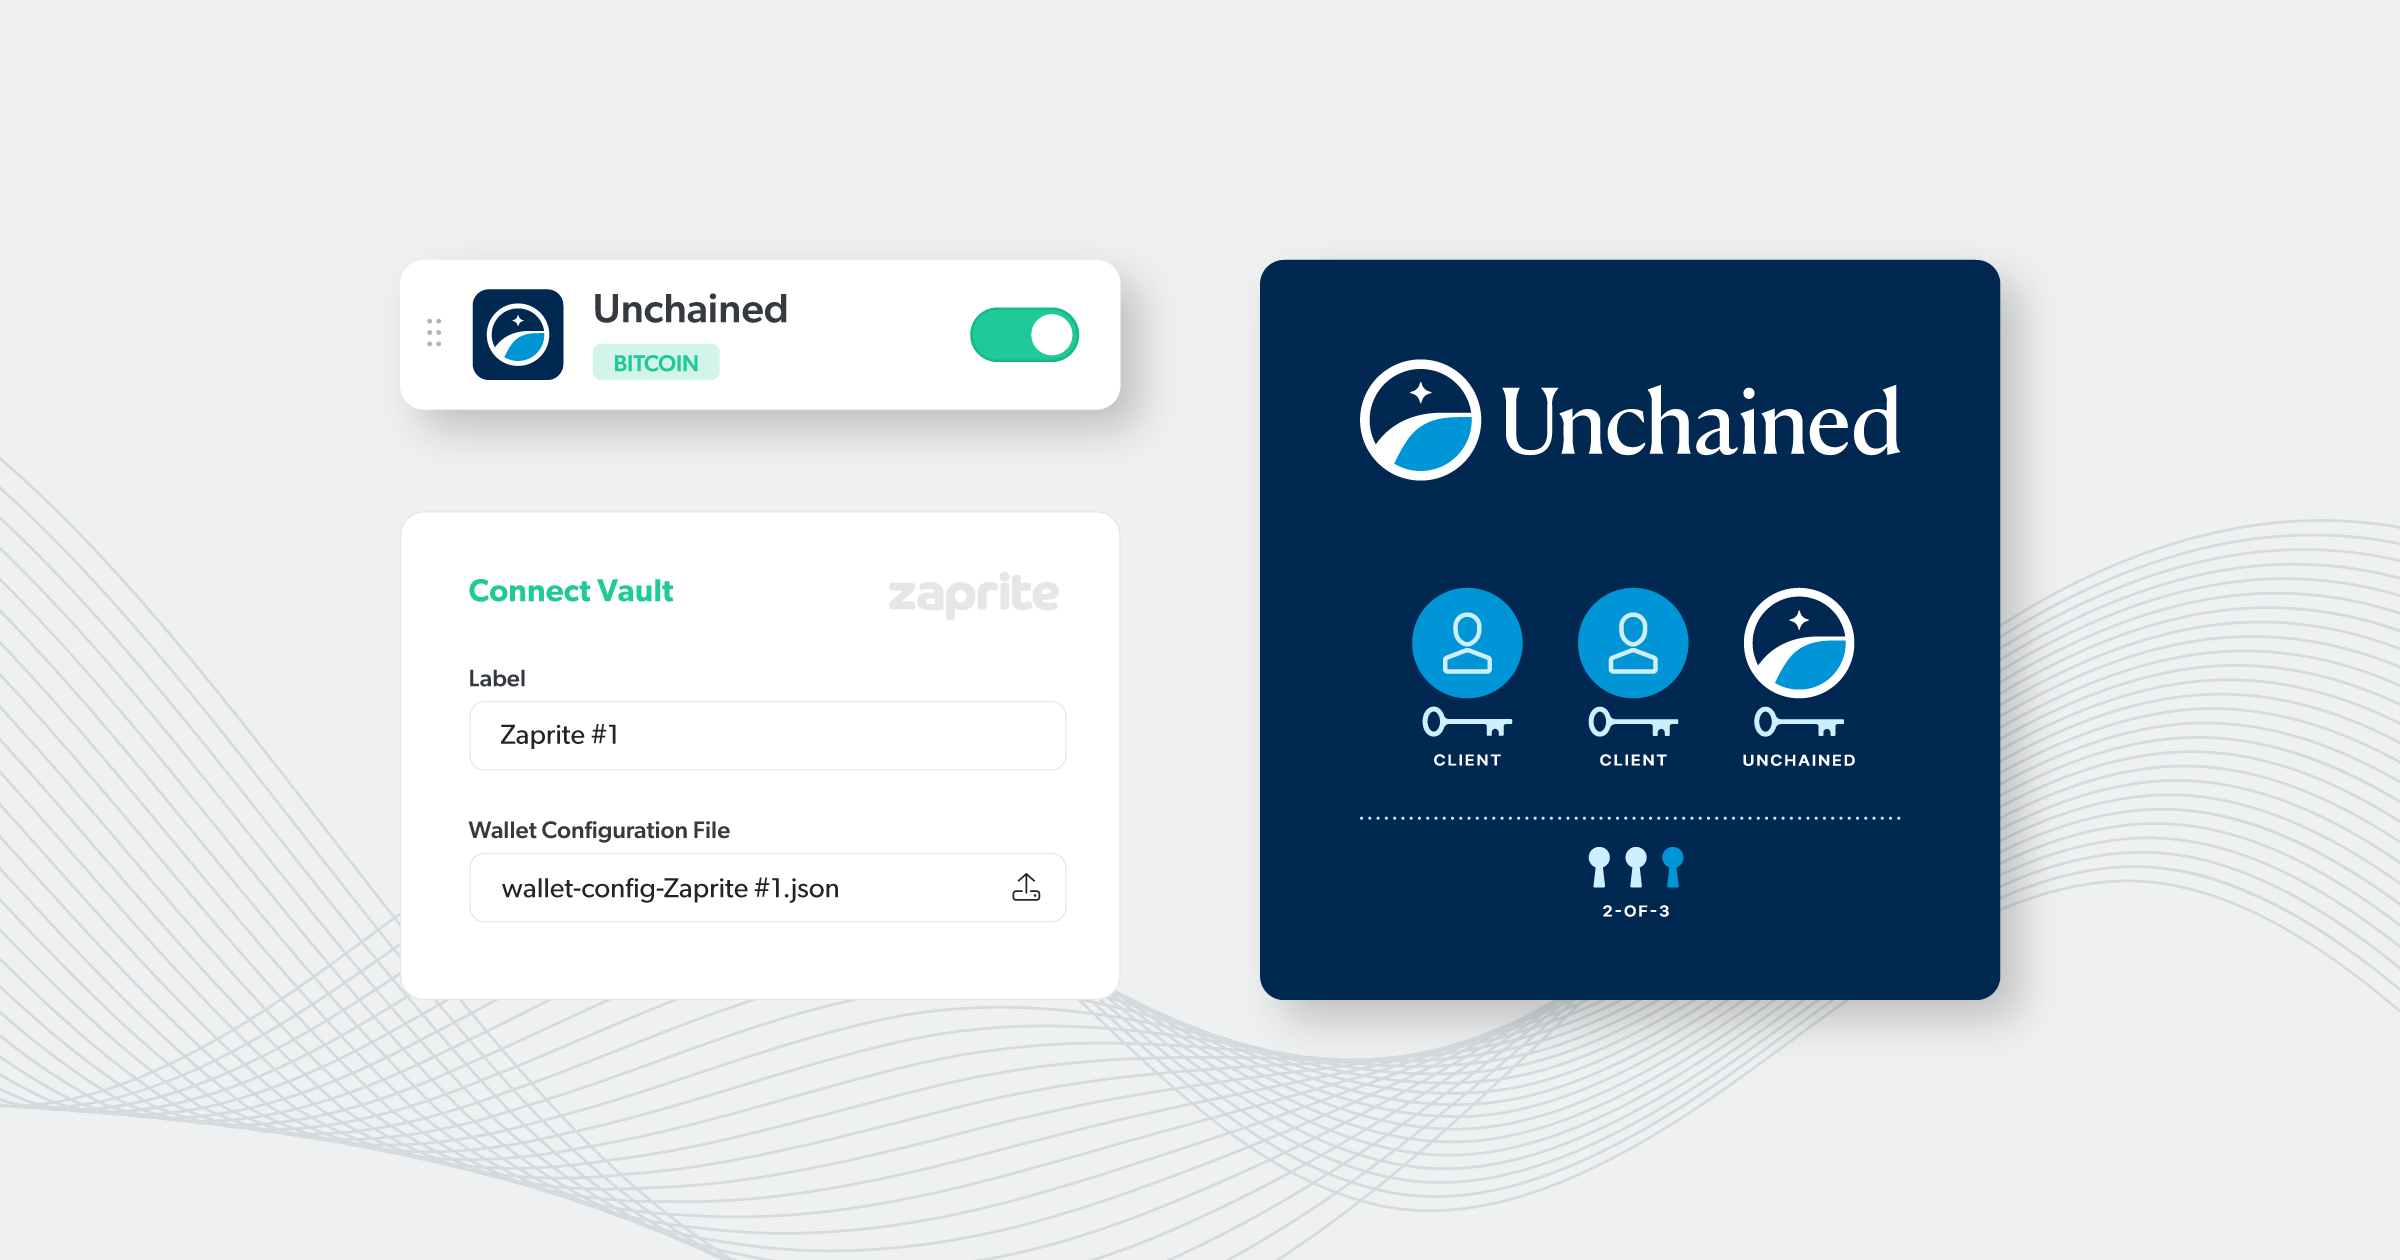
Zaprite allows users to connect their Unchained vault, providing the ability to receive payments directly into industry-leading, secure custody.
The following guide outlines the instructions for creating a new Unchained vault (recommended) and uploading the wallet configuration file to Zaprite. If you are not yet using Unchained as your custody provider, you can check out their product offerings over at unchained.com.
We strongly recommend creating a new vault for use in Zaprite. You will not be able to verify addresses for an existing vault without using Caravan or another external multisig coordinator.
You should not use this vault for any other external services as it will decrease your privacy and will affect financial reporting within Zaprite.
Creating a new vault does not require new keys. Unchained will allow you to create another vault with the same keys you already have uploaded to the site.
Create a New Unchained Vault
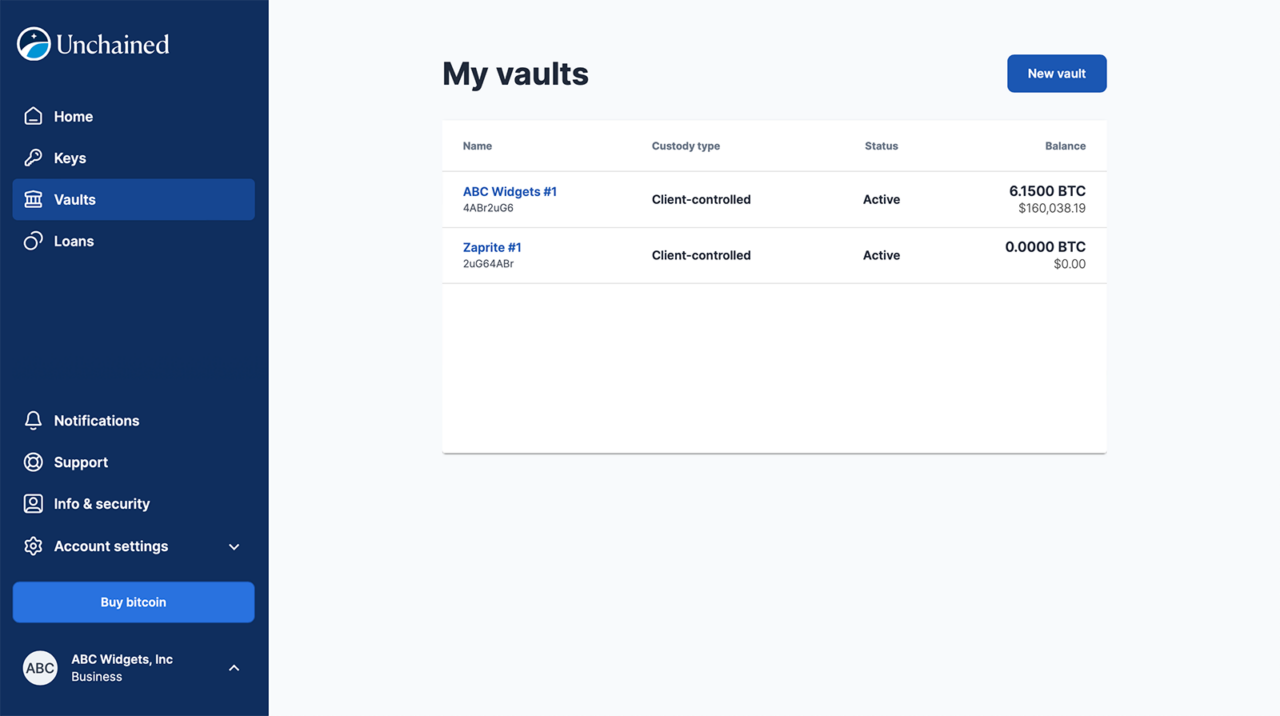
To create a new vault, login to your Unchained account and click Vaults in the main navigation. Next, click the New vault button.
Next, give your vault a name. You can change this name later within Unchained, and we also offer you the ability to customize the vault label within your Zaprite account.
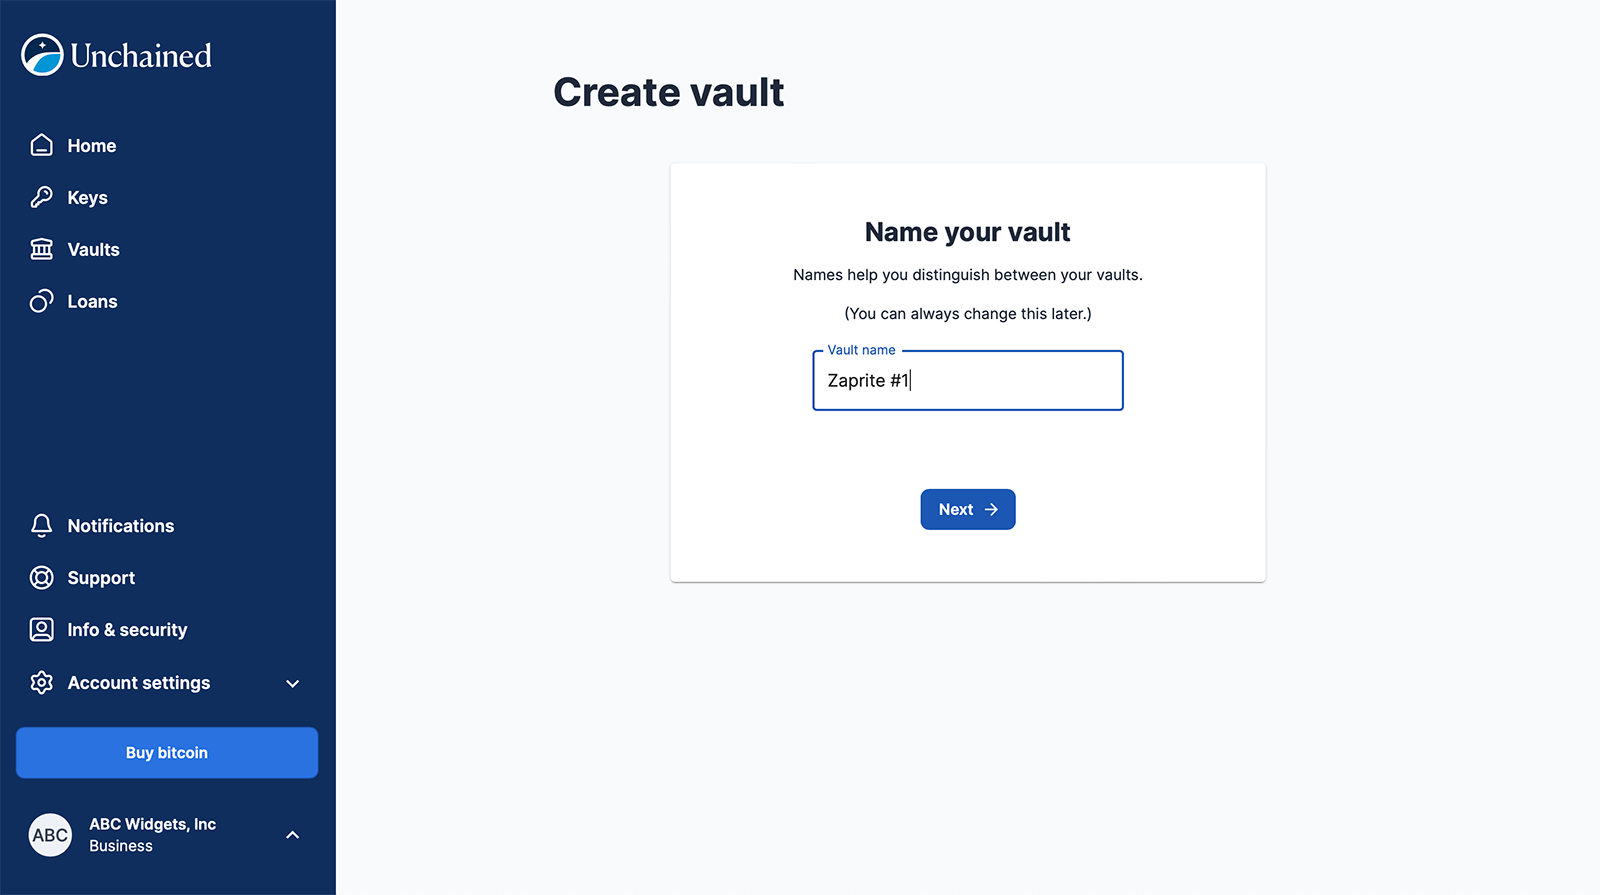
That’s it! You now have a new vault setup for use in Zaprite.
Download the Vault’s Wallet Configuration File
Once you have your new vault setup you will need to download the Wallet configuration file. On the Vaults page, click the link for your new vault. Scroll down to the Vault tools section and then click the View link next to Wallet configuration file.

Click the Download button to save the configuration file to your computer. This is a .json file that contains the necessary information for Zaprite to generate new receiving addresses for your vault.
Connect your Vault to Zaprite
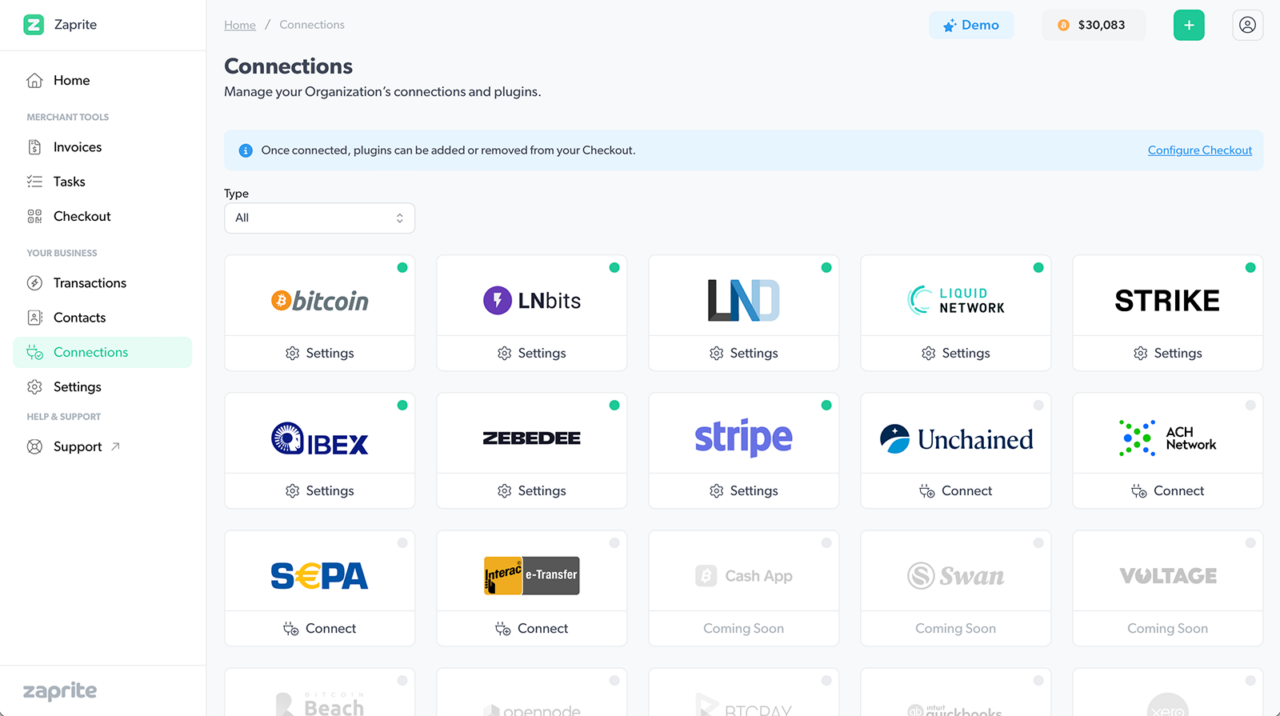
The next step is to add your vault to Zaprite. Navigate to the Connections screen and then click the Connect button under the Unchained card.
You will be prompted to upload the .json file to your Zaprite account. Click the file upload button, and upload the config file. This will automatically generate the first receiving address in the Wallet Validation section.
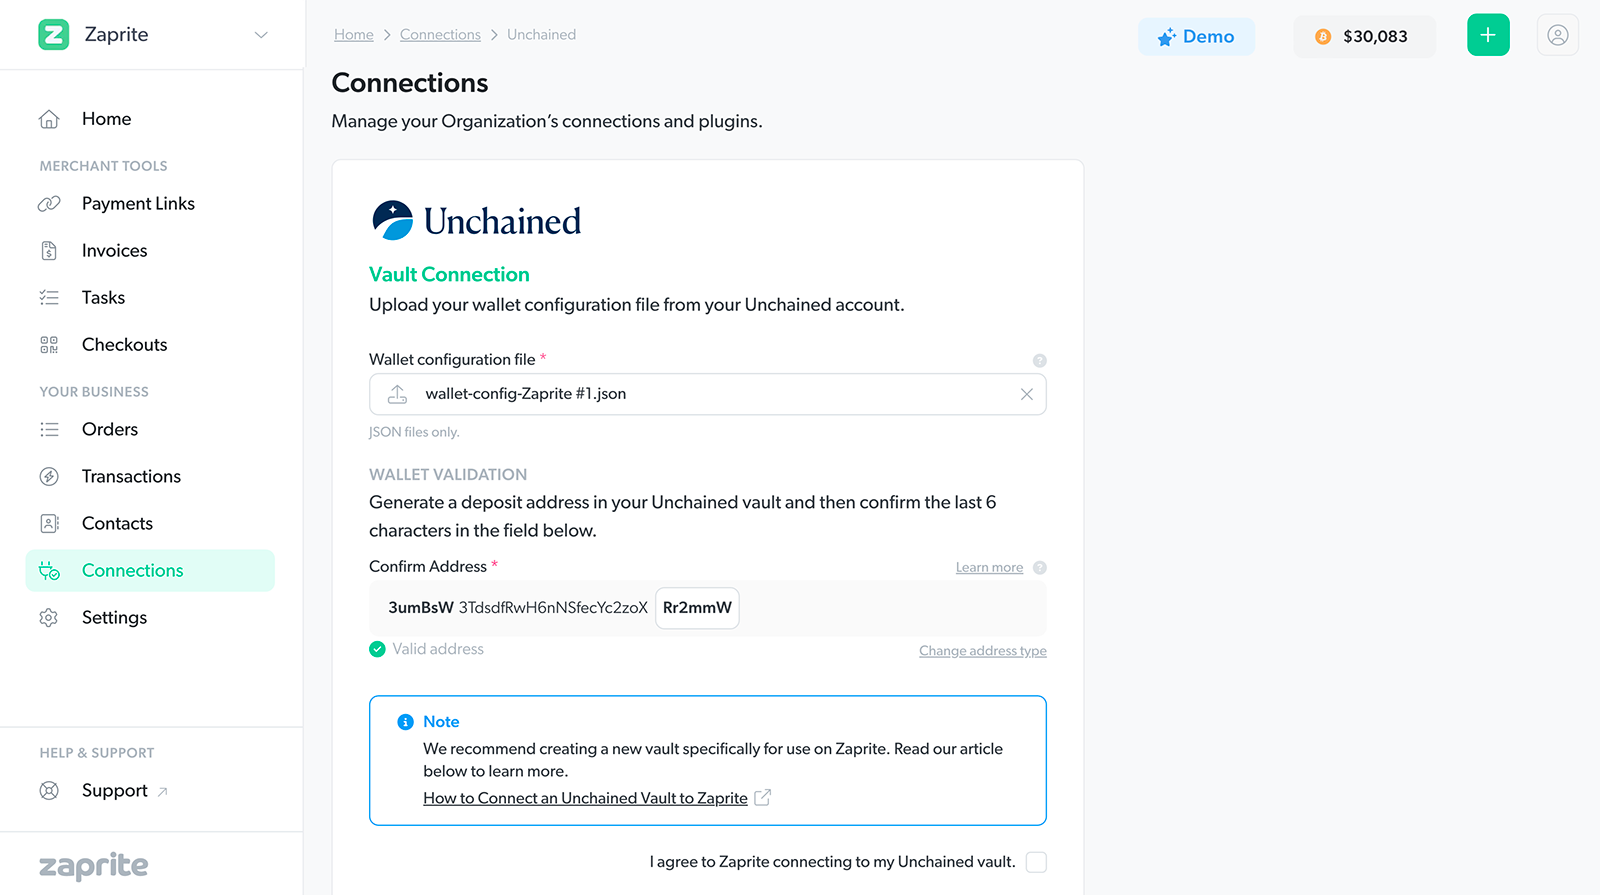
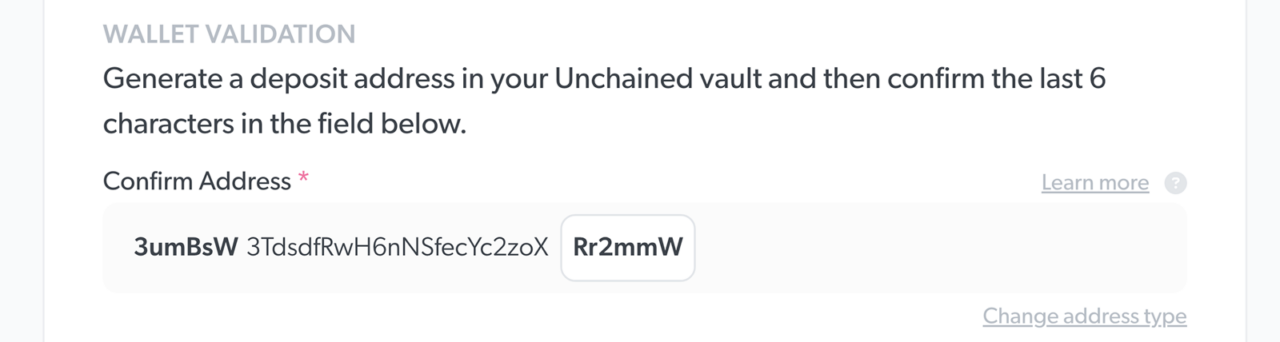
The final step is to validate the wallet by confirming if Zaprite is generating the correct receiving addresses.
Wallet Validation
To validate the wallet connection, go back into your Unchained vault and click the Deposit button. This will generate the first receiving address for your new vault.
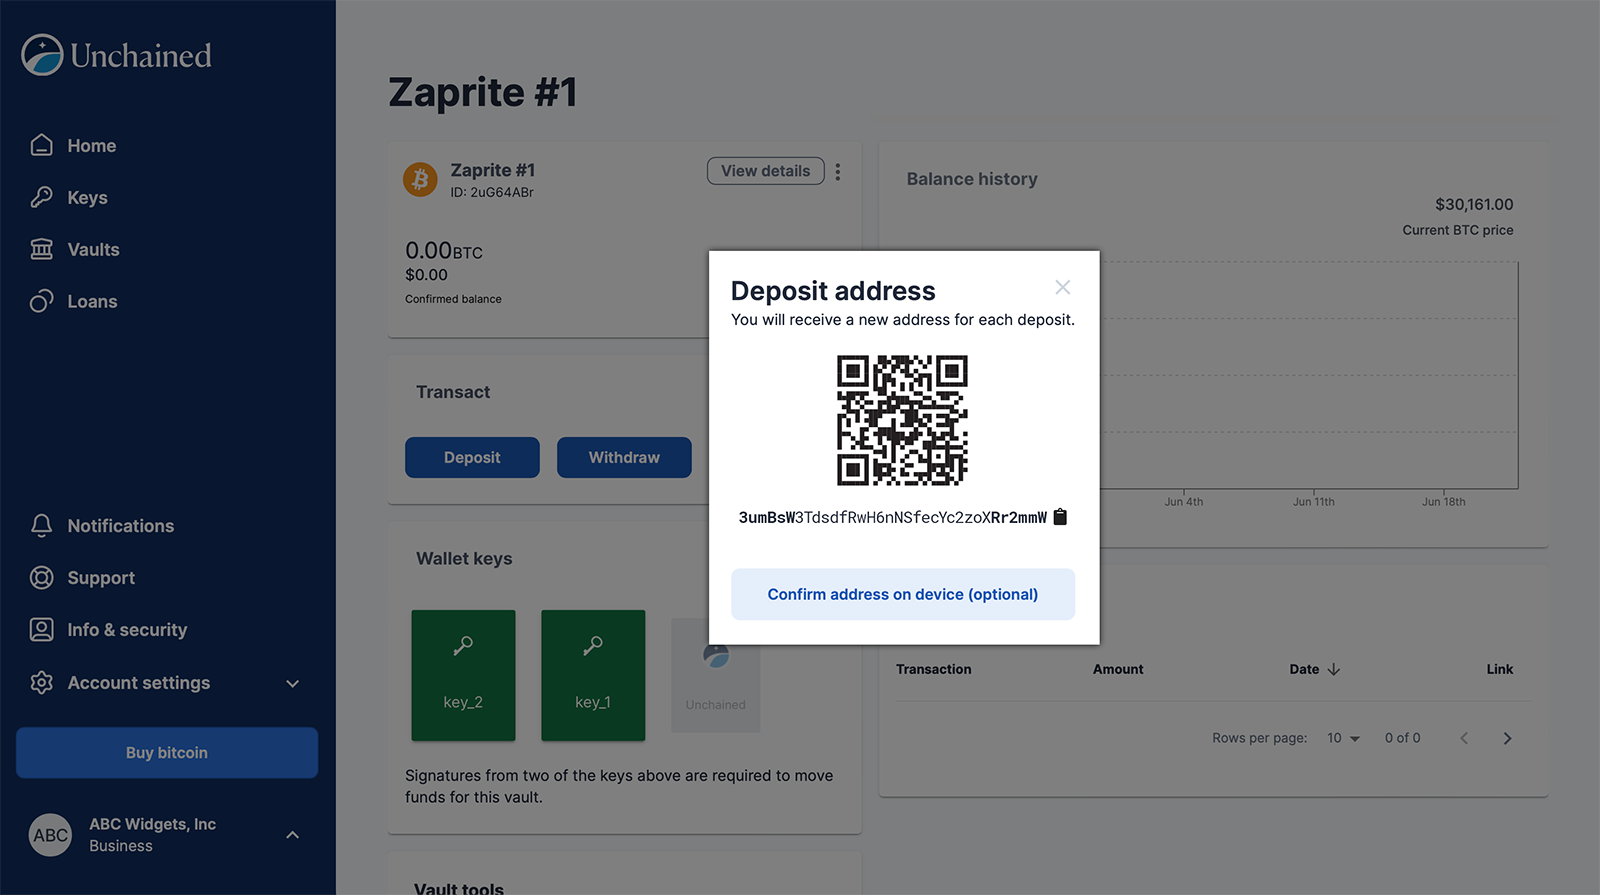
You will be shown the first receiving address for your new wallet. Note the last 6 characters of the address and then return to Zaprite and enter those characters in the field provided.
Finally, check the box to acknowledge the connection confirmation and then click the Connect button to submit the vault information. If the addresses match, your vault will be successfully connected and available for use within Zaprite.
Connection Settings
We will automatically populate the vault name from the uploaded file. You may optionally change the wallet label Zaprite uses for this vault. This will not change the vault name in your Unchained account. It is only used for internal Zaprite views and is not shown to the public.
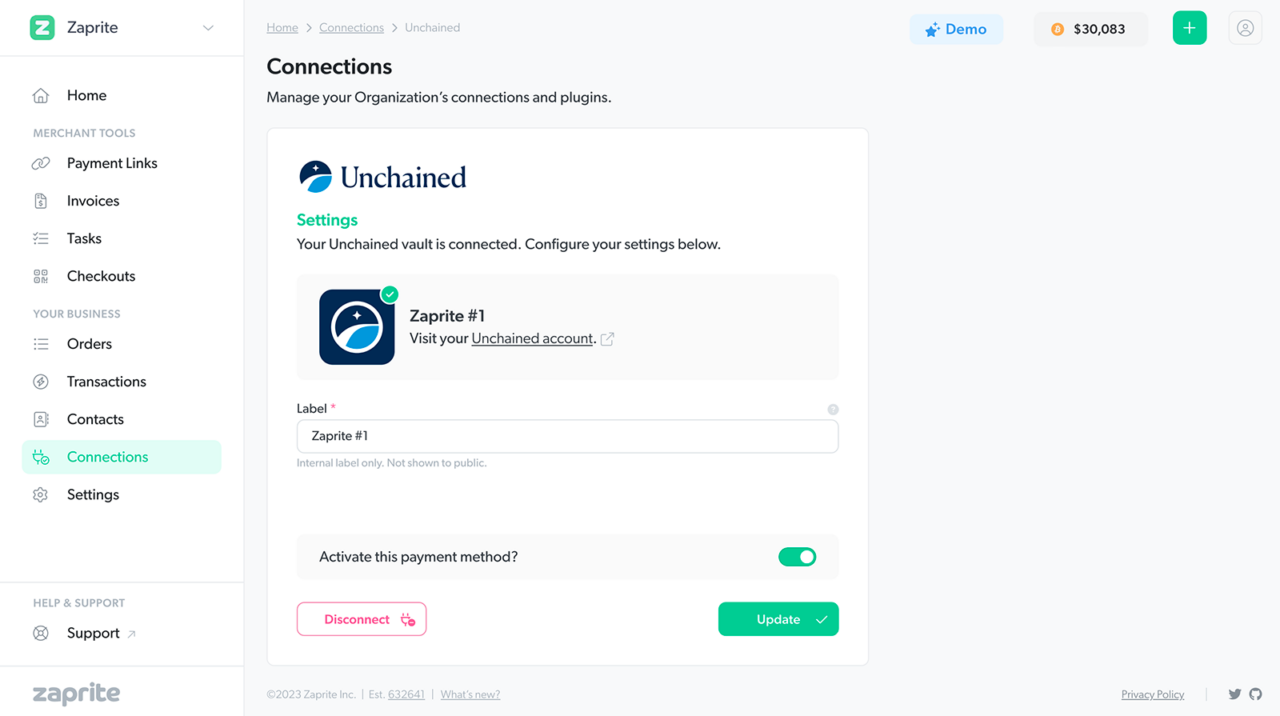
You can Disconnect your Unchained vault at any time. This will remove all data from Zaprite and the payment method will no longer be available on your Checkouts.
Checkout Settings
Now that you have your Unchained vault connected, you can choose to set this as your preferred Bitcoin payment method for your default Checkout.

Navigate to Checkouts on the main Zaprite menu. Toggle on the new wallet you just connected and Confirm and then Save the settings for your Checkout. When this wallet is in use, Zaprite will generate a fresh address for each Customer payment. You can always override the active payment methods on individual Invoices and Checkouts.
Further Information
Gap Limit
We use the default gap limit of 20 for all vault connections. If the gap limit is reached we will pause new address generation until a previously reserved address becomes available again.