
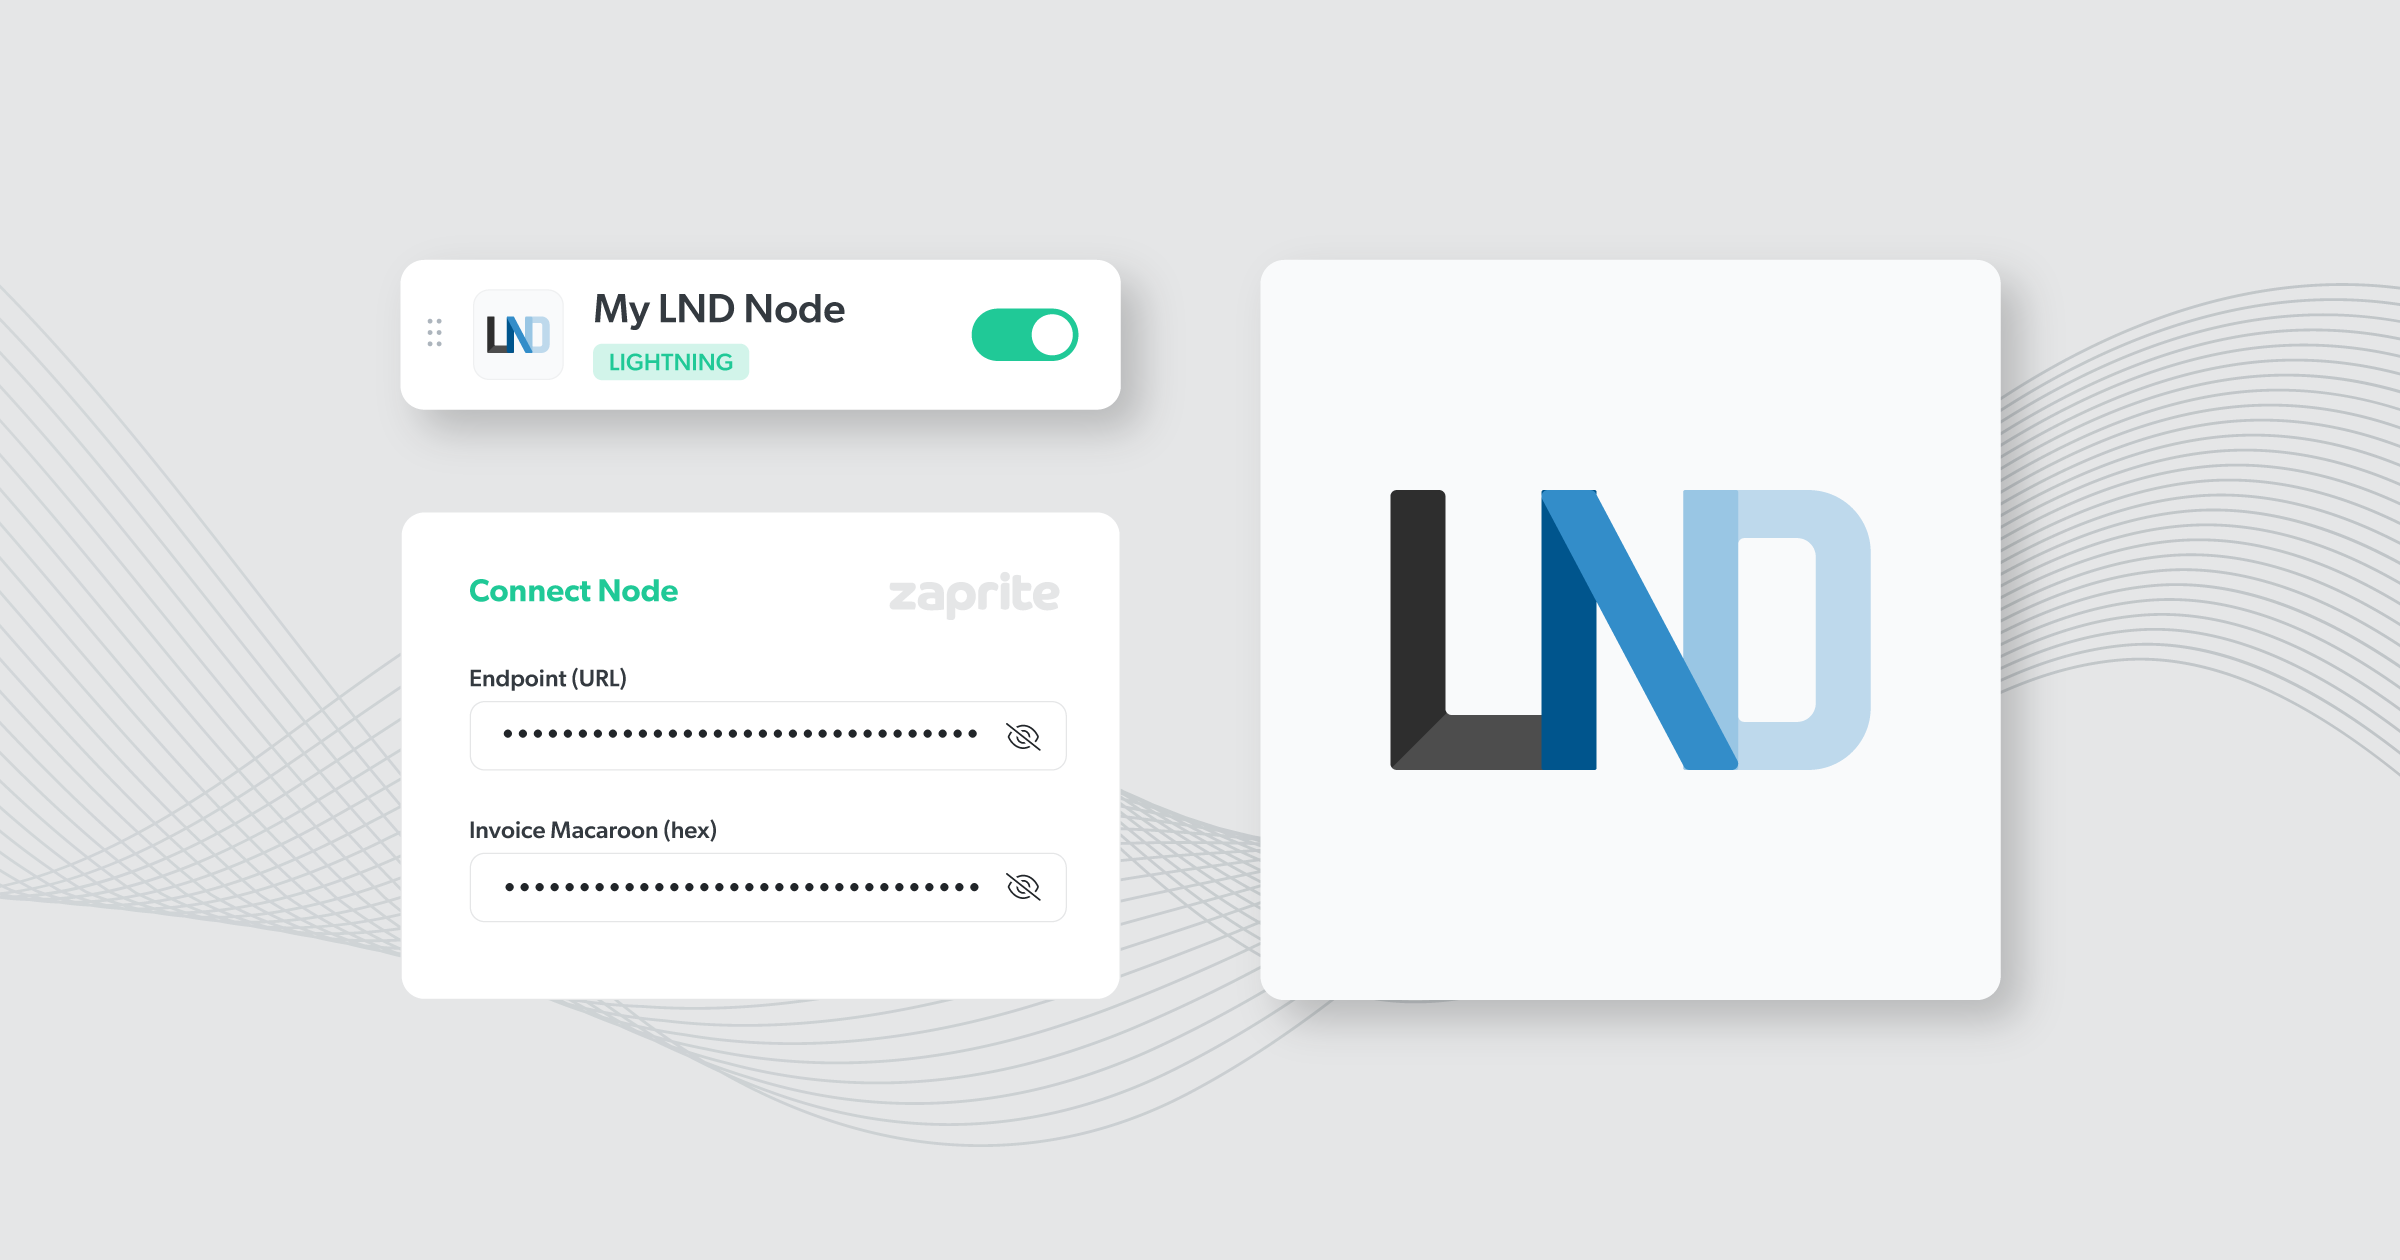
Zaprite now offers LND integration for Lightning payments. You can connect any node via LND and offer your clients the option to pay in Lightning, directly to your own wallet.
Connect your node
The following is a short guide on how you can connect your own node using LND.
Step 1: Activate LND
The LND connection first needs to be activated at the account level. Simply visit Account > Payments and click the ‘Activate’ link under the LND card.
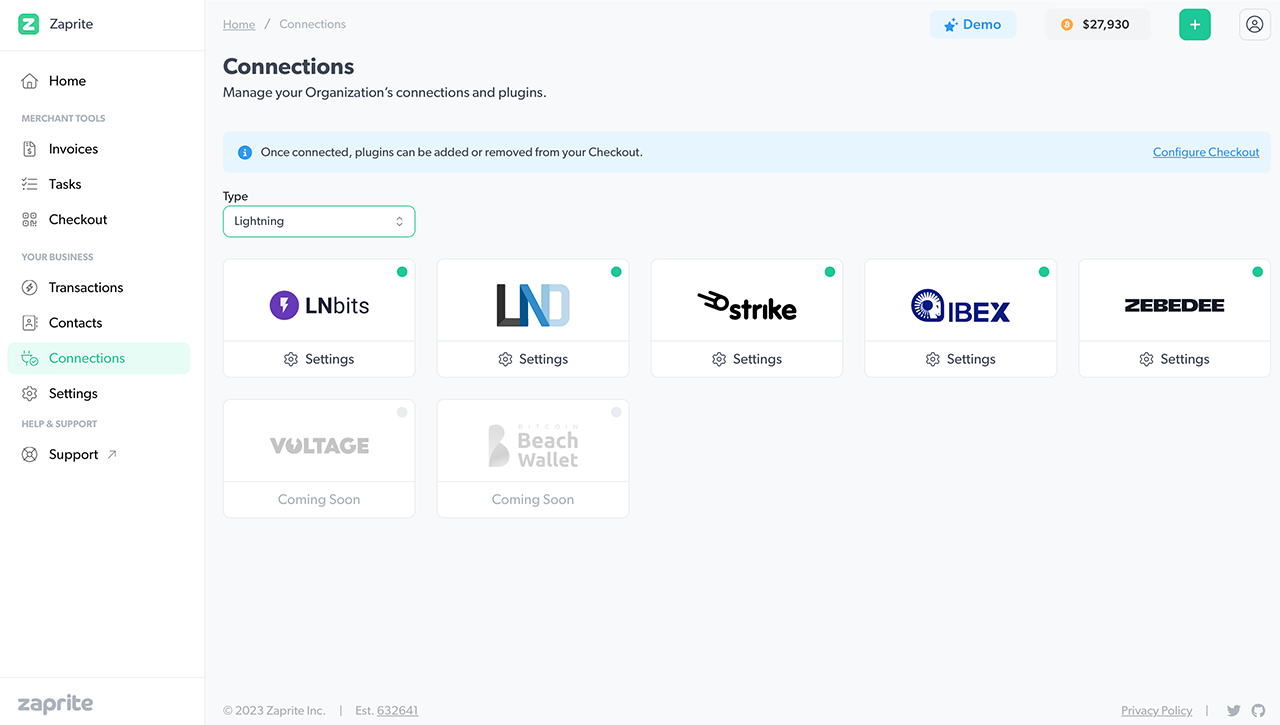
Once activated, the card will now show ‘Settings’ which you can click to configure your connection.
Step 2: Configure your connection
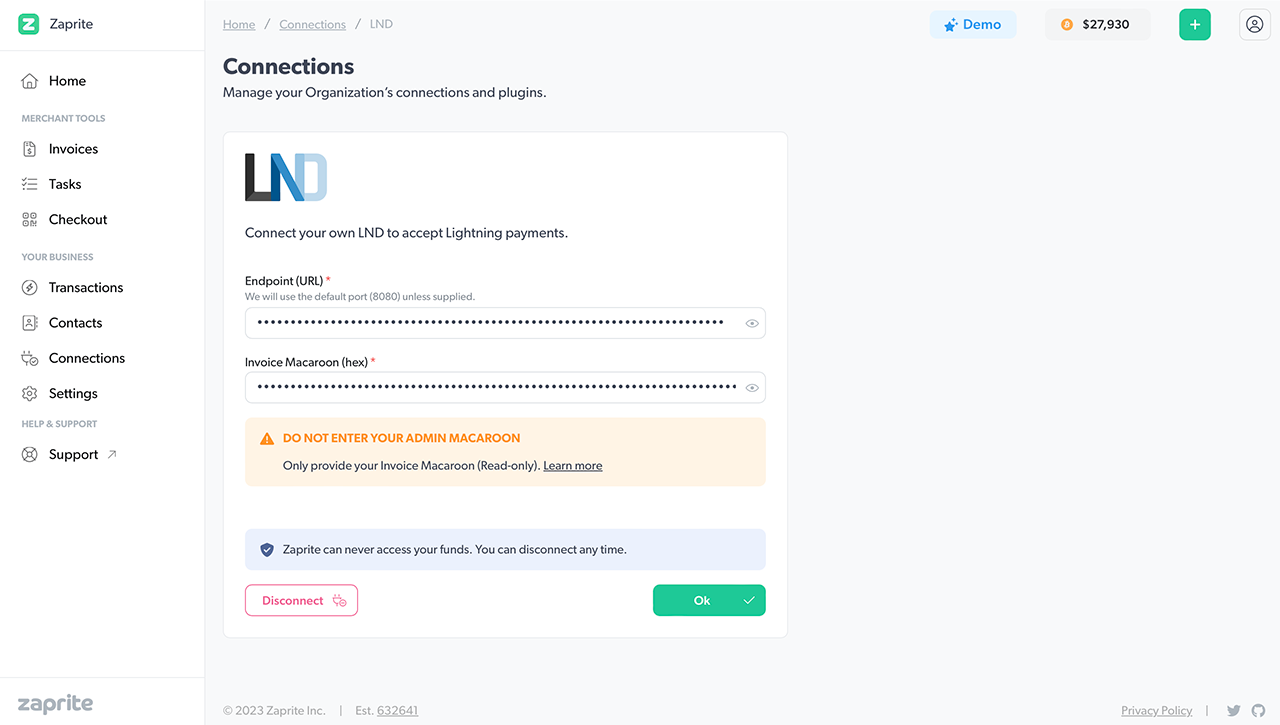
The next step involves adding your node Endpoint (URL) and Invoice Macaroon (hex).
Endpoint URL
You can add a Tor onion URL or a clearnet URL. Both options require https:// for LND connections.
Umbrel LND Endpoint
On an Umbrel node, click the Lightning Node icon from the home screen.
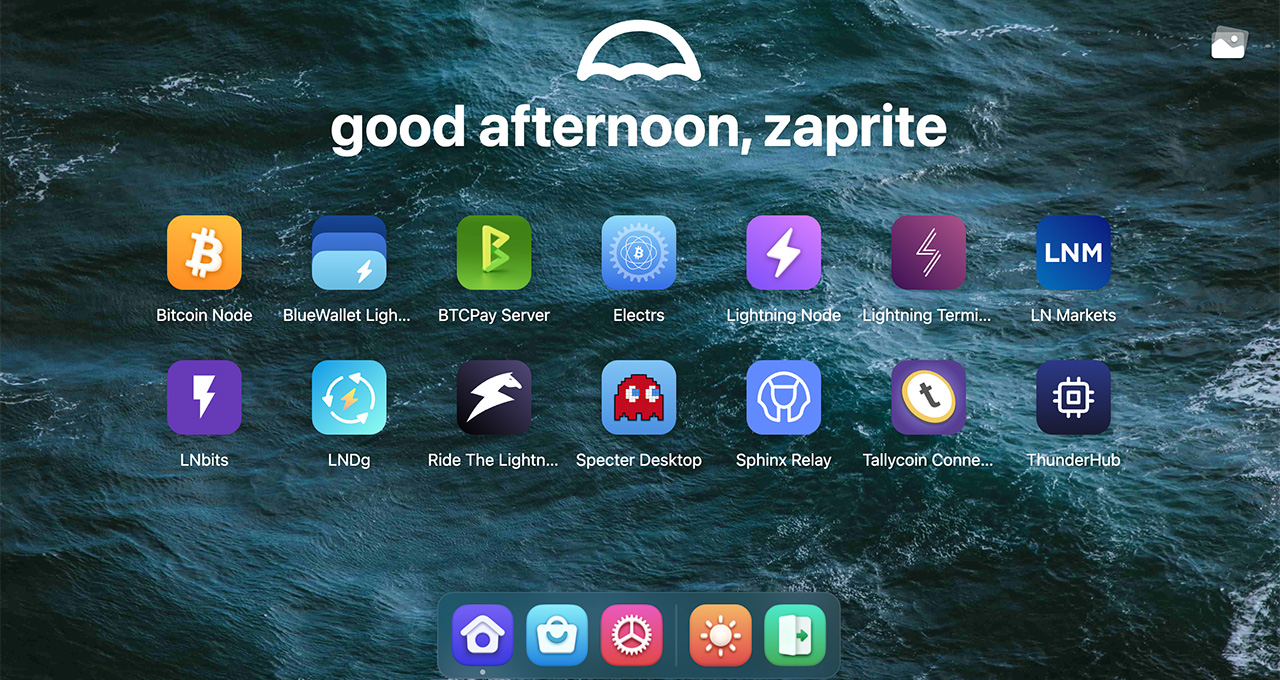
Next, click the vertical ellipses icon (⋮) on the top right and select ‘Connect to Wallet’ in the dropdown menu. Make sure REST (Tor) is selected then copy the ‘Host’ that’s shown on the popup.

Paste the URL into Zaprite and make sure you add https:// to the beginning.
Example Umbrel LND URL (Tor):
https://****************************.onion
We will use the default port of 8080 for Umbrel LND connections so there’s no need to add the port to the URL.
MyNodeBTC LND Endpoint
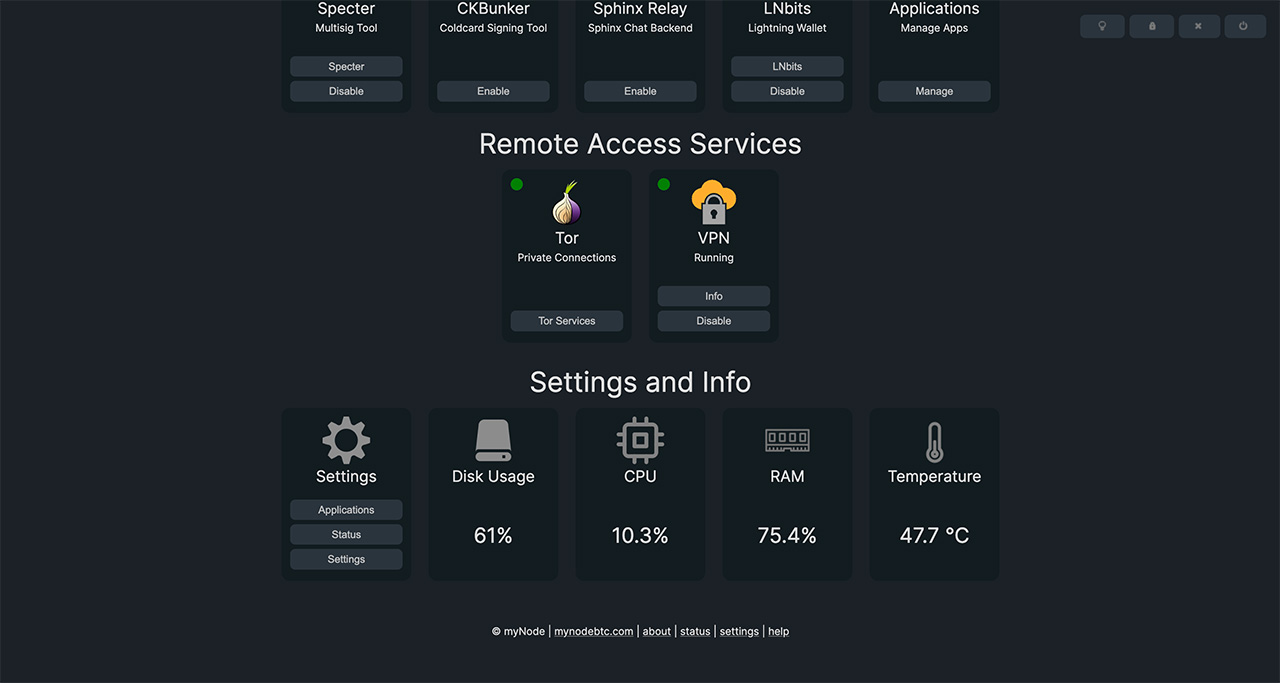
To get your LND endpoint on MyNode click the Tor Services button under Remote Access Services, near the bottom of the home screen.
On the Tor Onion Addresses screen, click Show Onion URLs and then scroll down to LND API (REST) and copy the URL shown.
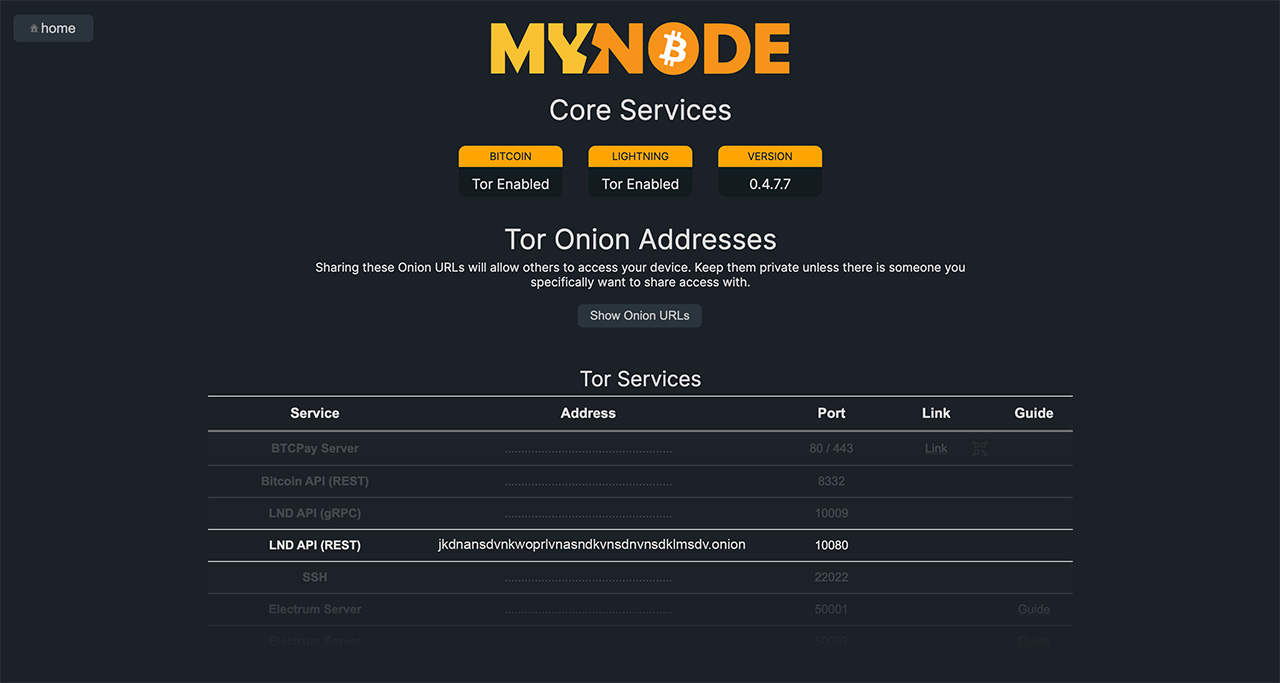
You’ll notice that MyNode uses port 10080 for LND connections, so make sure you add that port to the end (and https:// to the beginning) of the URL.
Example MyNode LND URL (Tor):
https://****************************.onion:10080
Voltage LND Endpoint
For Voltage nodes, simply copy the API Endpoint URL shown on your node’s Home screen and add https:// to the beginning.
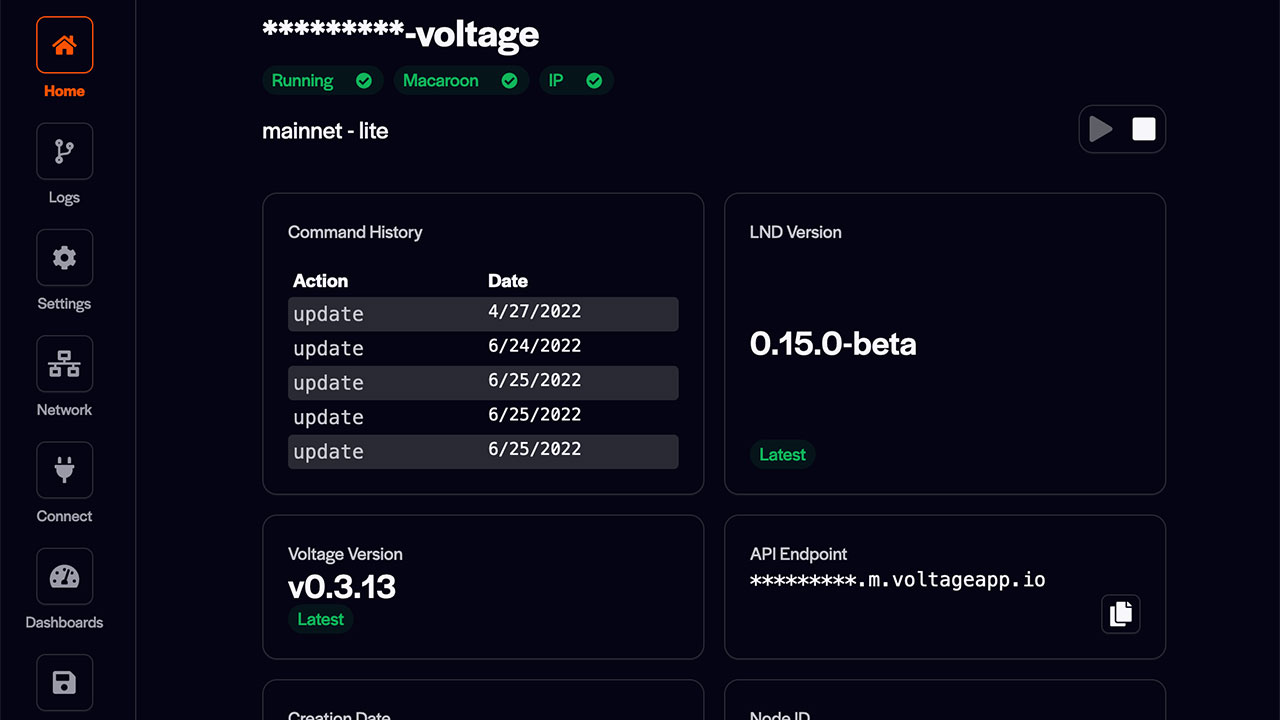
If you are using a Voltage or other hosted node, then your clearnet endpoint URL might look like the following:
https://**********.m.voltageapp.io
DO NOT SHARE/LEAK YOUR TOR ADDRESSES! Attackers may be able to access your funds if you are using default passwords on any of your node apps. Make sure you have changed any default passwords that came with your node.
Invoice Macaroon (hex)
Find your Invoice Macaroon and copy/paste the hex format version into the Invoice Macaroon field in your Zaprite account. The Invoice Macaroon has limited functionality. Zaprite never has access to control your funds. We can only ever generate receiving invoices on your behalf.
Bake (create) an Invoice Macaroon
If you need to manually create an Invoice Macaroon you can use the Thunderhub app on your node to bake a new macaroon with the required read-only access.
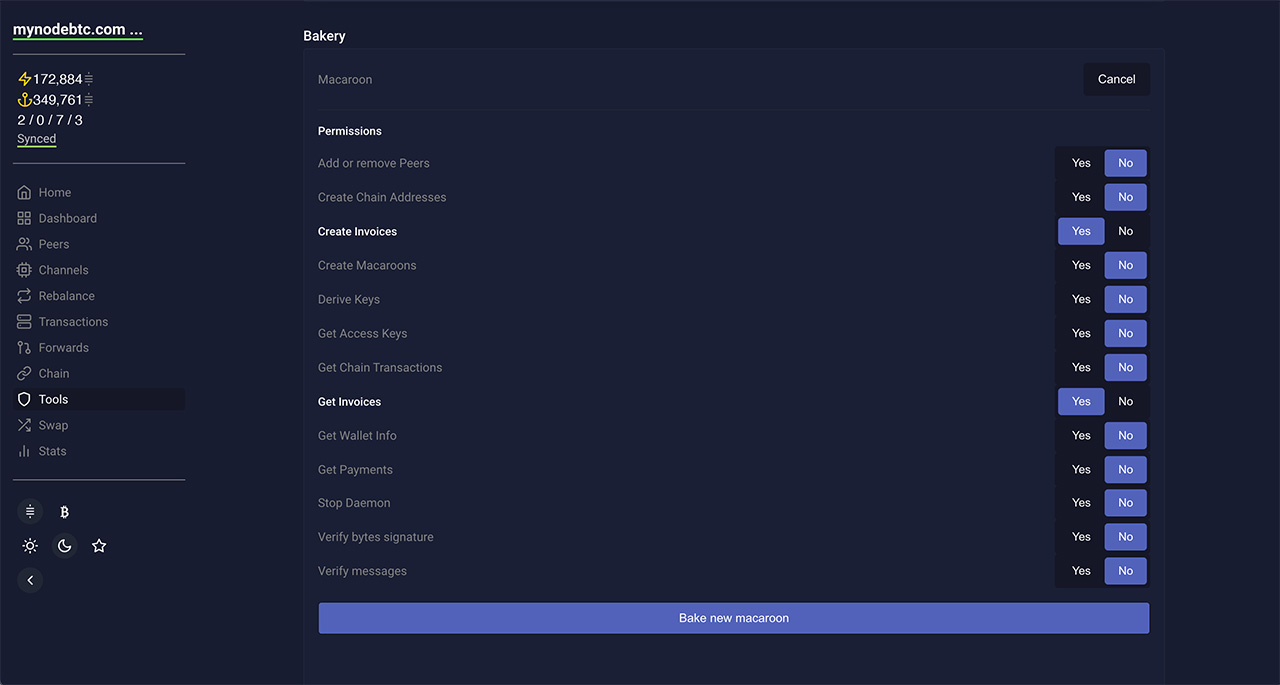
Make sure you enable ‘Create Invoices‘ and ‘Get Invoices‘ and then click the [Bake new macaroon] button.
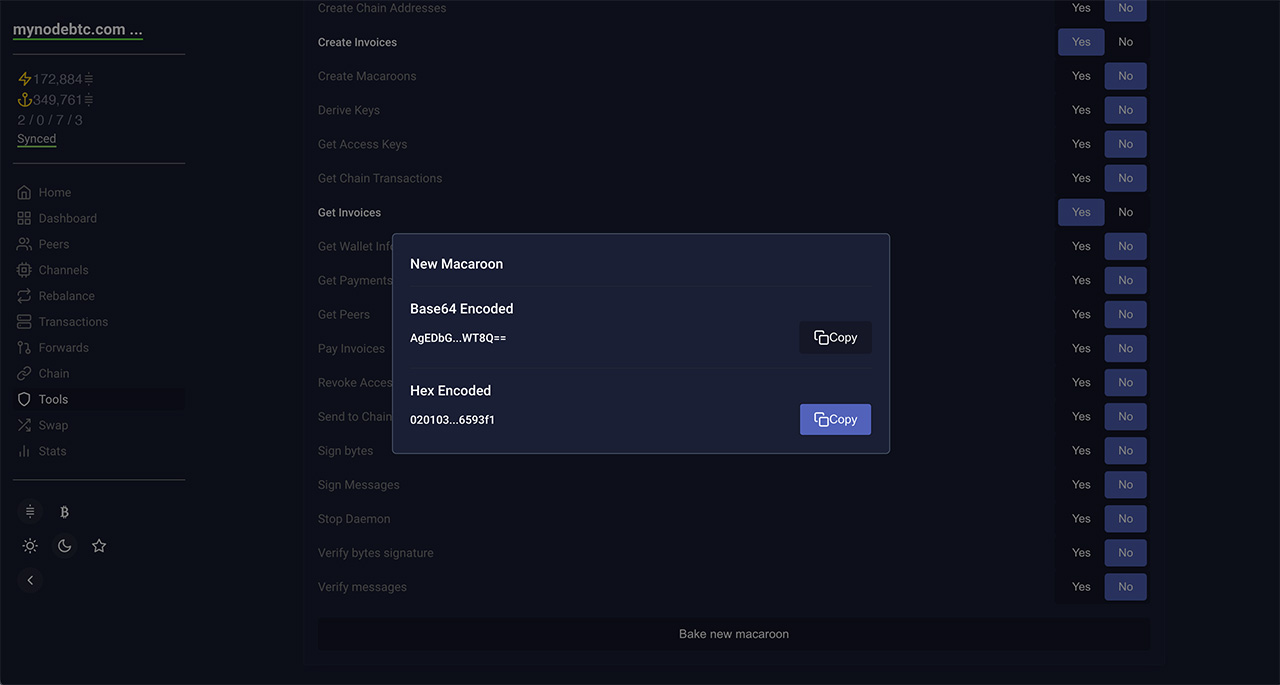
Copy the Hex Encoded value that is shown and paste this into your Zaprite LND connection settings under the Invoice Macaroon (hex) field.
DO NOT ADD AN ADMIN MACAROON! This will give Zaprite too much access. Only provide an Invoice Macaroon.
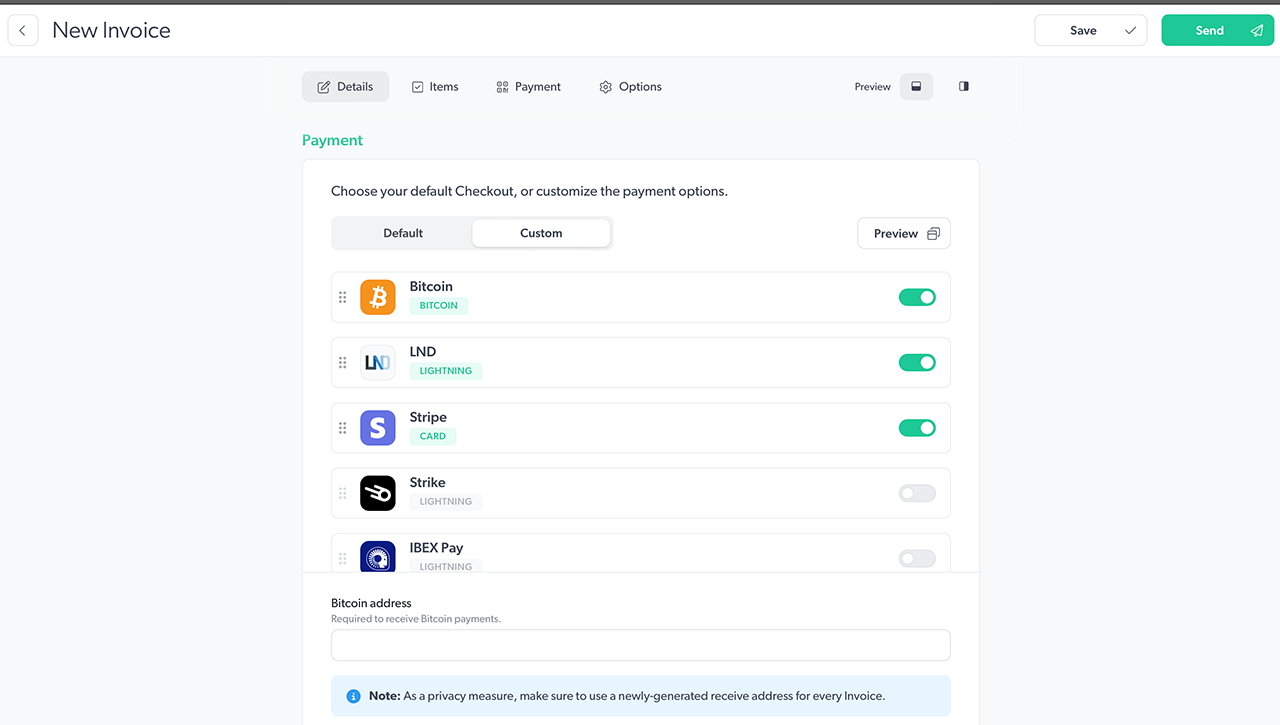
Step 3: Enable LND on new Invoices
Now you are free to enable LND payments on new invoices. Simply click the LND toggle in Section 4 (Payment) to allow your client to pay over Lightning.
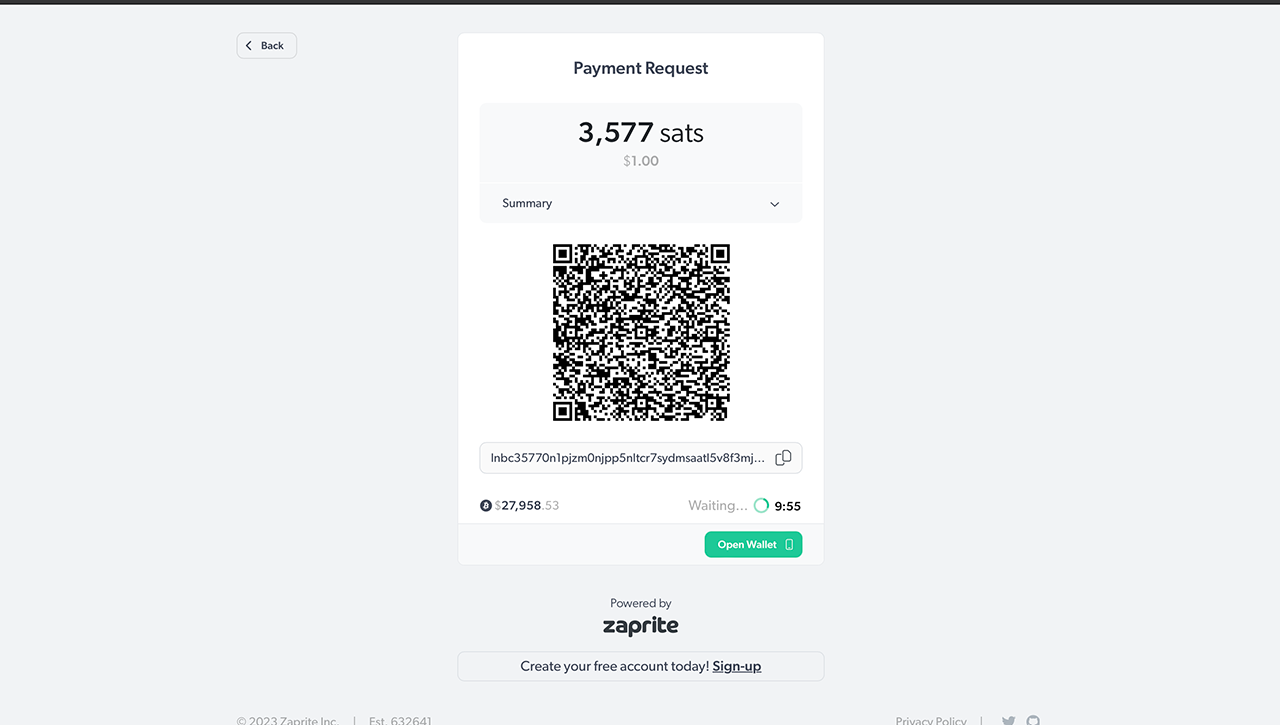
When you send a new Invoice, the recipient will now see a Lightning option and a QR code will be automatically generated—on your node—by Zaprite, using the live BTC rate at the time. When your invoice is paid, you will receive an email notification with the payment details and the payer will receive an email receipt.
That’s it! You should now have LND integrated, enabling Lightning payment options on your Zaprite invoices.
If you run into any issues connecting your node, or have general questions about using Zaprite, feel free to reach out at https://help.zaprite.com.