
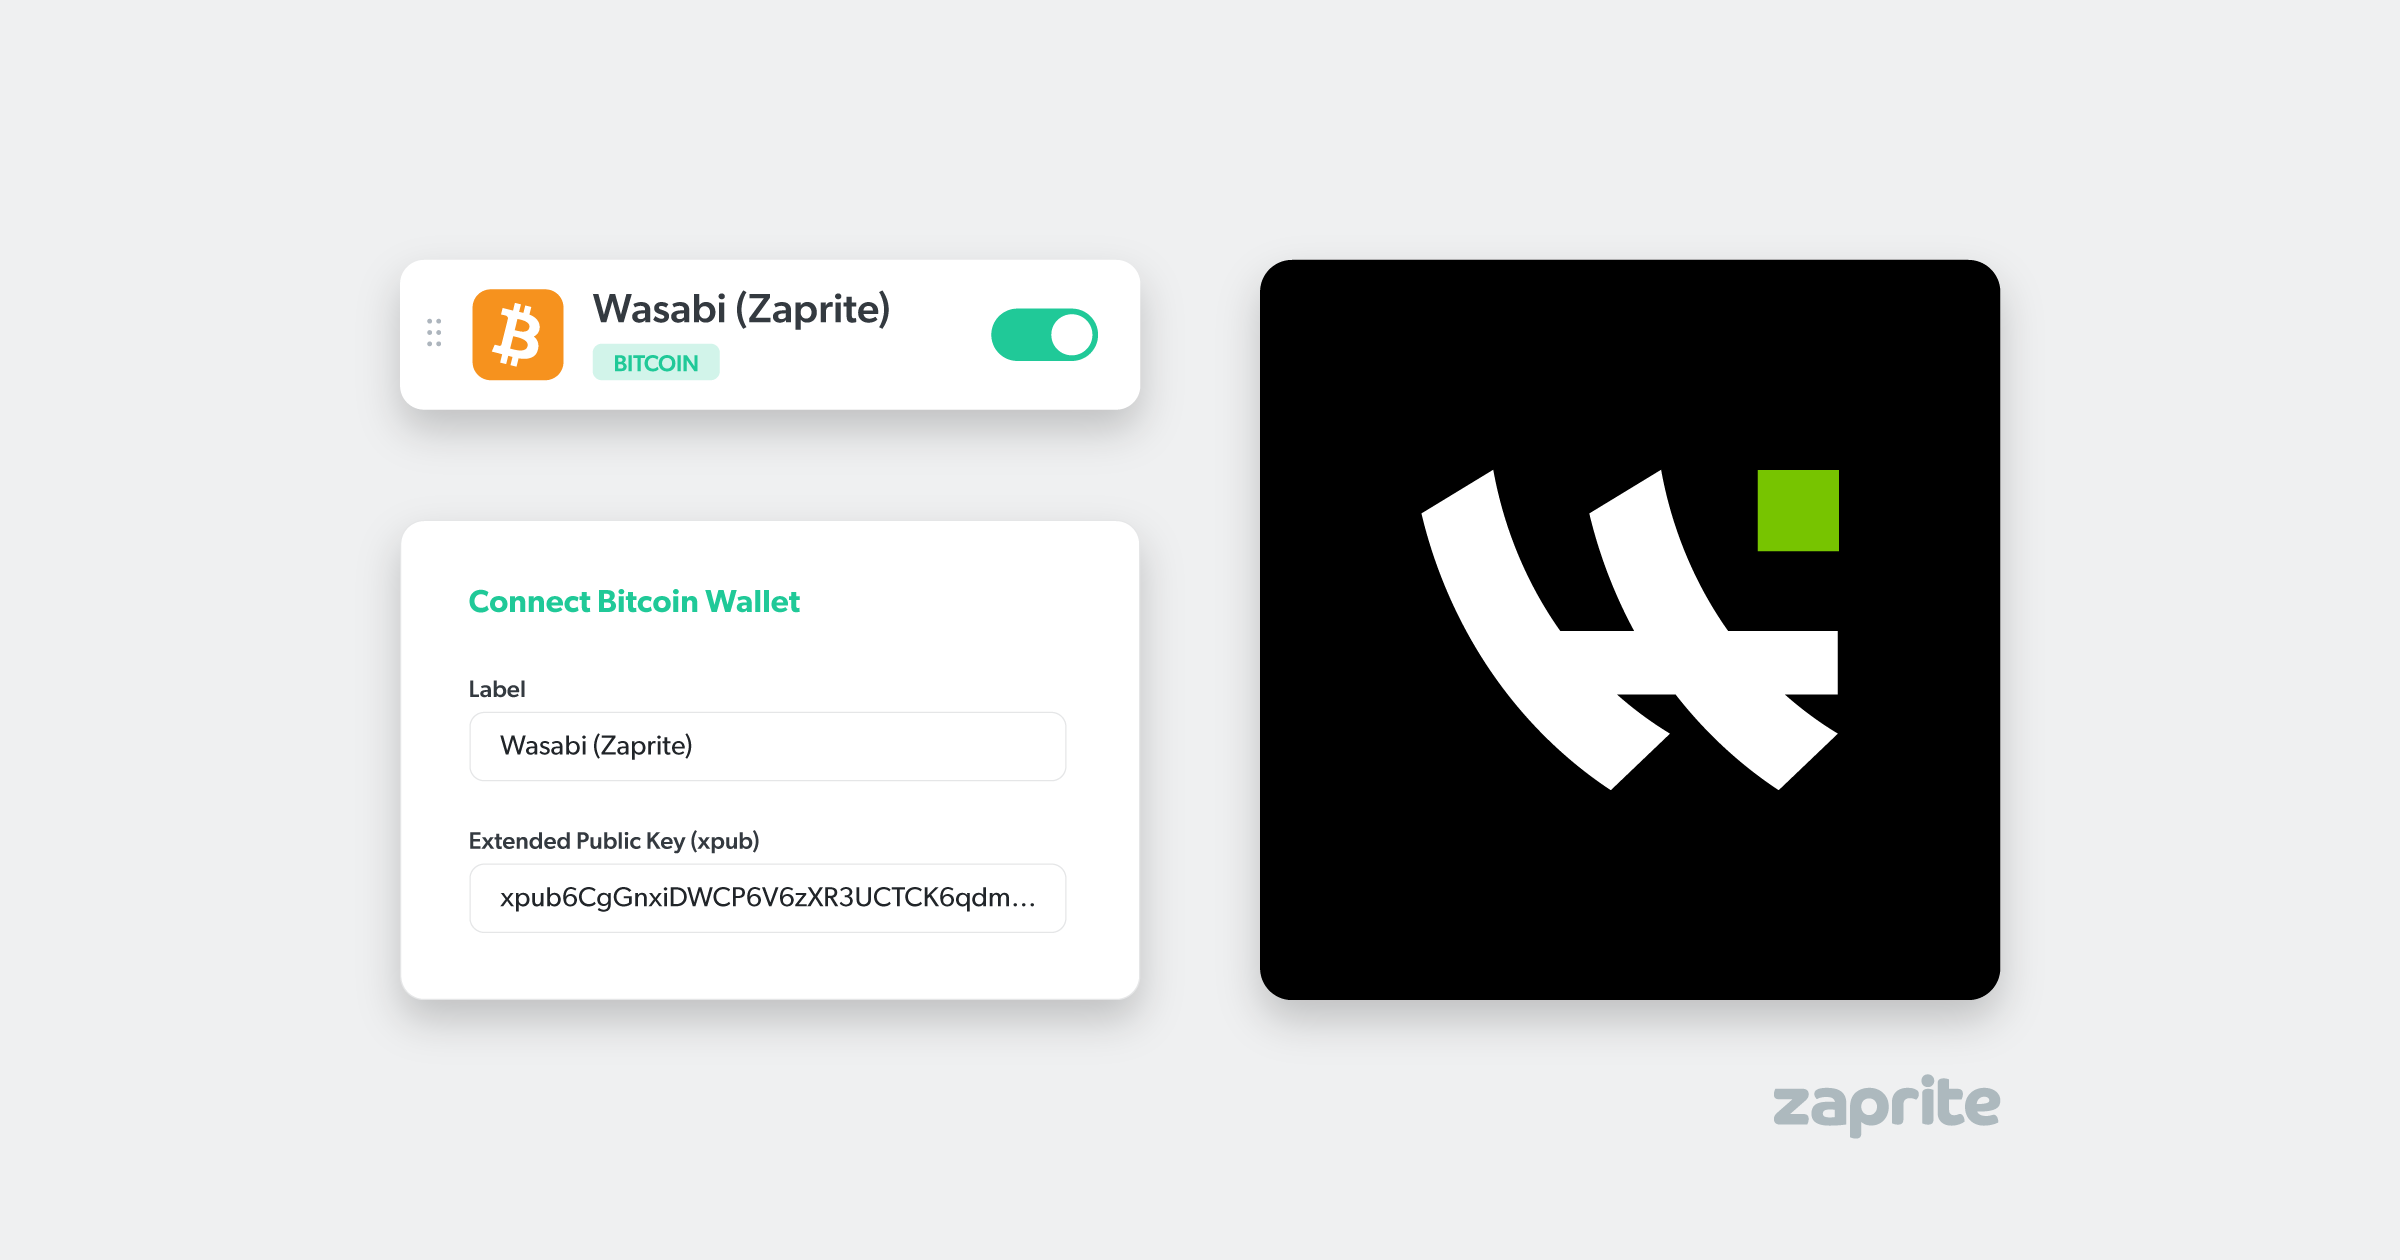
Zaprite allows users to connect their own self-custody bitcoin wallets by providing an xpub. This allows users to remain in complete control of their own funds, while also enhancing on-chain privacy by generating a new receiving address for each payment request.
You can use any wallet software that allows you to export an xpub. The following guide outlines the instructions for exporting your wallet xpub from Wasabi Wallet, but the steps will be similar for most wallet software.
If you are not yet running Wasabi Wallet, you can download the latest release from Github:
https://github.com/zkSNACKs/WalletWasabi/releases
We recommend always creating a new wallet for Zaprite. You should not use this wallet for any other external services as it will decrease your privacy and will affect financial reporting within Zaprite.
Create a New Wasabi Wallet
To create a new wallet, click the Add Wallet button on the bottom of the left-hand side navigation in Wasabi Wallet.
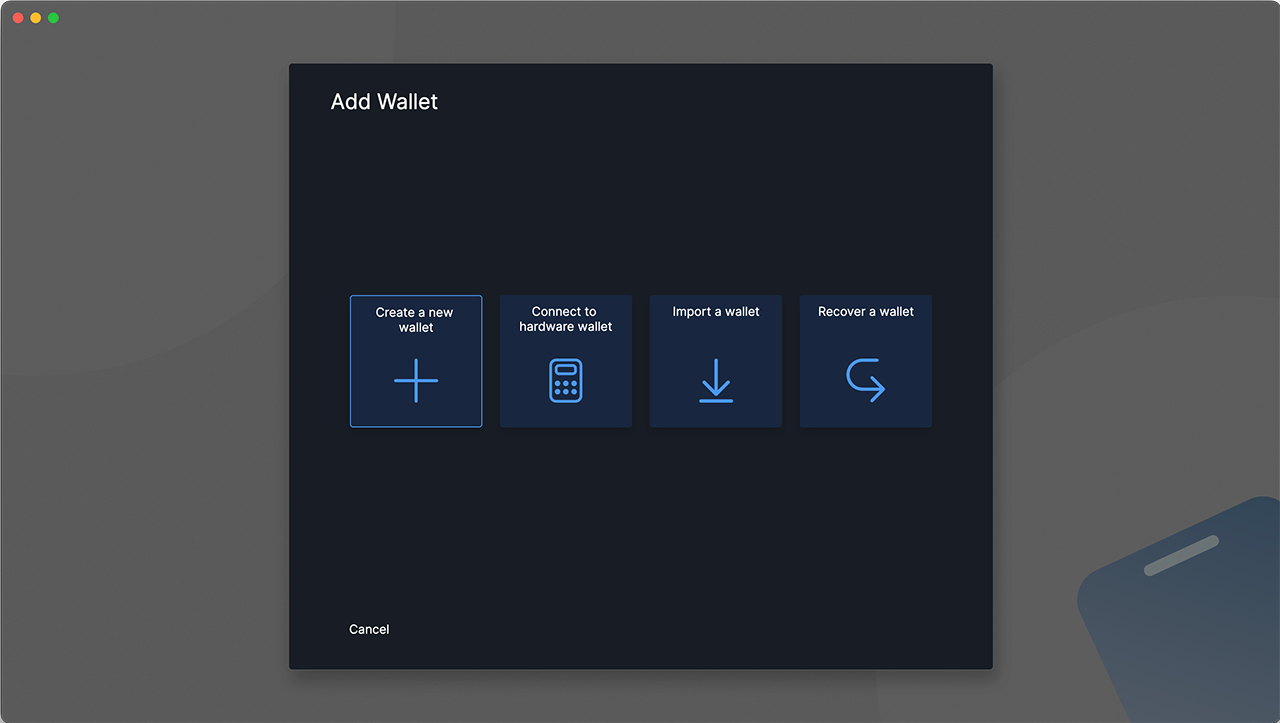
- Click ‘Create a new wallet‘
- Add a Wallet Name (example: Zaprite Wallet)
- Write down your Recovery Words. NEVER save these words online or share them with anyone.
- Confirm your Recovery Words.
- Add a wallet Password and save this in your password manager.
- Choose a Coinjoin Strategy. If you are unsure simply choose Maximize Speed. Coinjoins are switched off by default, and you can always change this setting later before activating this feature.
That’s it! You now have a new secure wallet setup for use in Zaprite.
Copy the Wallet xPub
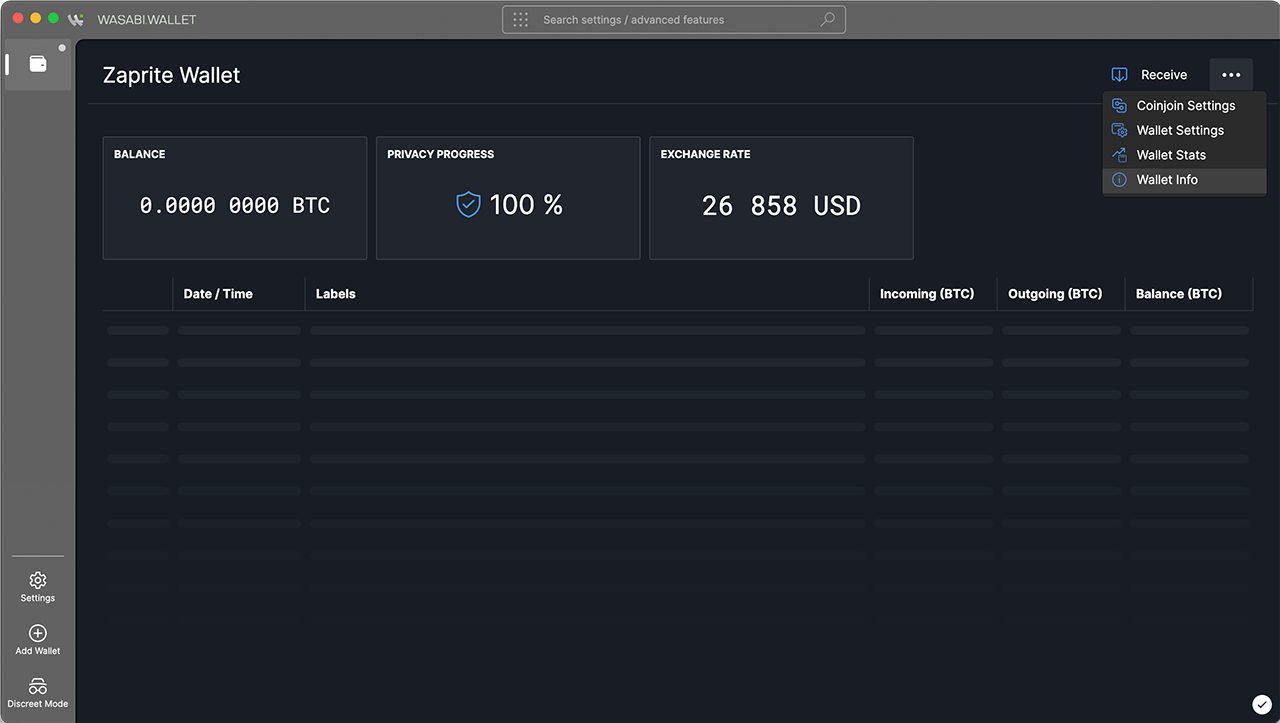
Once you have your wallet setup you will need to copy the wallet’s Extended Public Key (xpub). Click the ellipses menu (⋯) in the top right of the app and then click Wallet Info. Enter the wallet password when prompted.
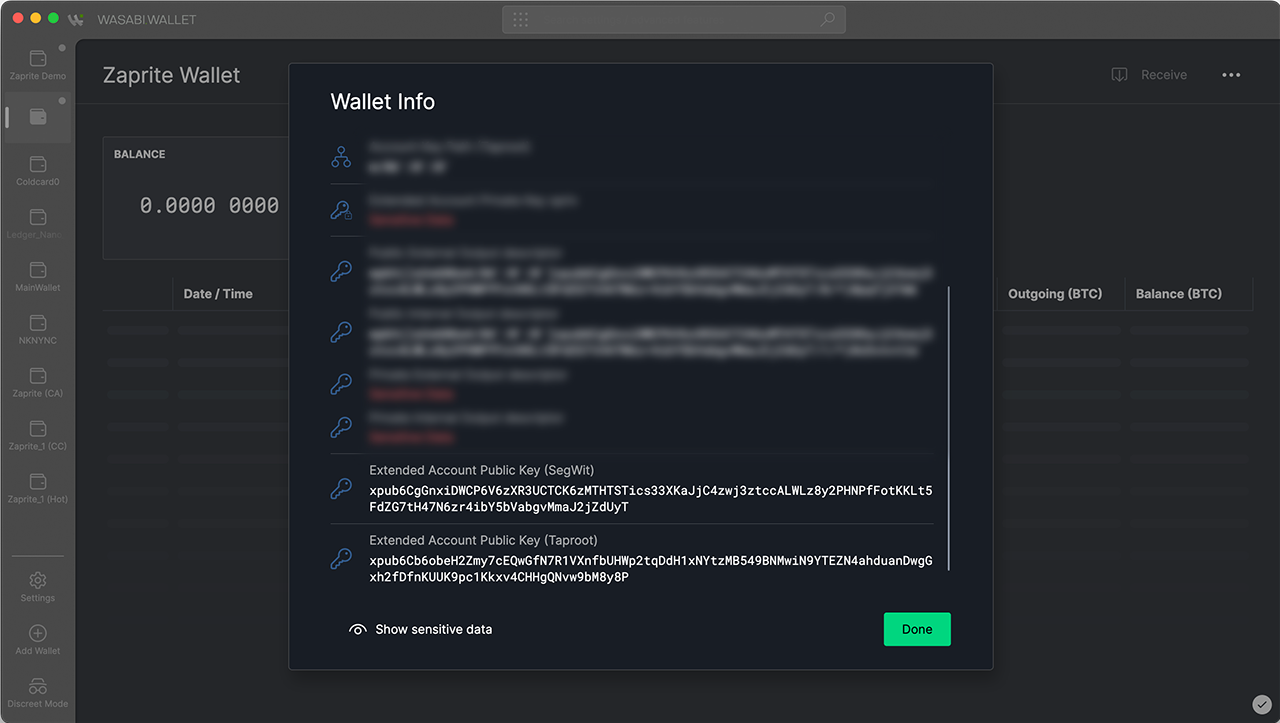
Scroll down to the end of the content and click the copy icon to the right of the Extended Account Public Key (SegWit).
Connect your Wallet to Zaprite
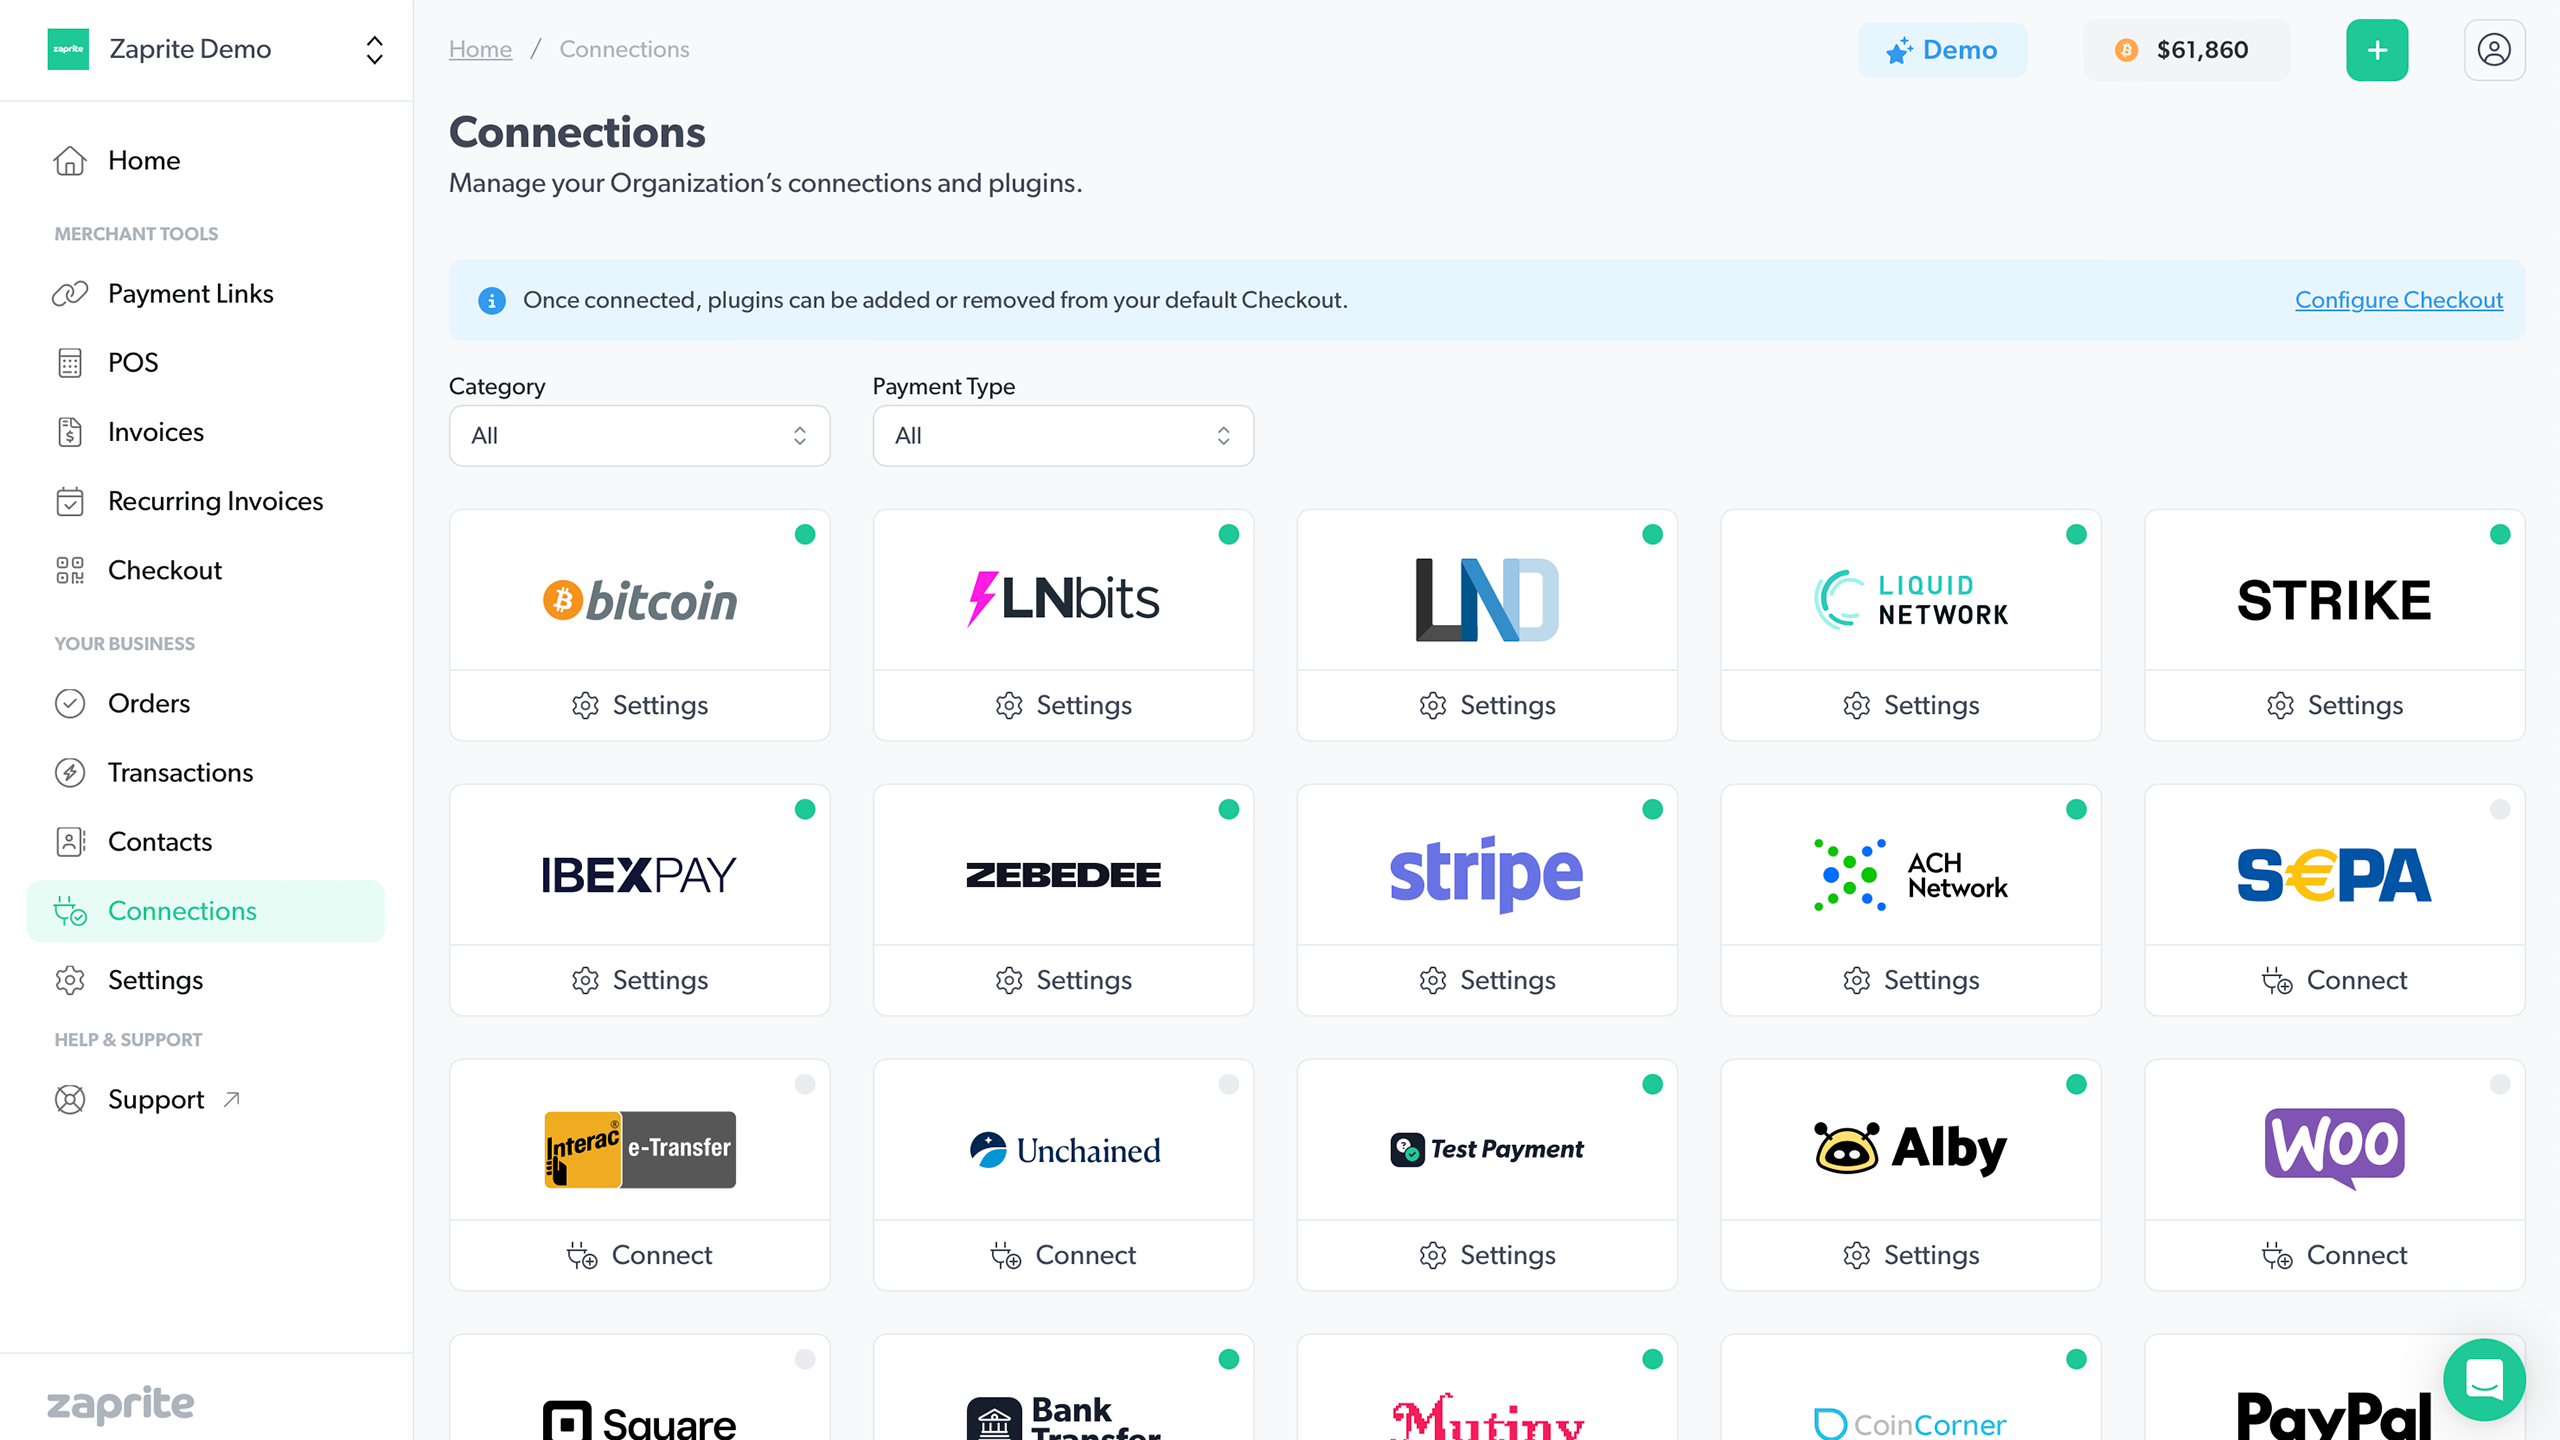
The next step is to add your wallet to Zaprite. Navigate to the Connections screen and then click the Connect button under the Bitcoin card.
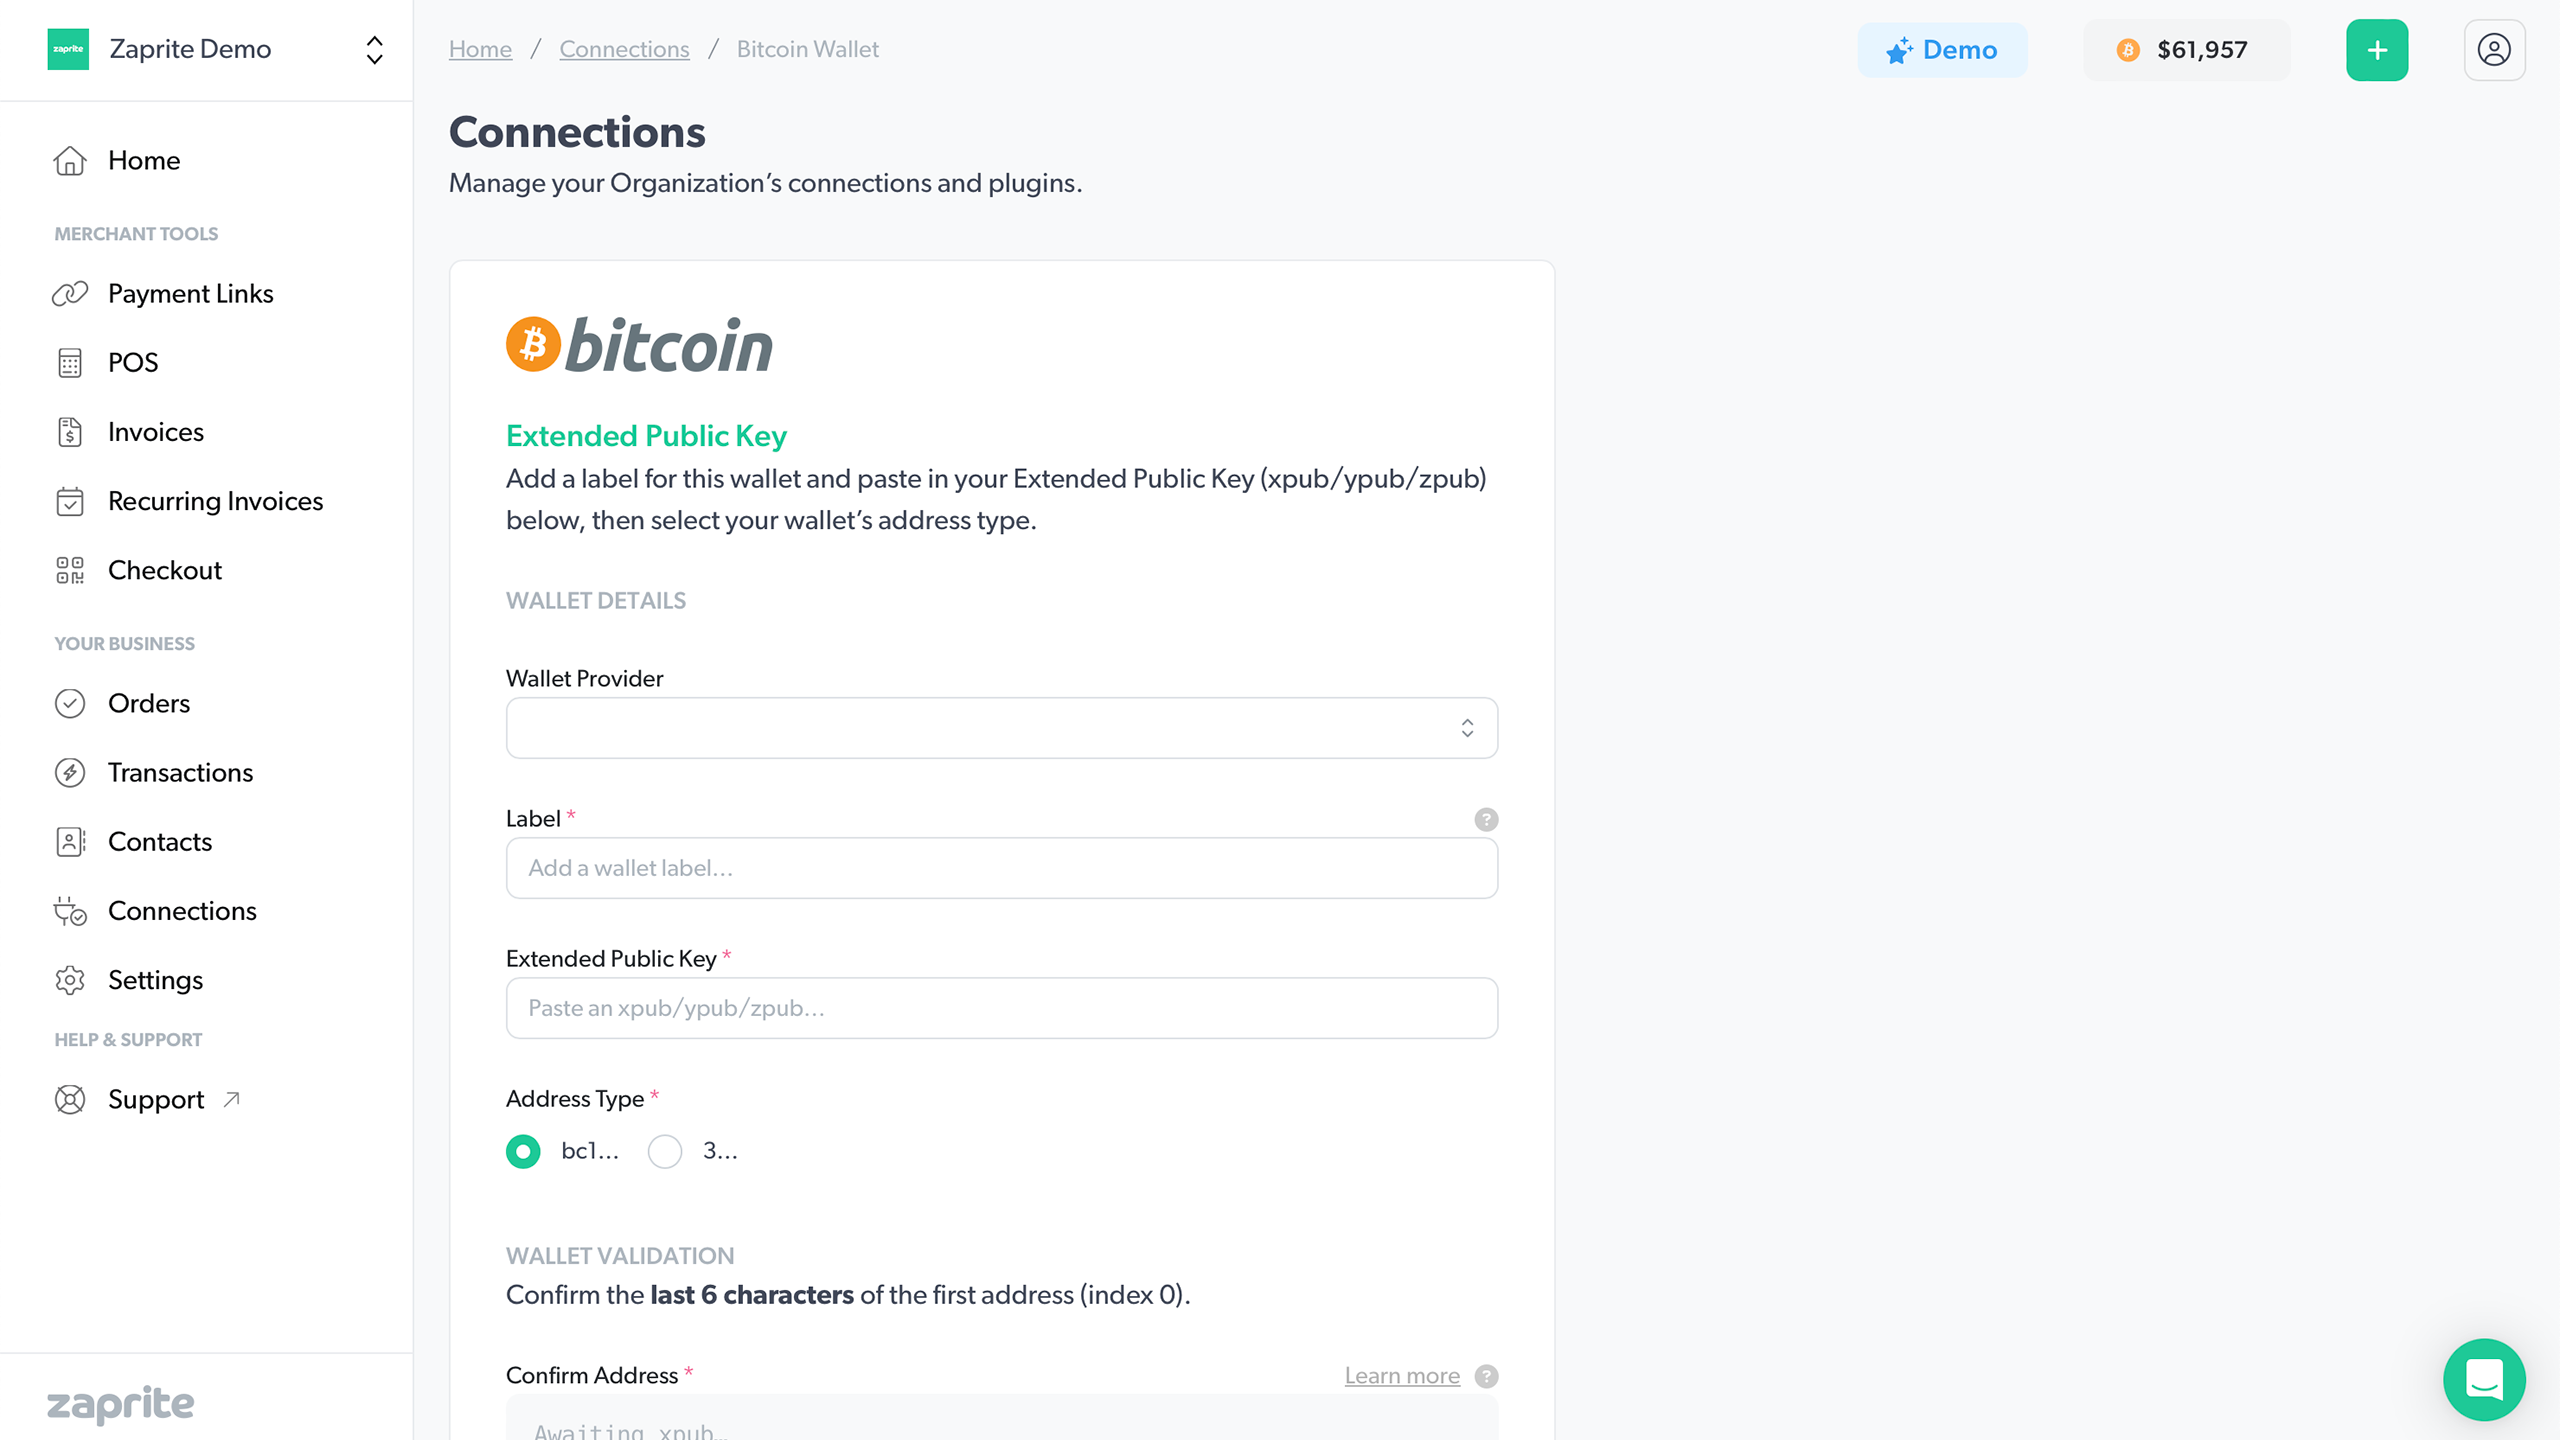
You will be prompted to enter some information about the wallet:
- Label: Add a custom label to identify this wallet within Zaprite. This will not be visible to your Customers.
- Extended Public Key: Paste your xpub here. This will auto-generate the first receive address for the wallet in the Wallet Validation section at the bottom of the form.
- Address Type: Choose the address type your wallet is using. If you setup a new wallet in Wasabi this will default to SegWit (bc1…). However, you may change this setting if you are adding an existing or older wallet (3…).
Once you have this information entered, the final step is to validate the wallet by confirming if Zaprite has generated the correct receiving address.
Wallet Validation
To validate the wallet connection, go back into Wasabi Wallet and click the Receive button on the top right. Enter an identifier label (example: ‘Zaprite’) and then click Continue.
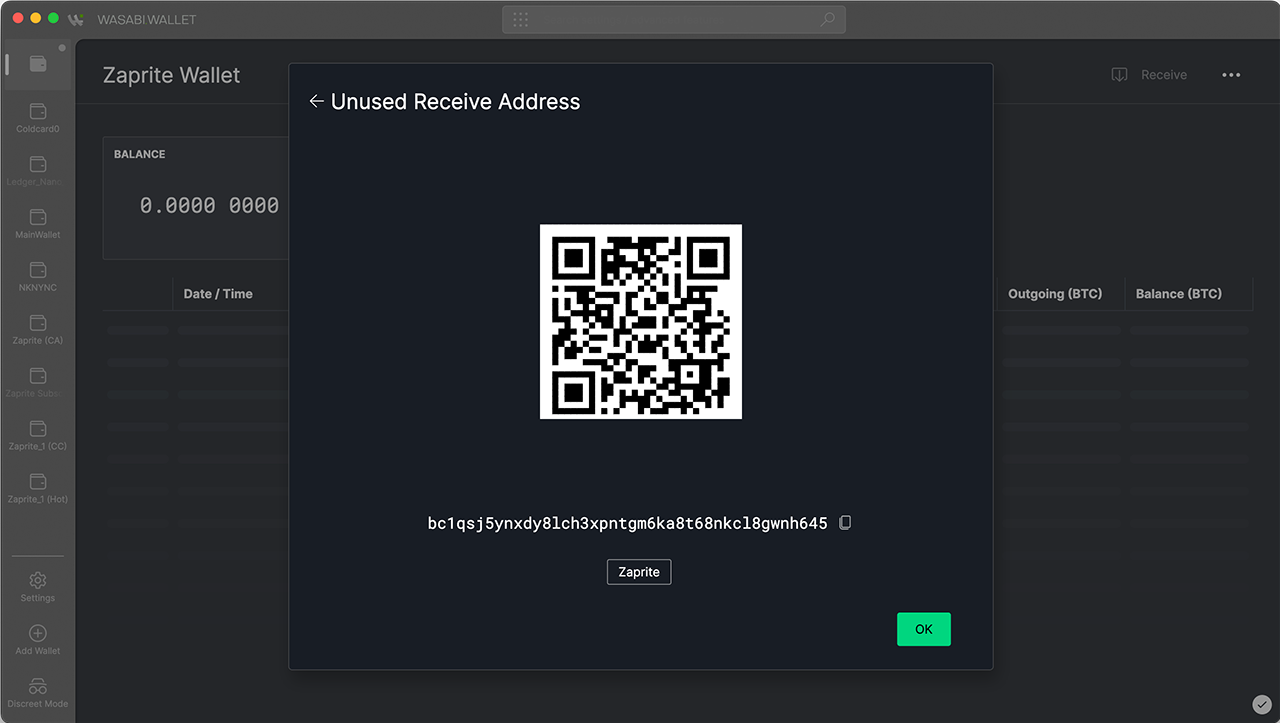
You will be shown the first receive address for your new wallet. Note the last 6 characters of the address and then return to Zaprite and enter those characters in the field provided.

Click OK to submit the wallet information. If the addresses match, your wallet will be successfully connected and available for use within Zaprite.
Wallet Settings
Once you have validated and connected your wallet, Zaprite will generate and list the first 100 addresses for viewing.

This list shows which addresses have been Used, Reserved or Locked.
- Used: The address has received funds and will not be used again.
- Reserved: The address has been shown on a Checkout and is temporarily reserved for an open Order.
- Locked: The address is permanently locked for use outside of Zaprite (for example, in a consolidation transaction).
Checkout Settings
Now that you have your Wasabi Wallet connected, you can choose to set this as your preferred Bitcoin payment method for your default Checkout.
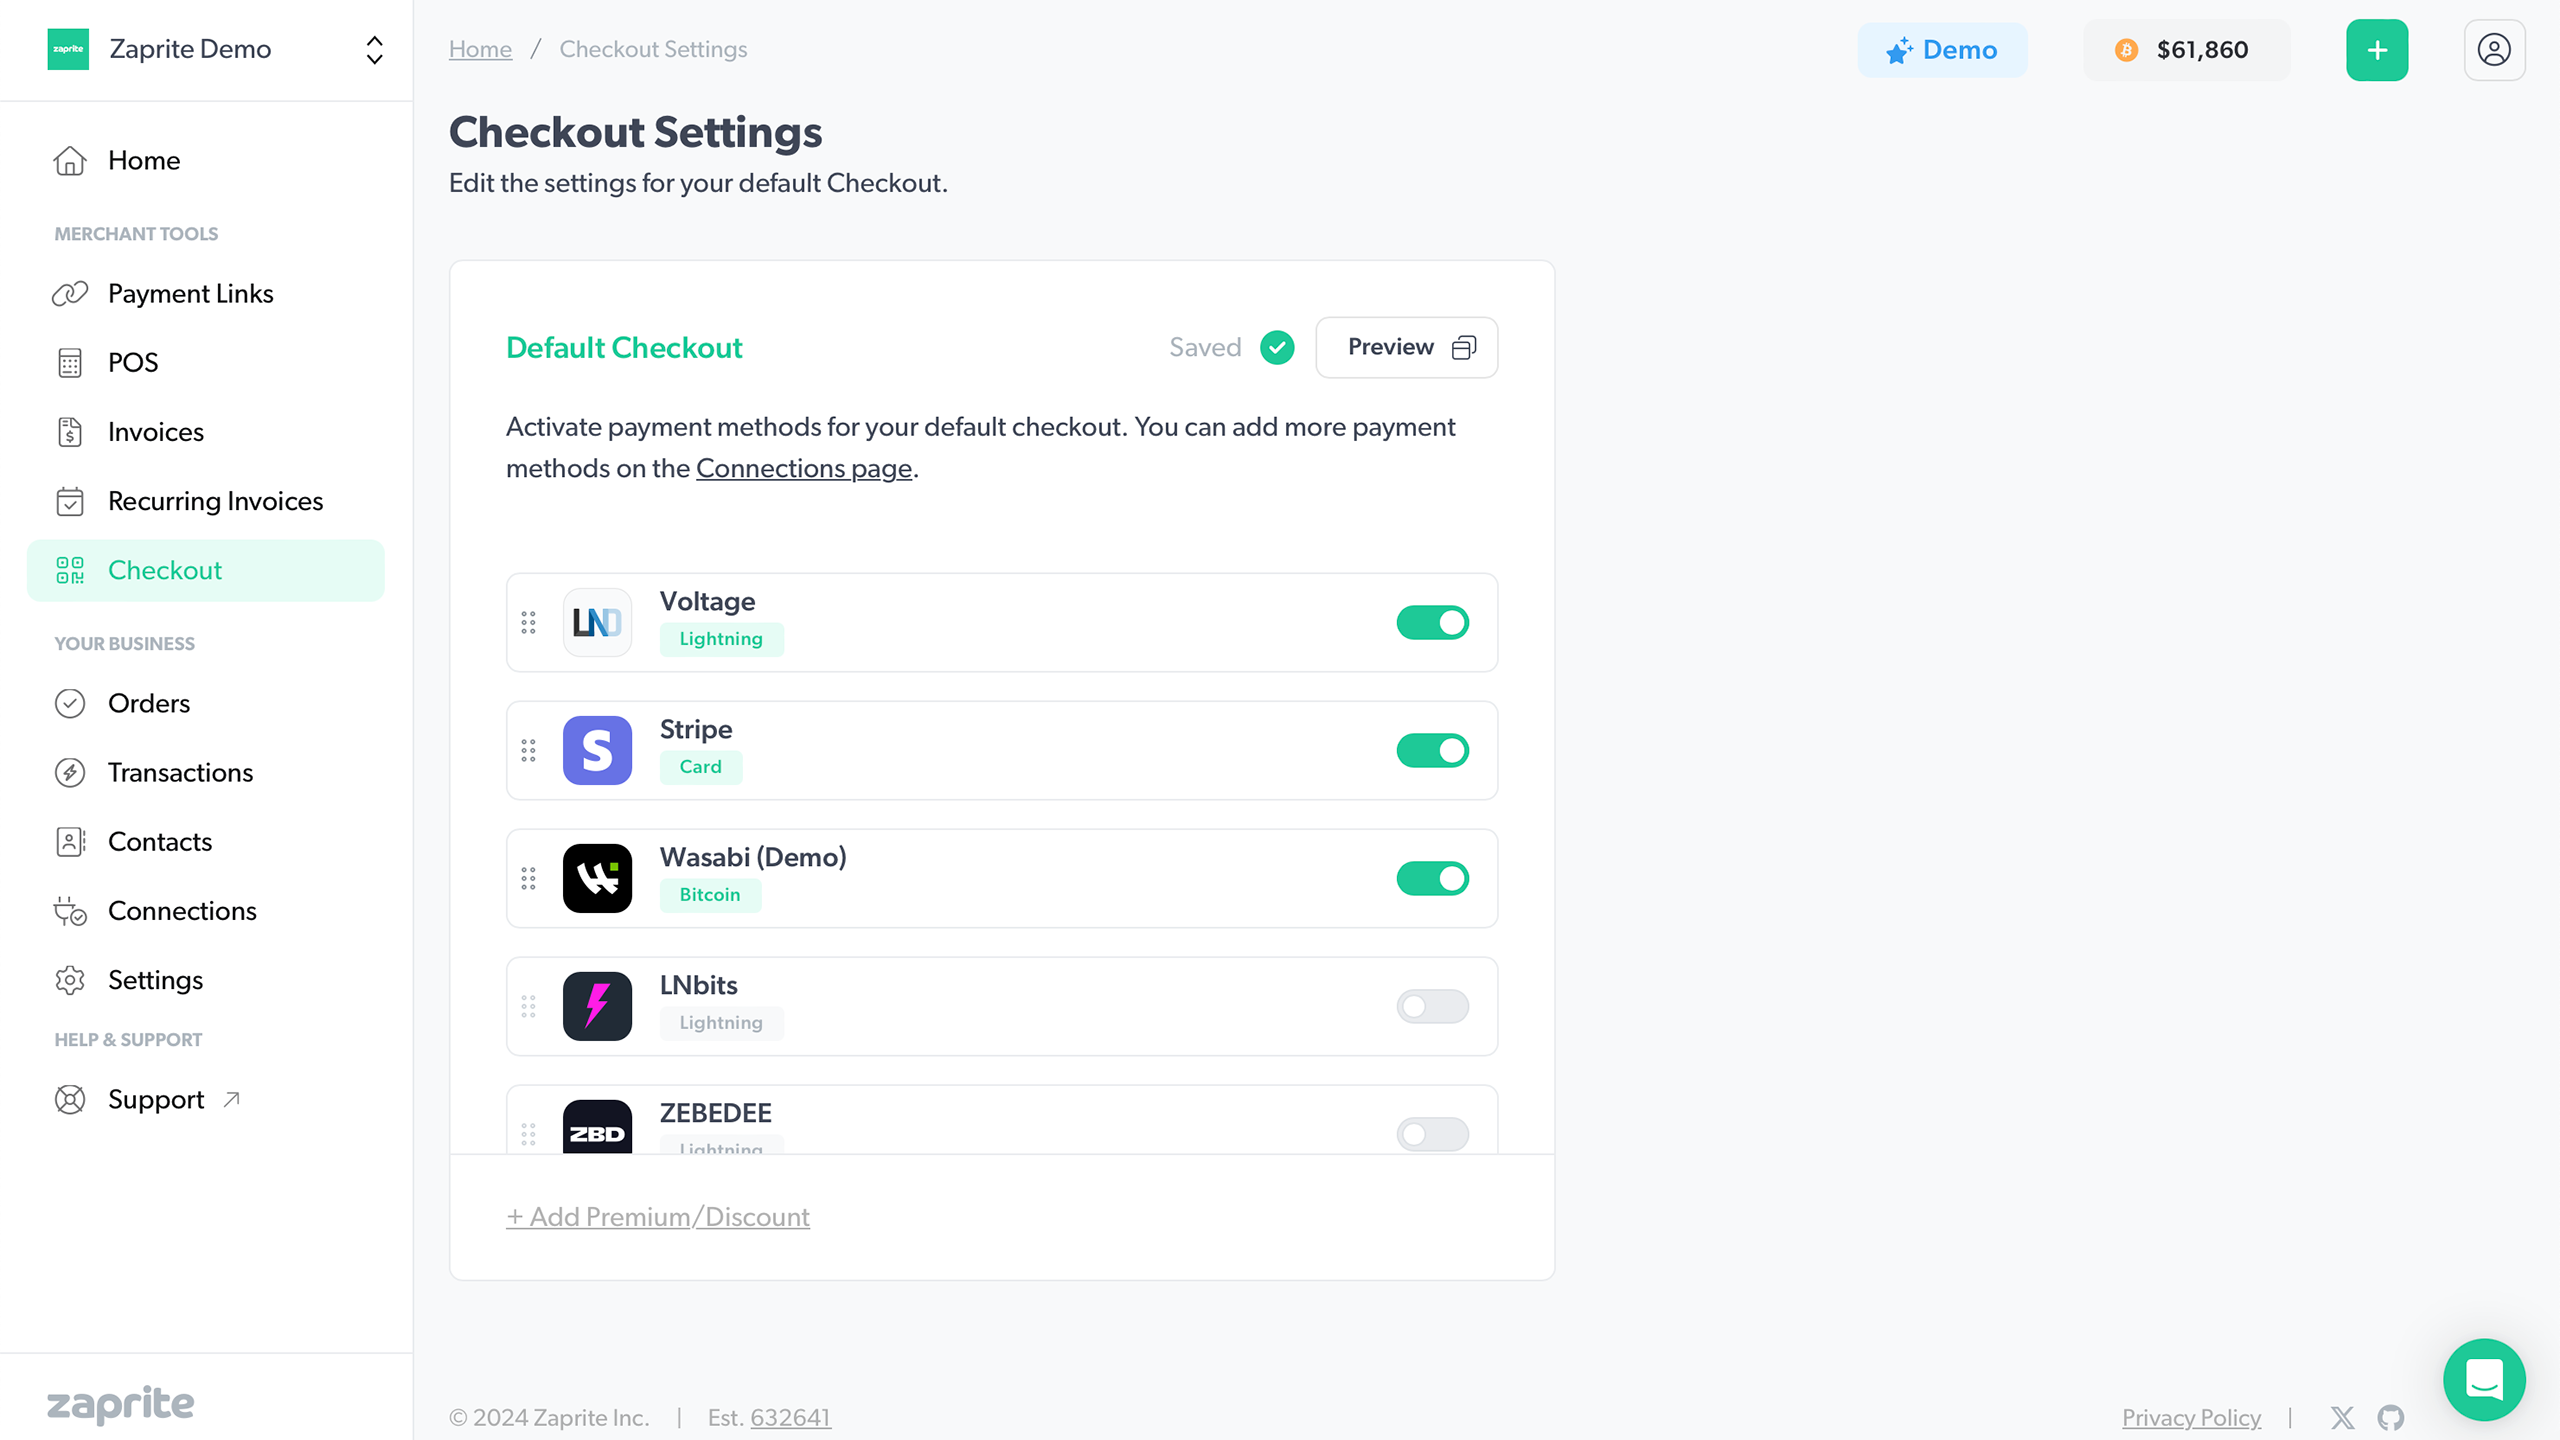
Navigate to Checkouts on the main Zaprite menu. Toggle on the new wallet you just connected and Confirm and then Save the settings for your Checkout. When this wallet is in use, Zaprite will generate a fresh unused address for each Customer payment. You can always override the active payment methods on individual Invoices and Checkouts.
Further Information
Gap Limit
We use a custom address reservation system which respects the default gap limit of 20 for all xpub connections. If the gap limit is reached we will pause new address generation until a previously reserved address becomes available again.