

With Zaprite, you can connect a PayPal account in order to accept payments on your Zaprite hosted Checkouts via your PayPal payment methods. This connection enables additional payment methods for your customers, such as PayPal, Venmo and card payments.
Connect your PayPal Account
The following is a guide on how you can connect your PayPal account to Zaprite to start accepting payments for your Orders through your hosted Zaprite Checkout.
Step 1: Activate the PayPal connection
The first step is to activate the PayPal plugin. Visit the Connections tab in your Zaprite account and click the ‘Connect’ link under the PayPal card.
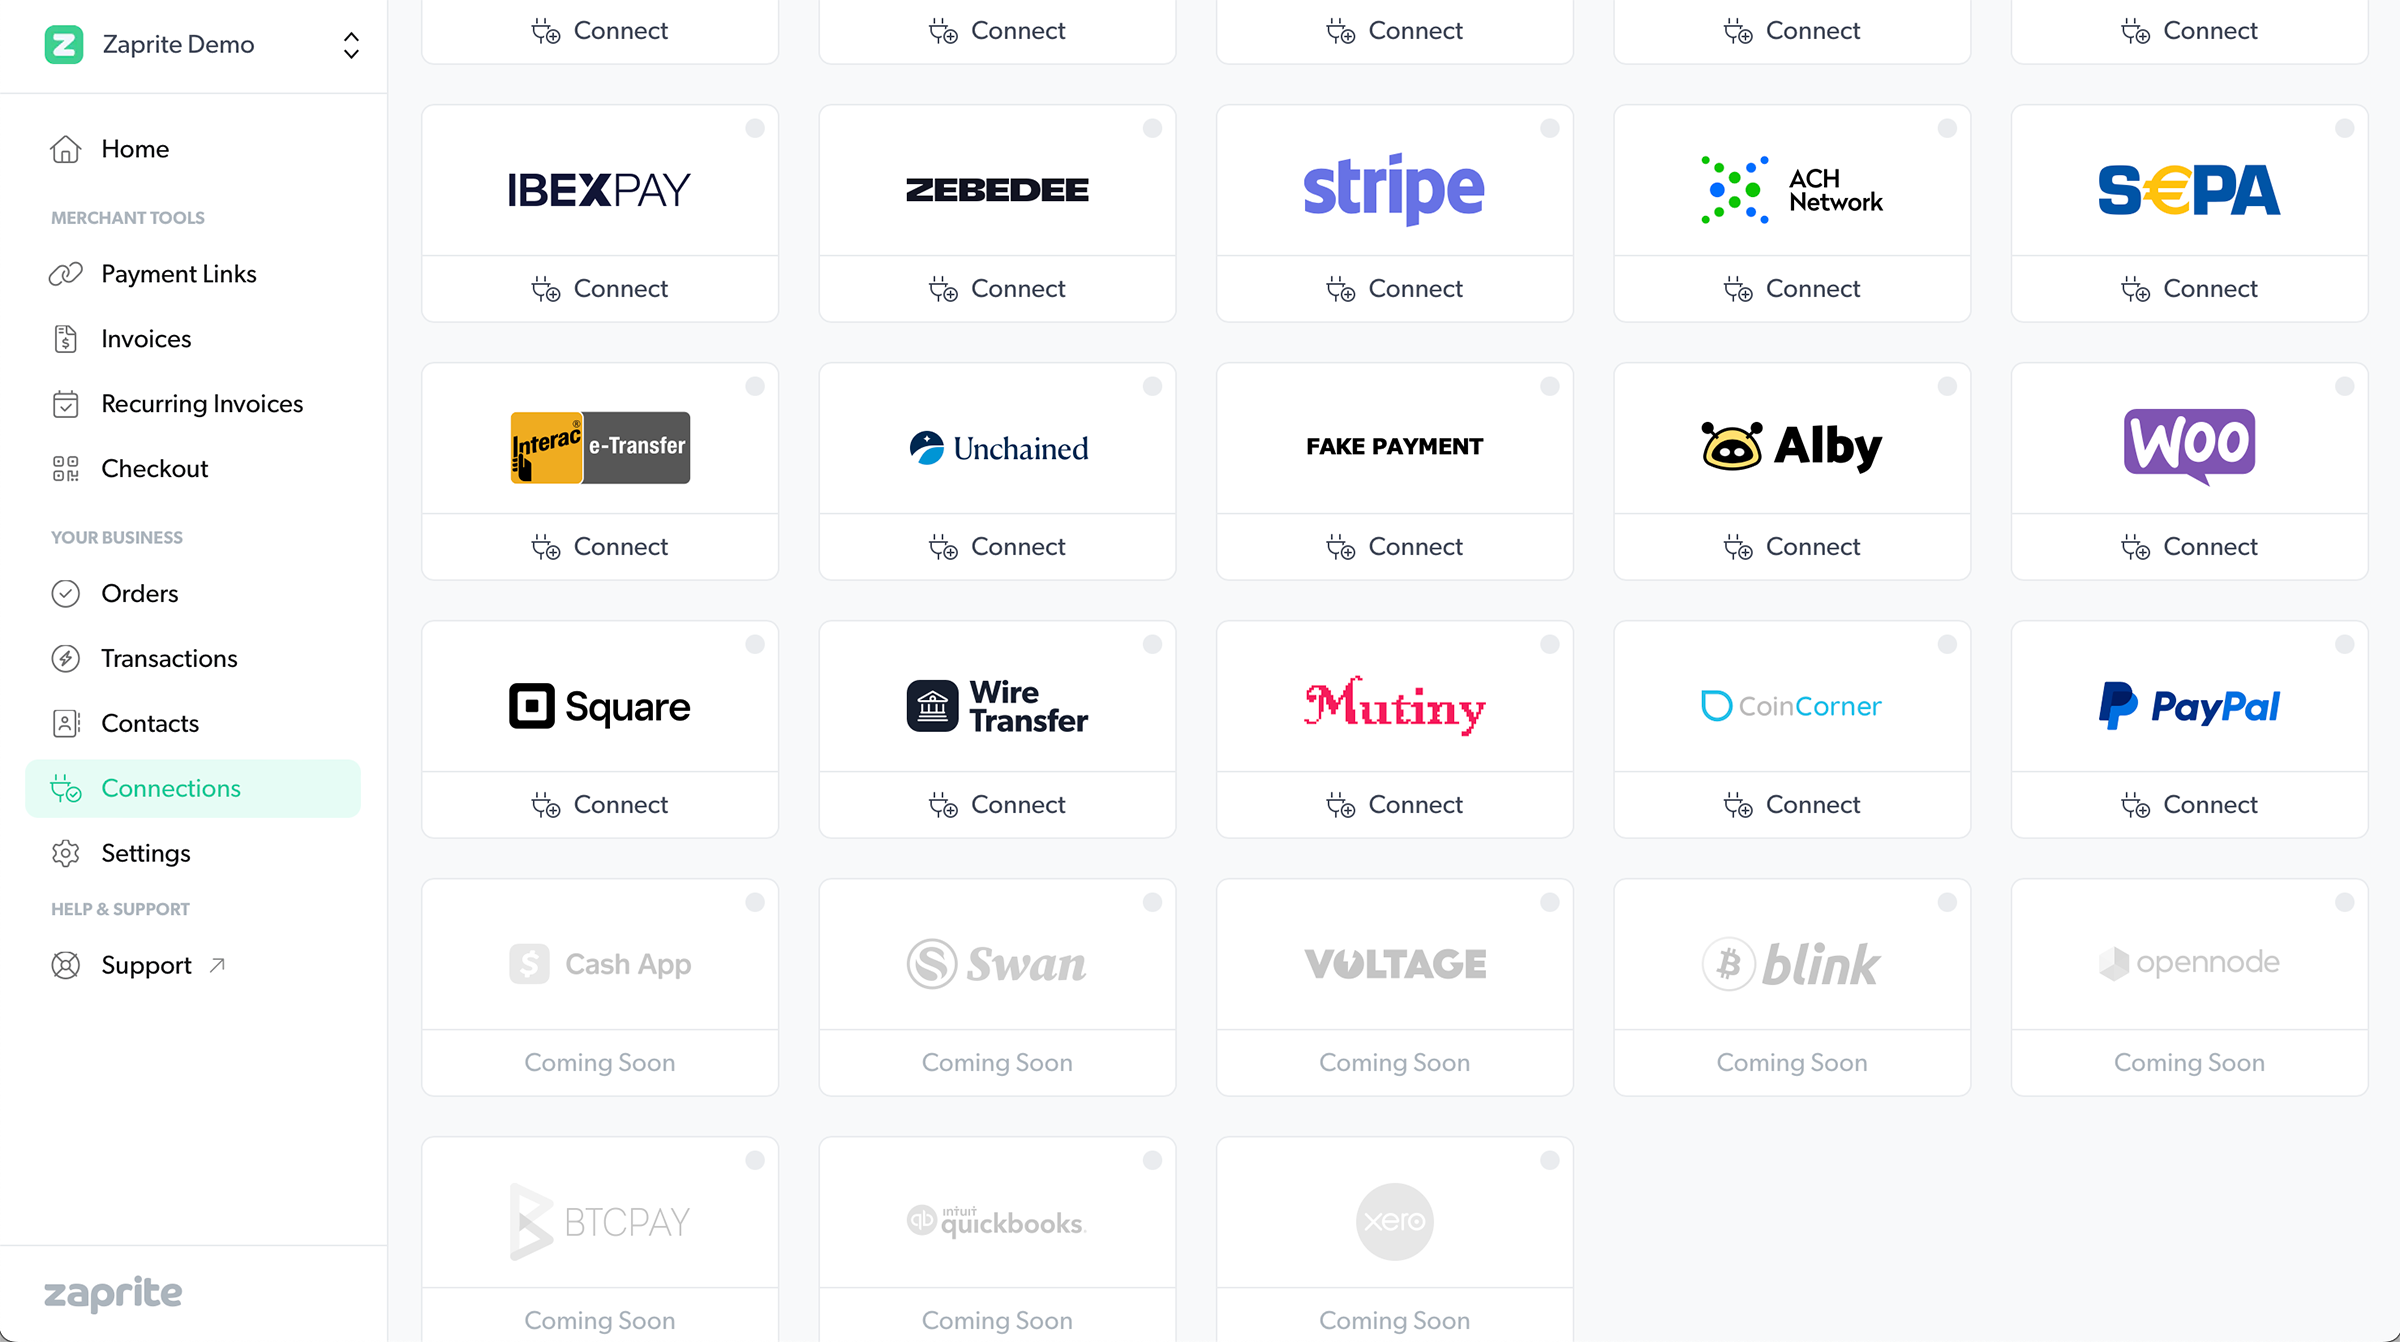
Once activated, you will be brought to the connection screen to initiate the connection process.
Step 2: Connect your PayPal account
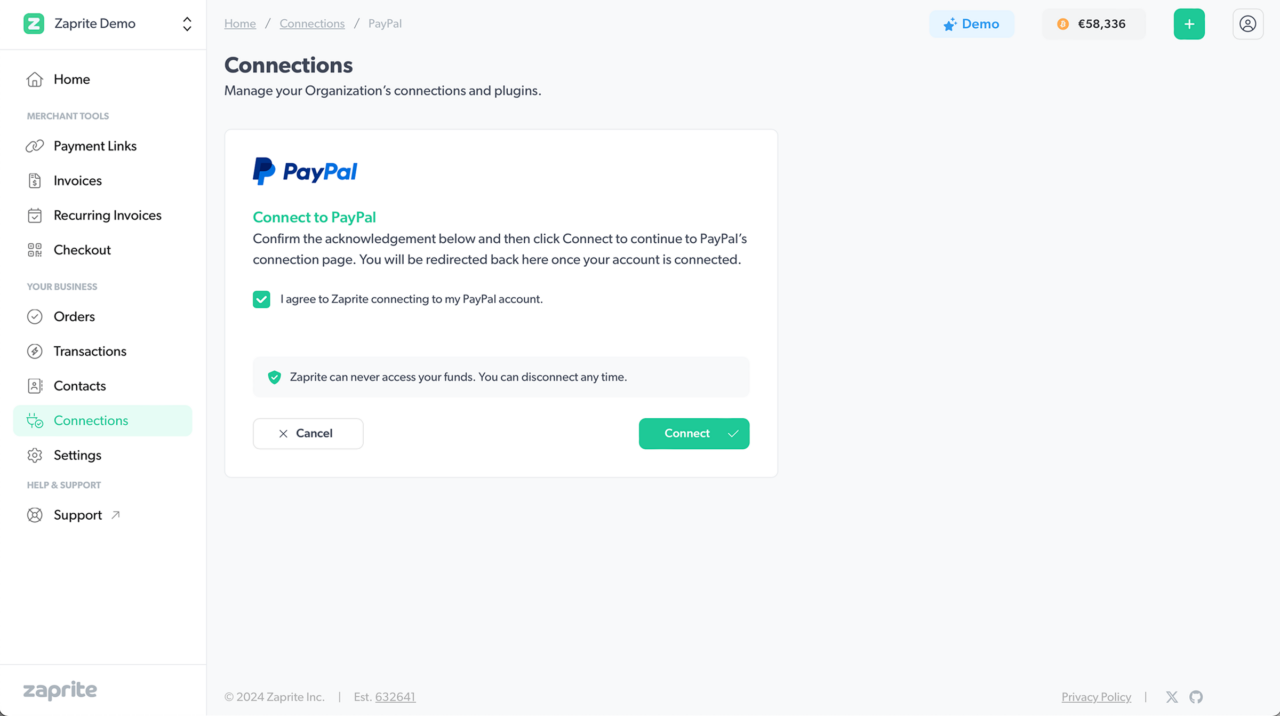
Make sure you check the acknowledgement box and then click [Connect] to proceed with the connection. Your will be redirected over to the PayPal platform where you may be asked to sign in to your PayPal account.
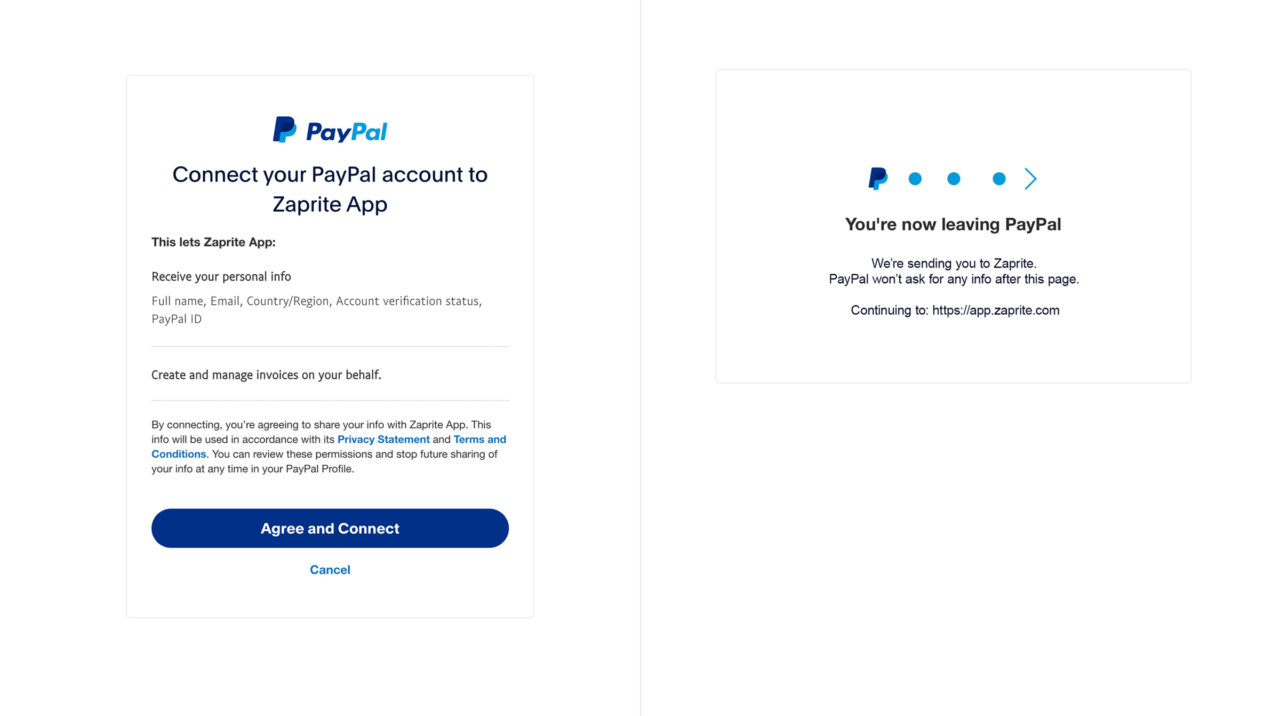
Once your connection is complete you will be redirected back to your Zaprite account. You should now see the Settings page for your PayPal connection.
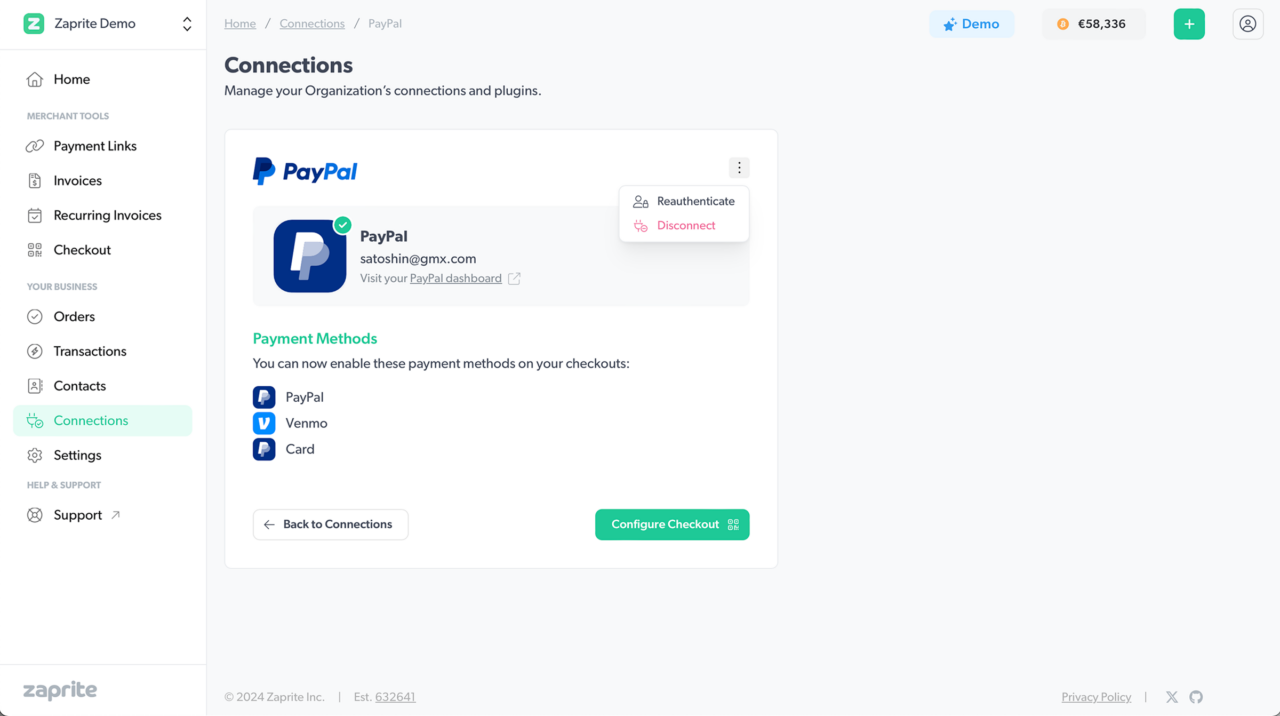
You are now ready to accept payments via your PayPal account on your Zaprite hosted Checkouts.
A note about card payments
Card payments are only available for PayPal Business Accounts. If you run into issues activating card payments on Zaprite, you may need to apply for PayPal’s Expanded Checkout.
If you have a Personal Account, your payment methods will be limited within Zaprite. To check if you have card payments enabled on your Business Account, visit Account Settings > Payment Methods for more information.
Disconnecting your PayPal account
If you want to disconnect your PayPal account you can do so at any time by simply clicking the [Disconnect] button on the Settings page. Your account information will be removed from our database. You can reconnect at any time.
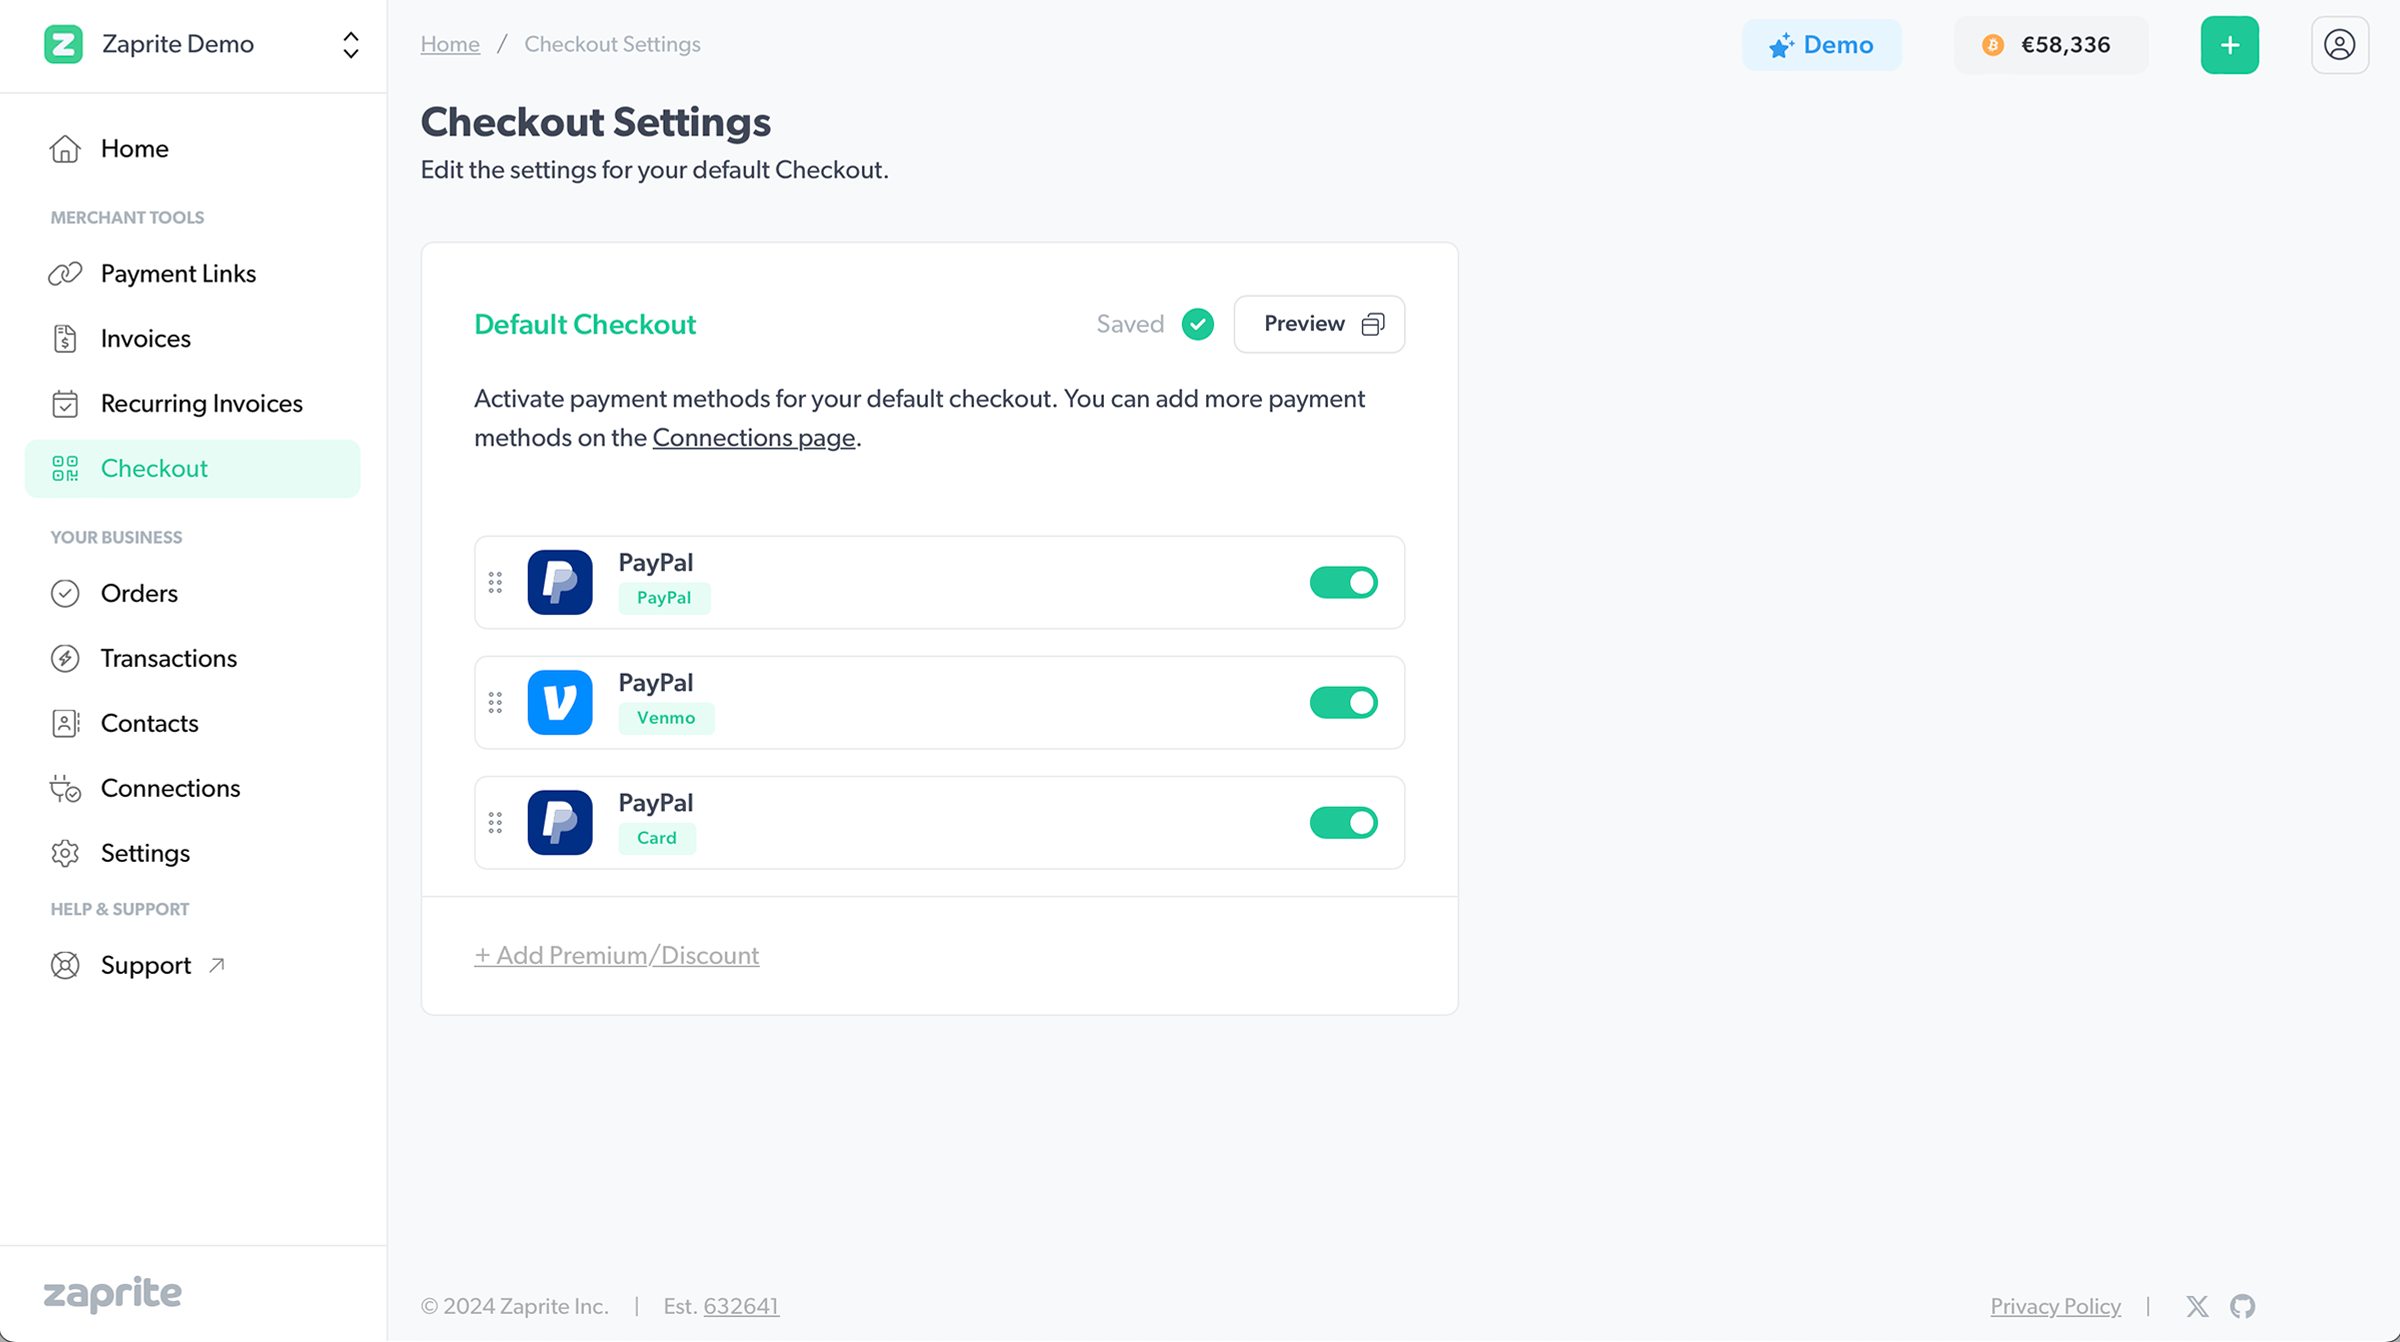
Step 4: Configure your default Checkout
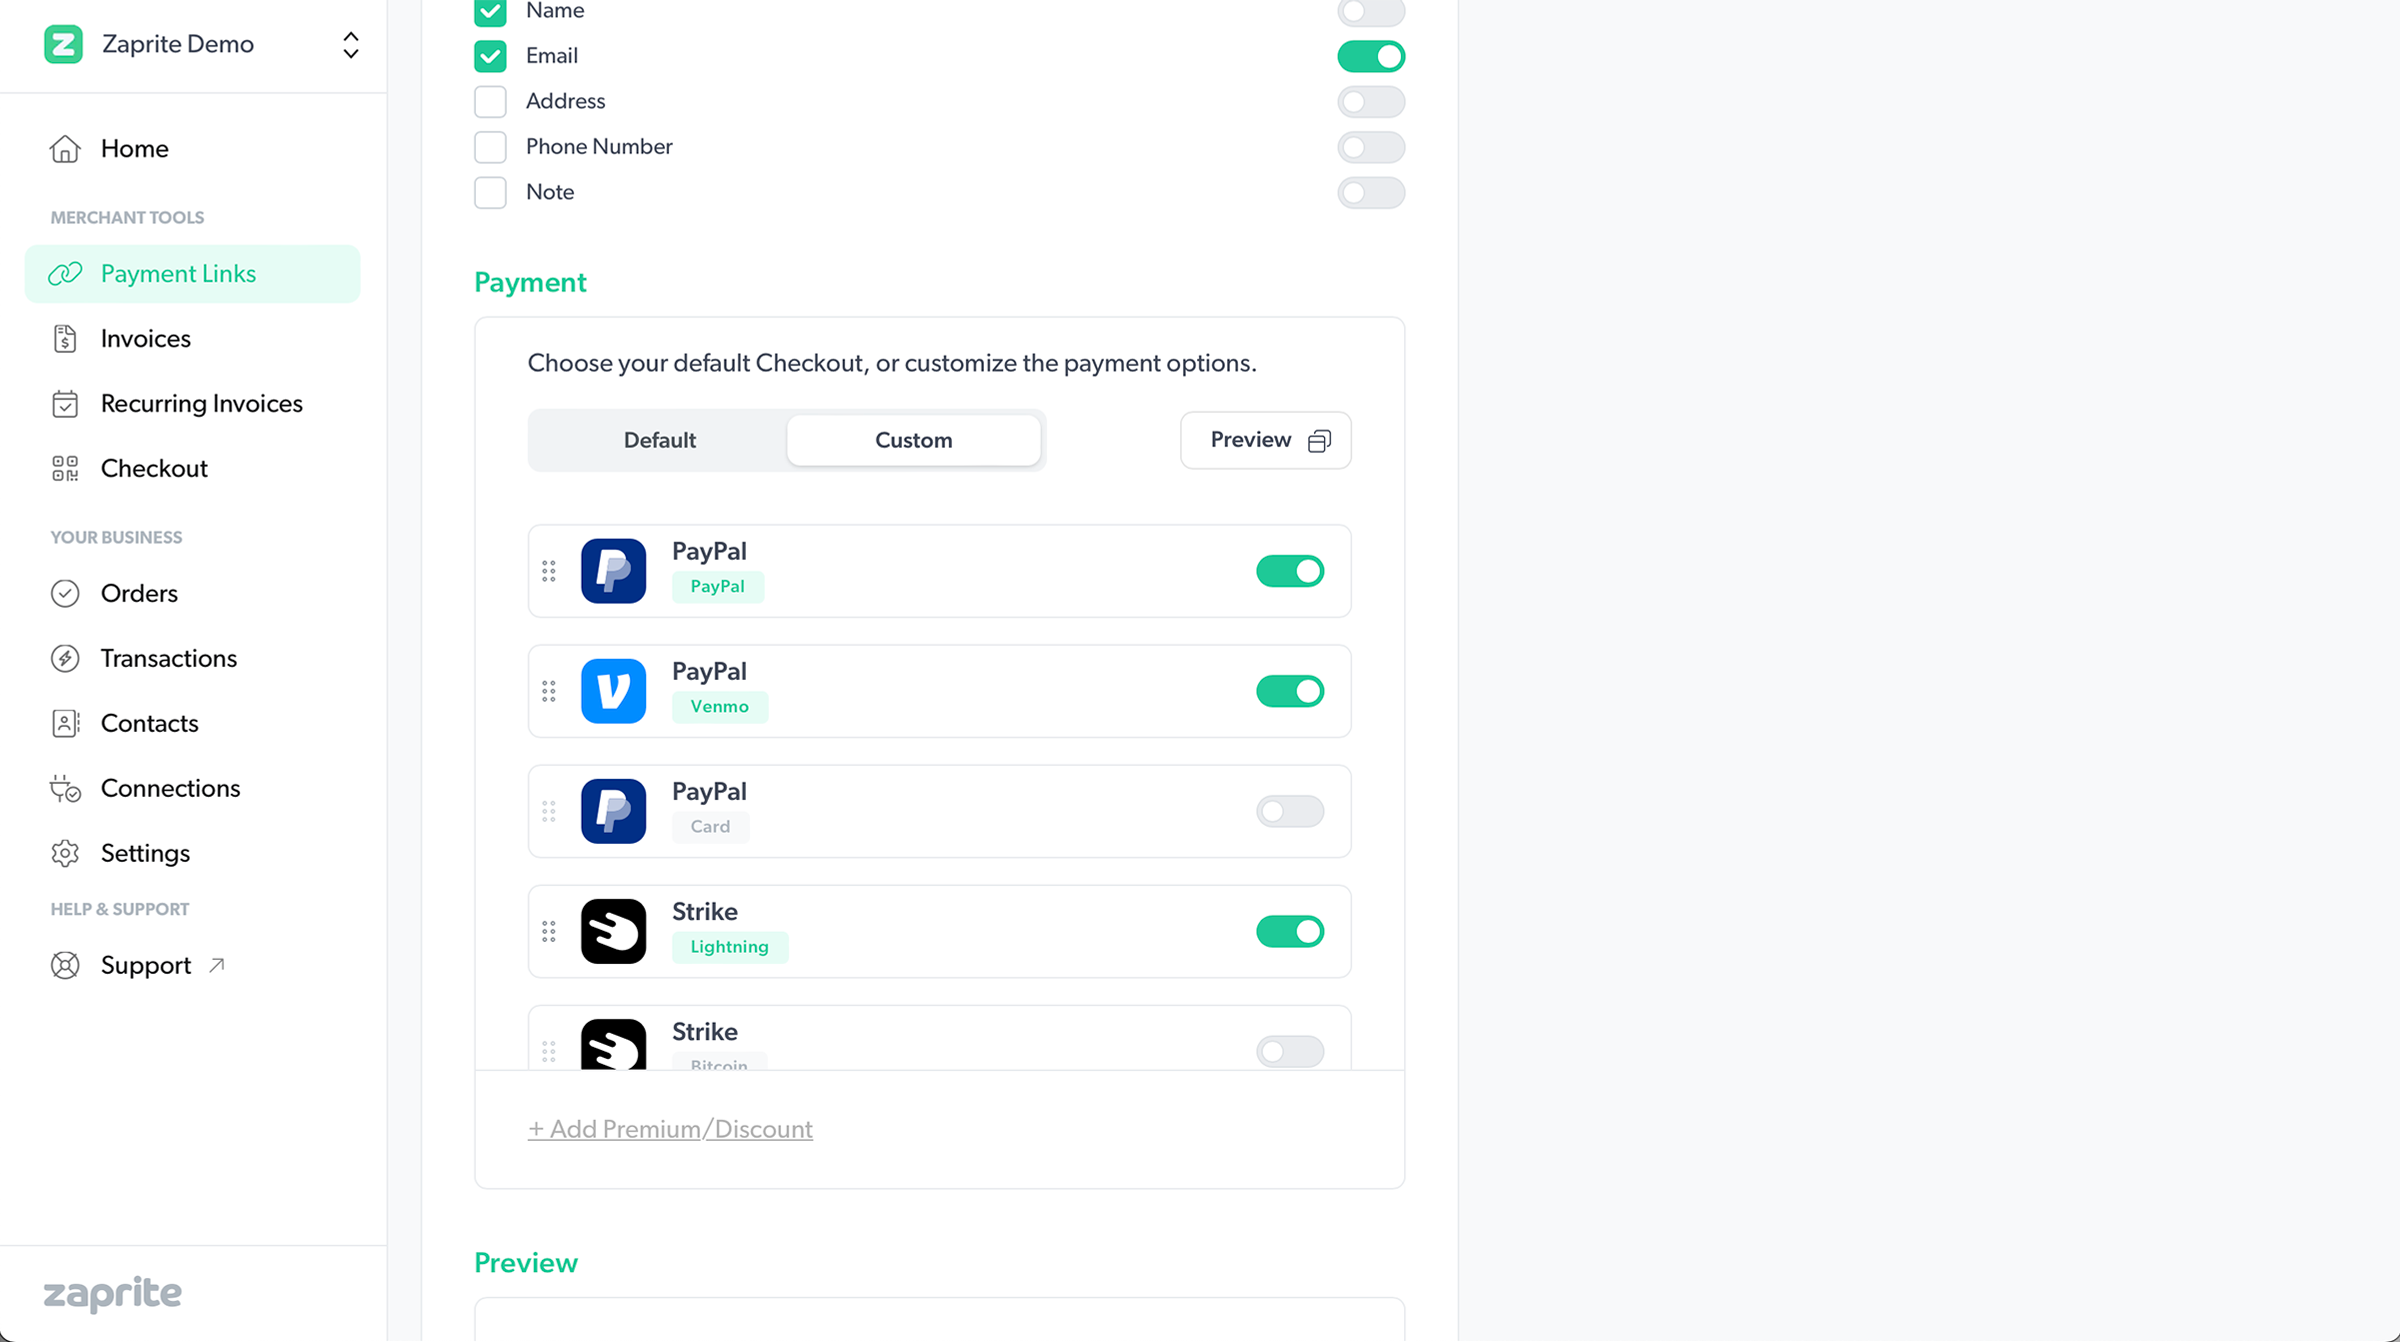
Now that your PayPal account is configured, you can optionally adjust your default Checkout. Your default Checkout is loaded on all new Invoices and Payment Links, but can be customized for each individual Invoice or Payment Link.
The PayPal connection adds the following payment methods (if available) to your Zaprite Checkout configurator:
- PayPal
- Venmo (US only)
- Card payments (via PayPal, Business Accounts only)
- Apple Pay (Coming soon)
- Google Pay (Coming soon)
You can enable/disable any of these payment methods and/or add an optional premium to fiat payments.
Checkout Flow
The Checkout for individual Invoices and Payment Links can be configured independently.
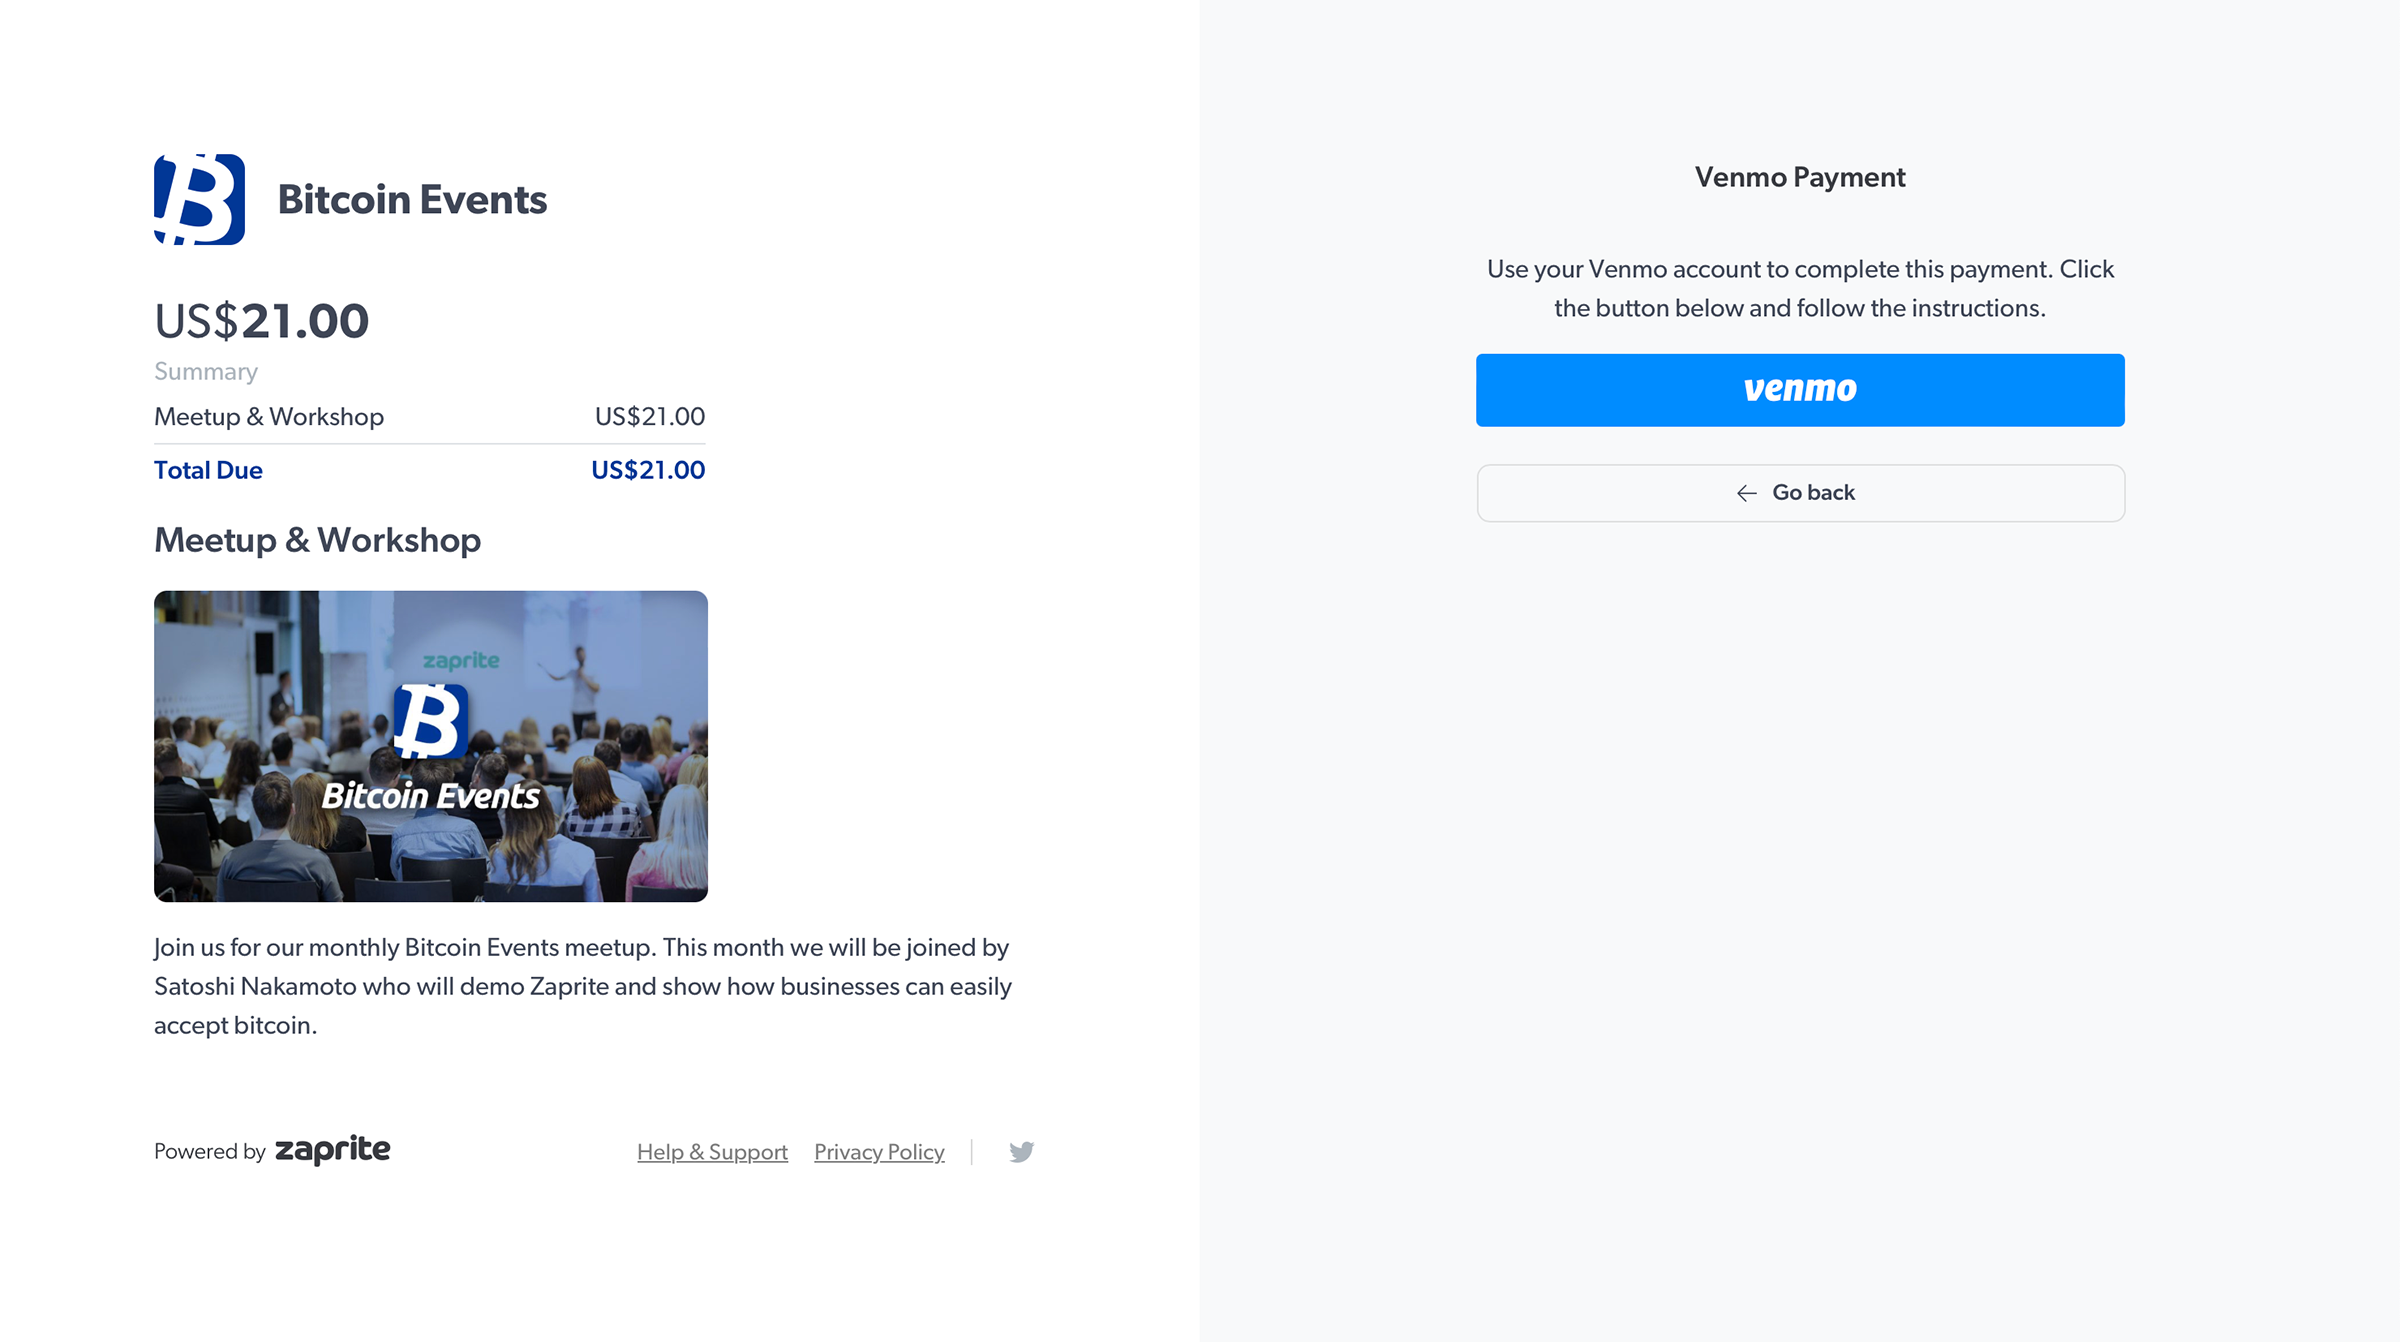
When making their payment, your customers will now see any additional options you have enabled. The example below shows the Venmo option that your customer will see when choosing to pay with their Venmo account.
Zaprite Order History
Your Zaprite account will create an Order and associated Transaction data for each sale. When a payment is detected, we’ll record it in your Transaction history for future accounting and reconciliation. These transactions can also be viewed in your PayPal account.
Video Tutorial
A video tutorial is available on our YouTube channel.
Help & Support
If you run into any issues connecting your PayPal account, or have general questions about using Zaprite, feel free to Submit a Request at https://help.zaprite.com.
