
Connecting a Merchant X account to Zaprite is easy. Get setup with card payments in minutes.
You can easily connect your Merchant X account and offer your clients the option to pay with a credit or debit card on your Zaprite hosted Checkouts.
The following is a short guide on how you can connect your Merchant X account using your Security Keys
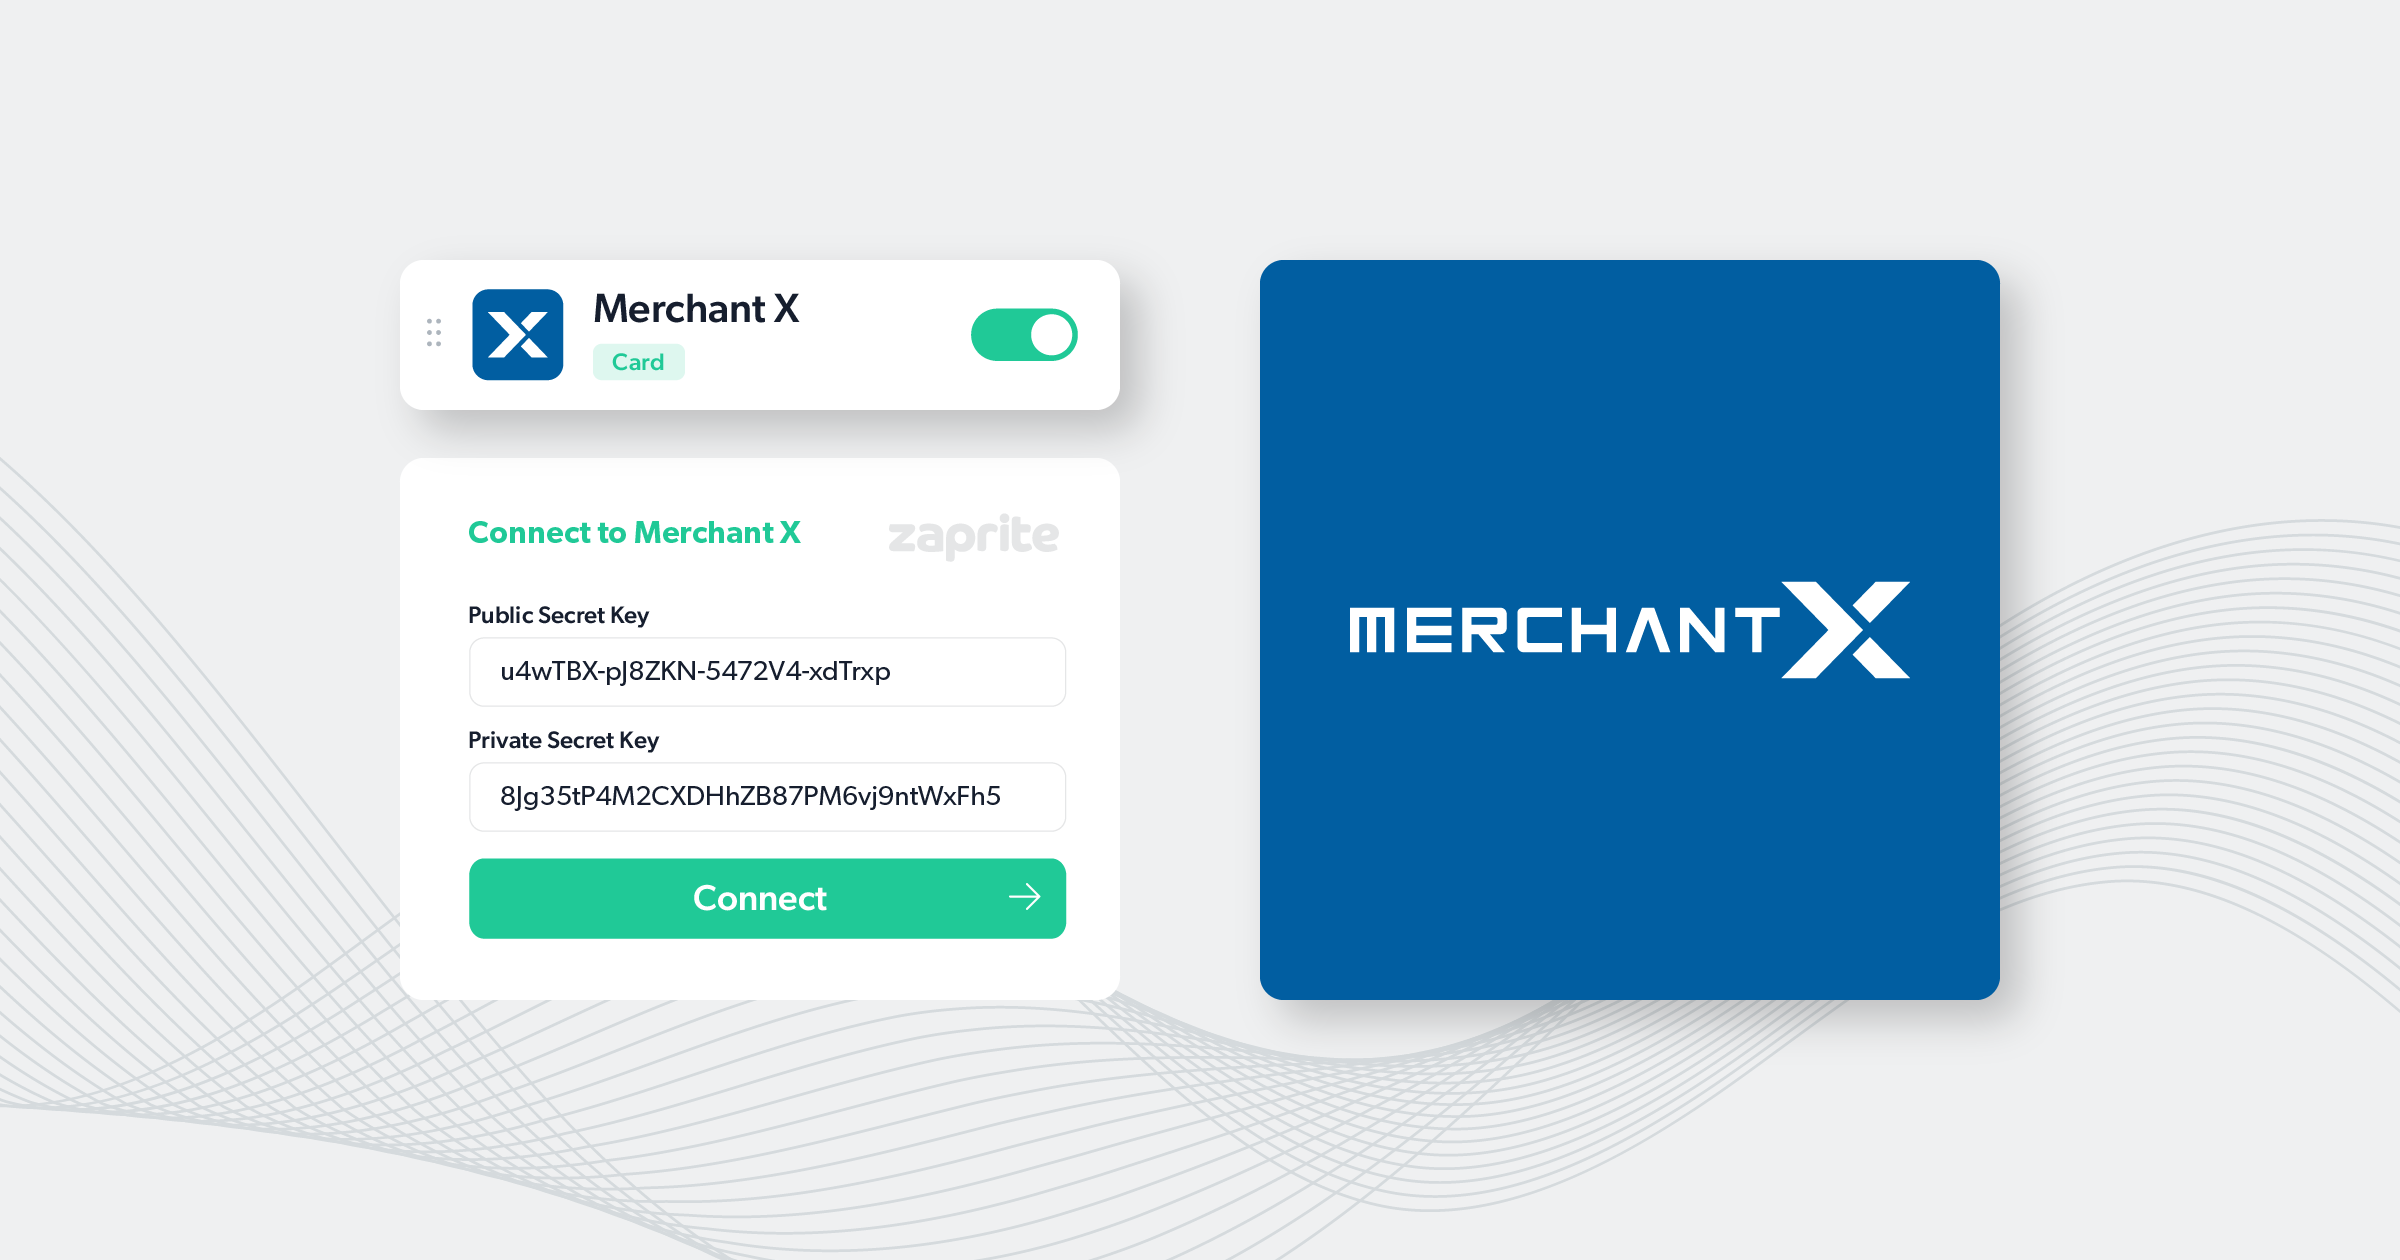
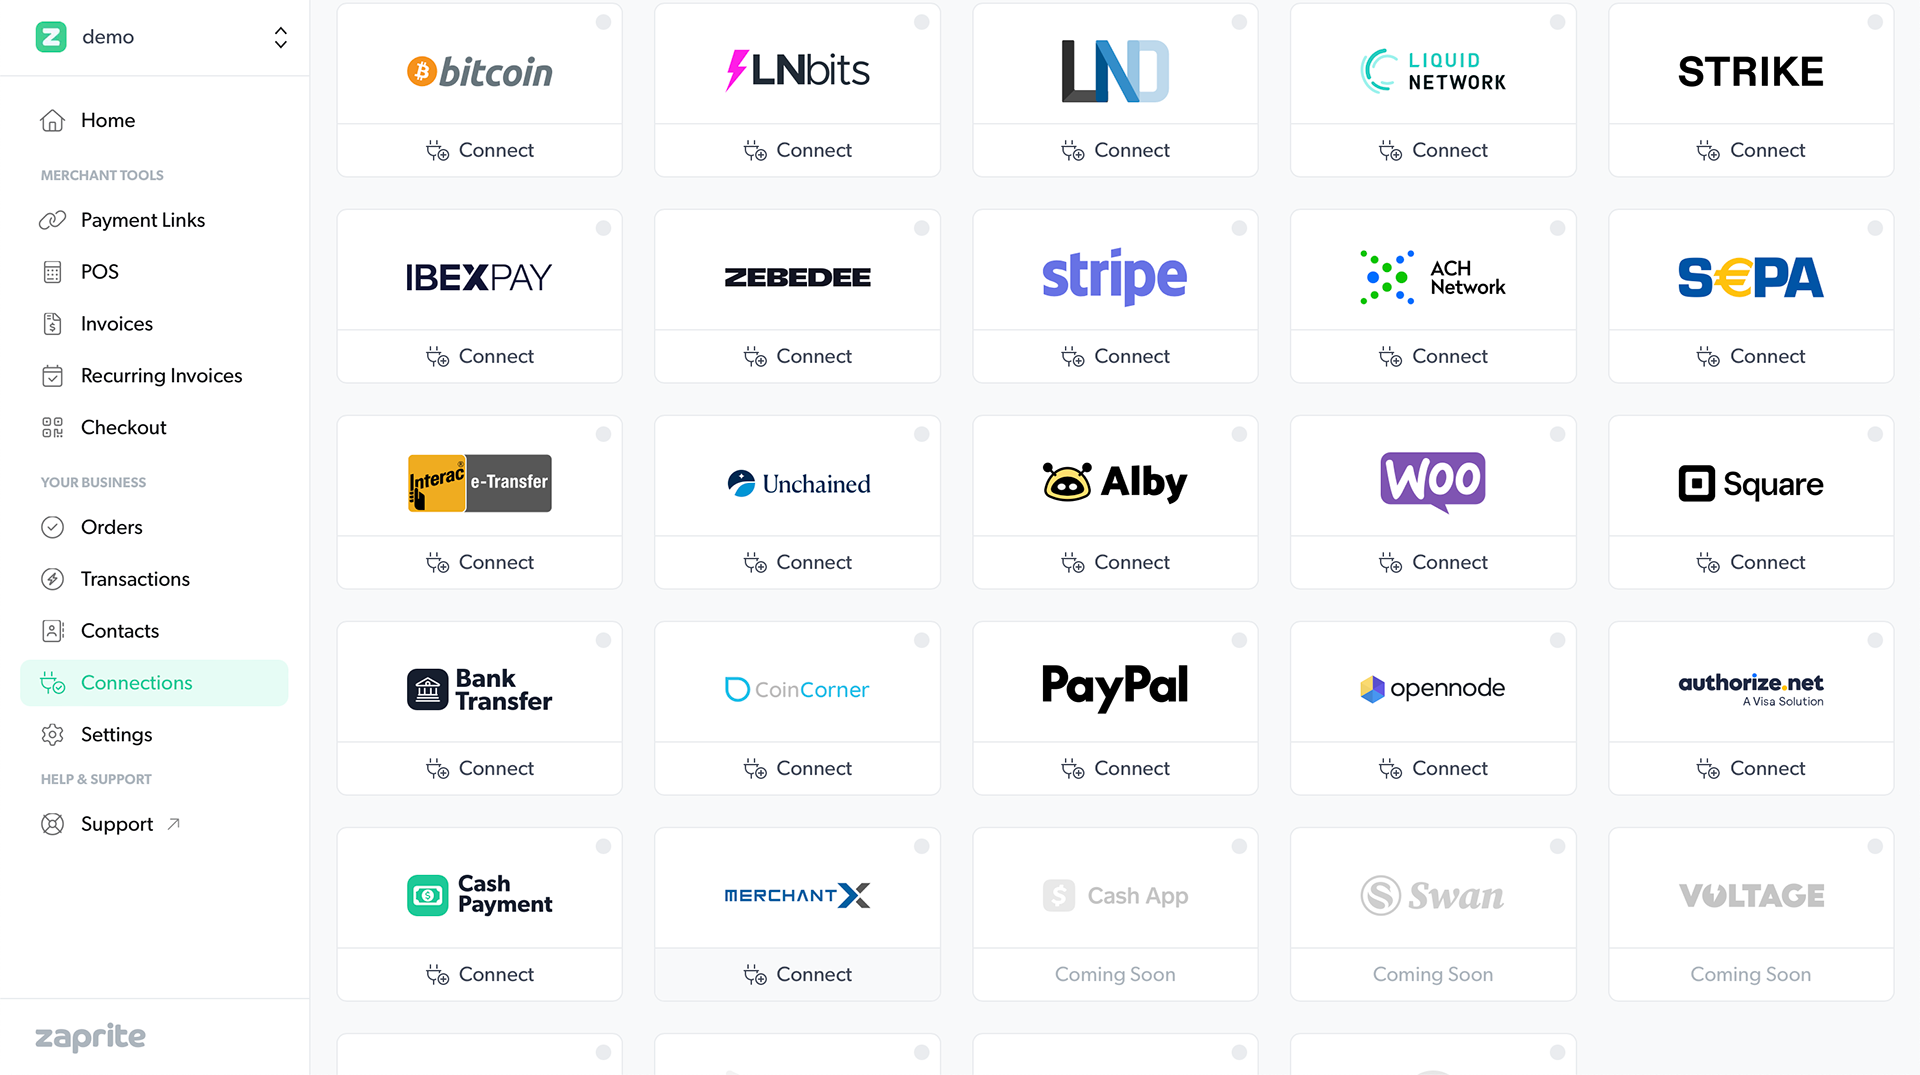
Step 1: Activate Merchant X
The first step is to activate the Merchant X connection for your Organization. Simply visit the Connections page and click the ‘Connect’ link under the Merchant X card.
Once activated, you will be redirected to the configuration screen to add your connection information.
Step 2: Configure your connection
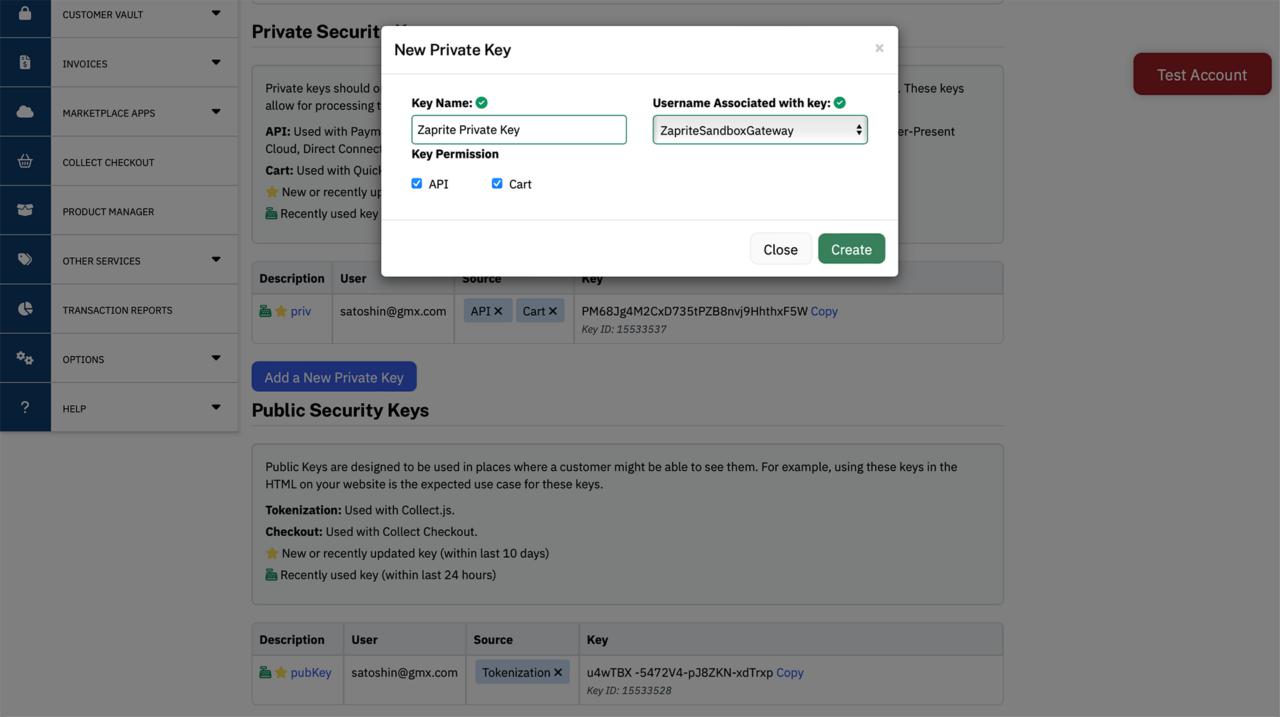
The next step involves creating the required Merchant X Security Keys. Login to your Merchant X account and navigate to Settings > Security Keys.

We recommend generating new Security Keys specifically for use with Zaprite.
From here, you can create two new keys for use with Zaprite:
Private Security Key
- Key Name: Zaprite Private Key
- Username Associated with key: [Your username]
- Key Permission: API and Cart.
Public Security Key
- Key Name: Zaprite Public Key
- Username Associated with key: [Your username]
- Key Permission: Tokenization.
Once you have your two keys created, copy the values and paste them into the Merchant X connection screen in Zaprite.
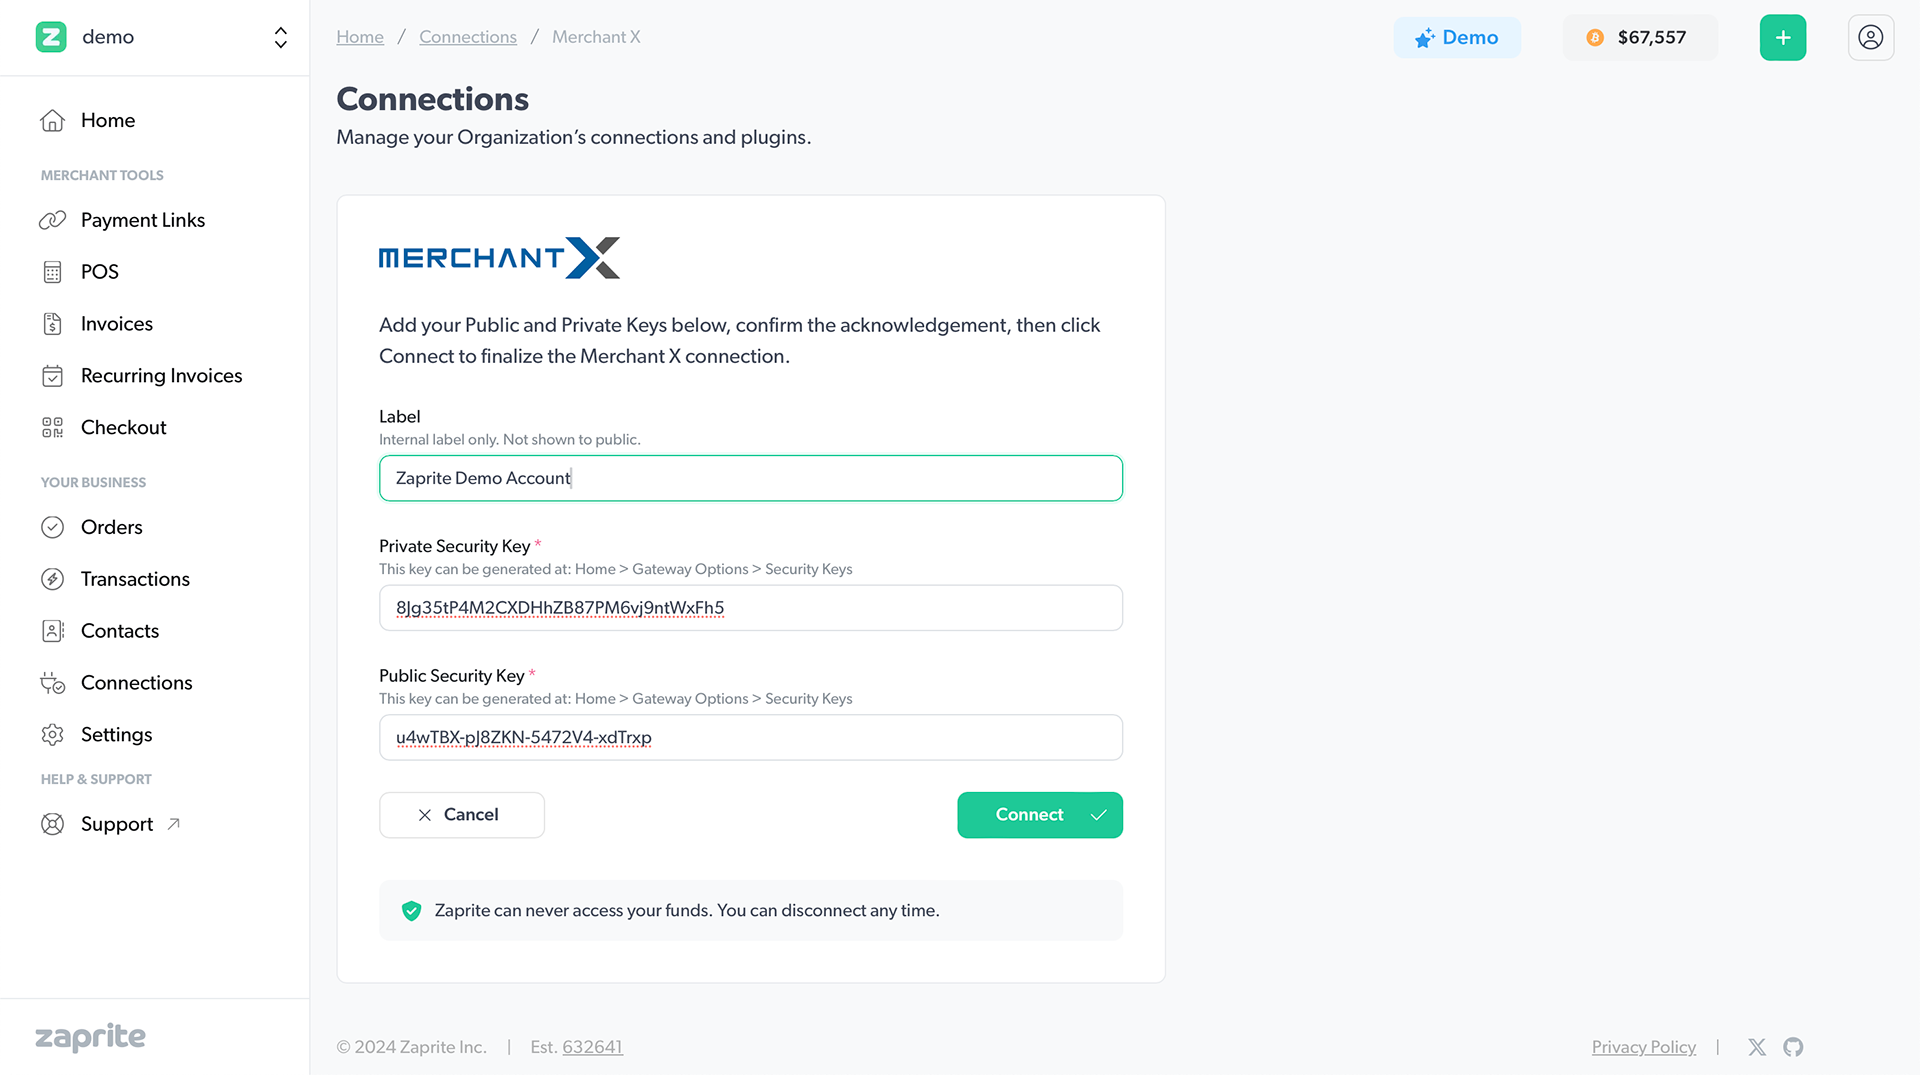
When ready, click the Connect button to finalize the connection and be redirected to the Merchant X Settings page.
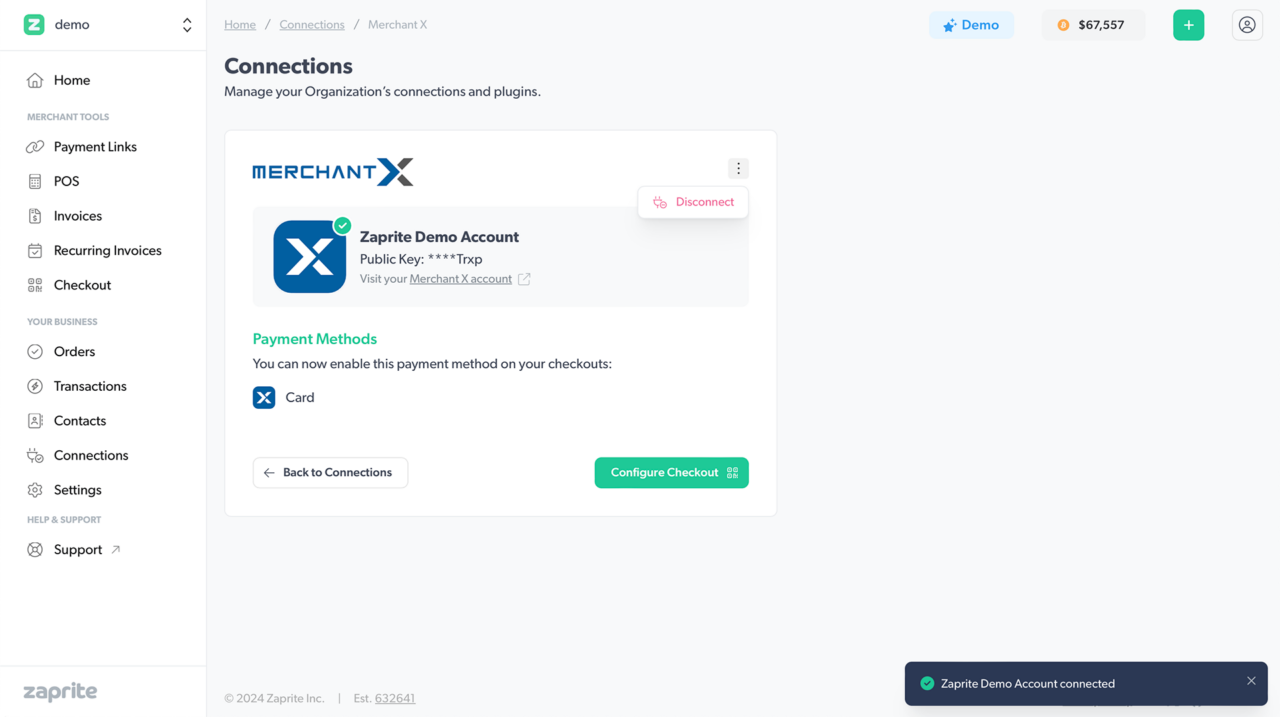
You can Edit or Disconnect your Merchant X account at any time. If disconnected, the information will be removed immediately from our database. This will not delete any associated Transactions, which will remain in your Zaprite and Merchant X accounts.
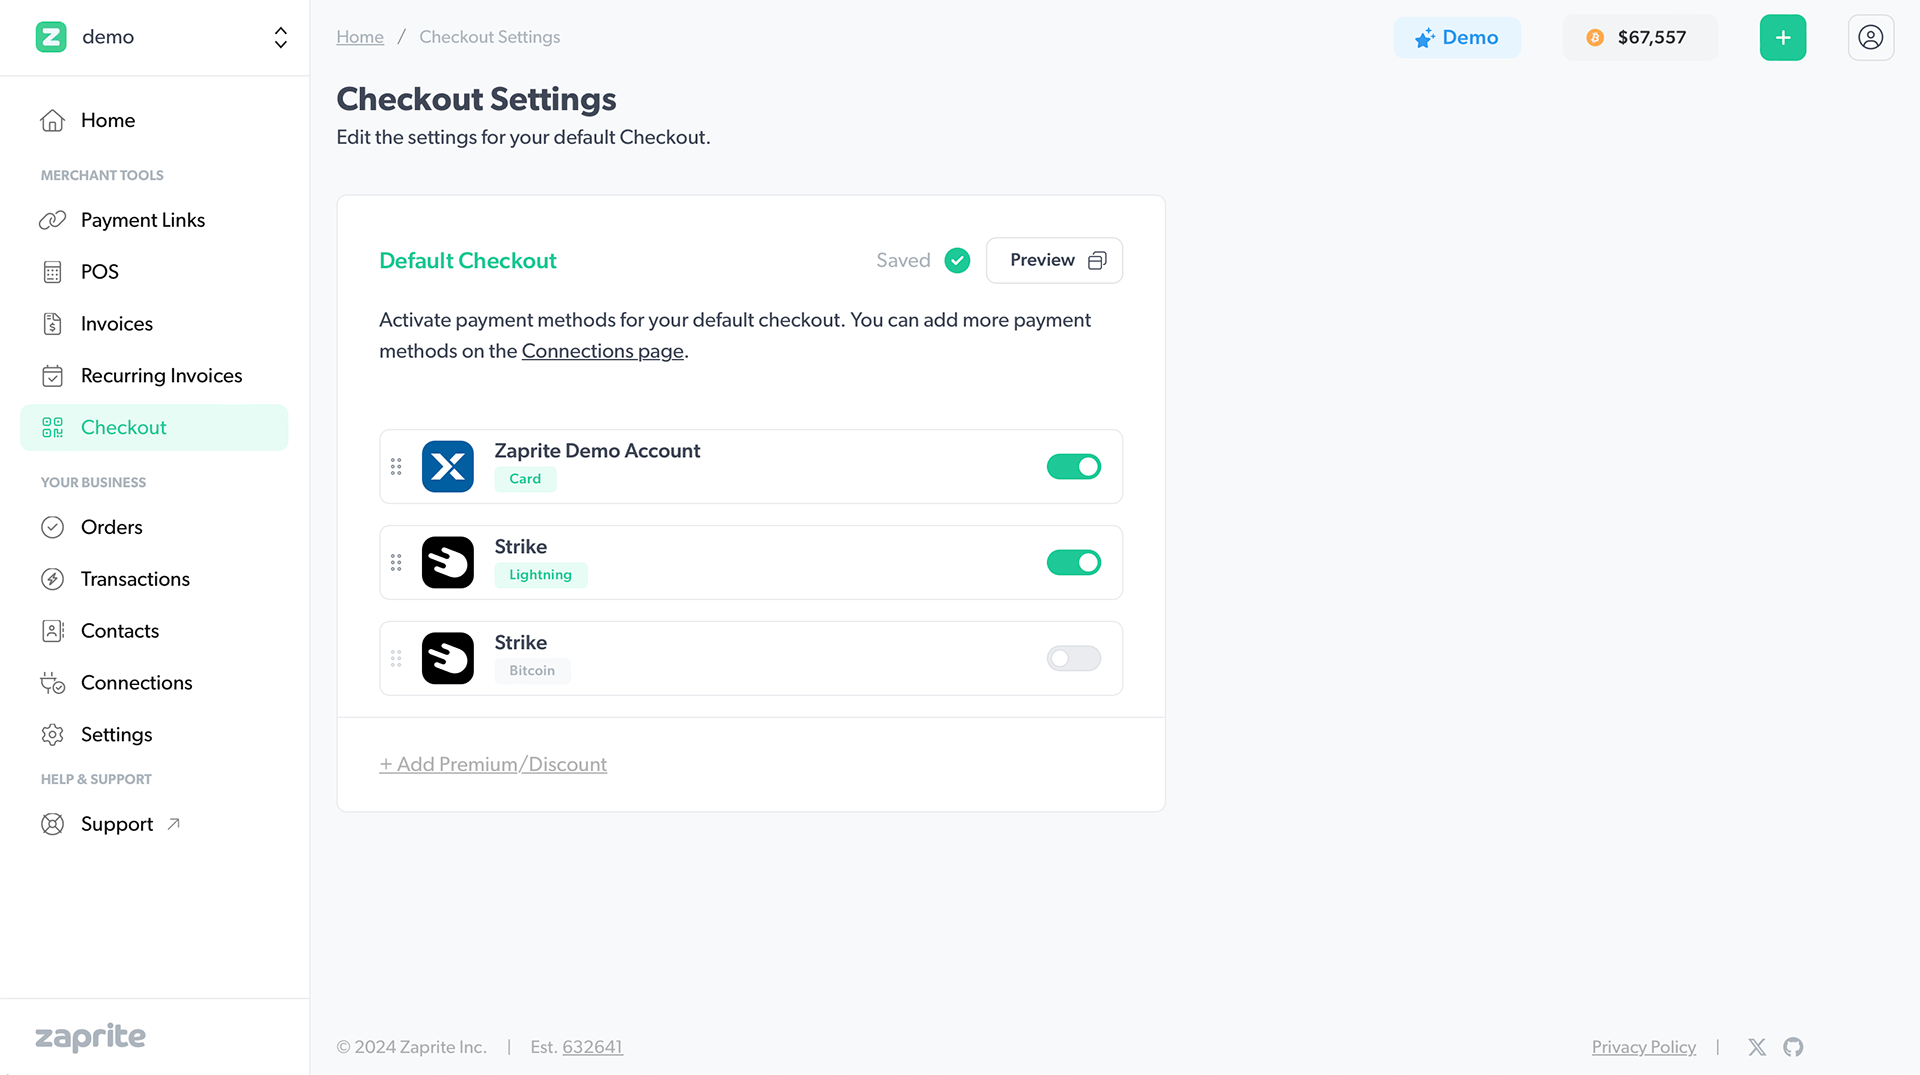
Step 3: Enable Merchant X on Checkouts
Now that you have your Merchant X account connected, you can enable card payments on your Zaprite Checkouts. To edit your Default Checkout settings, click the Configure Checkout button on the Merchant X Settings screen, or click the Checkout button on the main navigation.
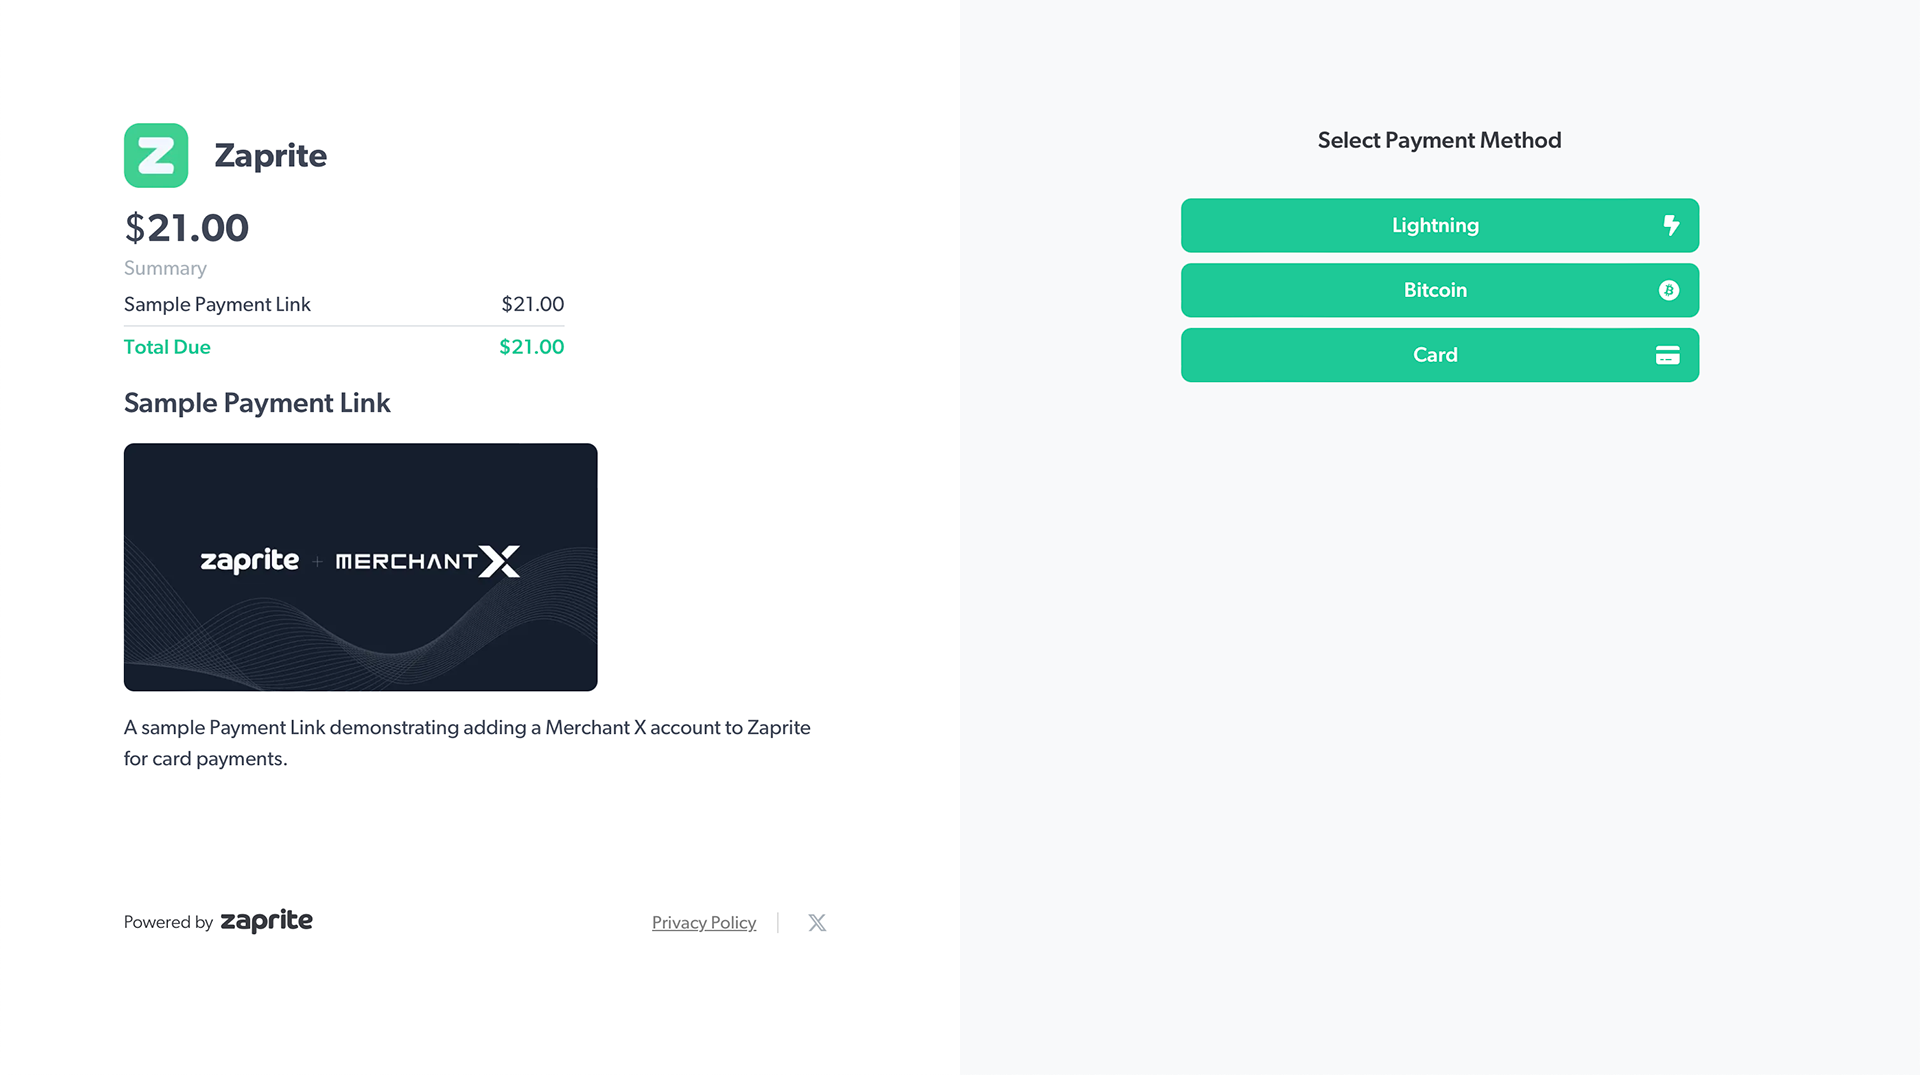
When your customer visits your Checkout and clicks the Card button, Zaprite will automatically send payment information to your Merchant X account for processing. When the Order is complete, you will receive an email notification with the payment details and the payer will receive an email receipt.
Success!
That’s it! You should now have your Merchant X account successfully integrated with Zaprite, enabling credit and debit card payment options on your Zaprite Checkouts.
All Transaction information can be viewed on the Transaction page in your Zaprite account, as well as directly within your Merchant X account.
Help & Support
If you run into any issues connecting your Merchant X account, or have general questions about using Zaprite, feel free to message us over at https://help.zaprite.com.
