
Connecting a Voltage node to Zaprite is a simple process using our LND integration flow.
You can connect your Voltage node via LND and offer your clients the option to pay in Lightning, directly to your own node. If you don’t have a Voltage account, head over to voltage.cloud to learn more and get started.
Connect your node
The following is a short guide on how you can connect a Voltage node using LND.
Step 1: Activate LND
The first step is to activate the LND connection for your Organization. Simply visit the Connections page and click the ‘Connect’ link under the LND card.

Once activated, you will be redirected to the configuration screen to add your connection information.
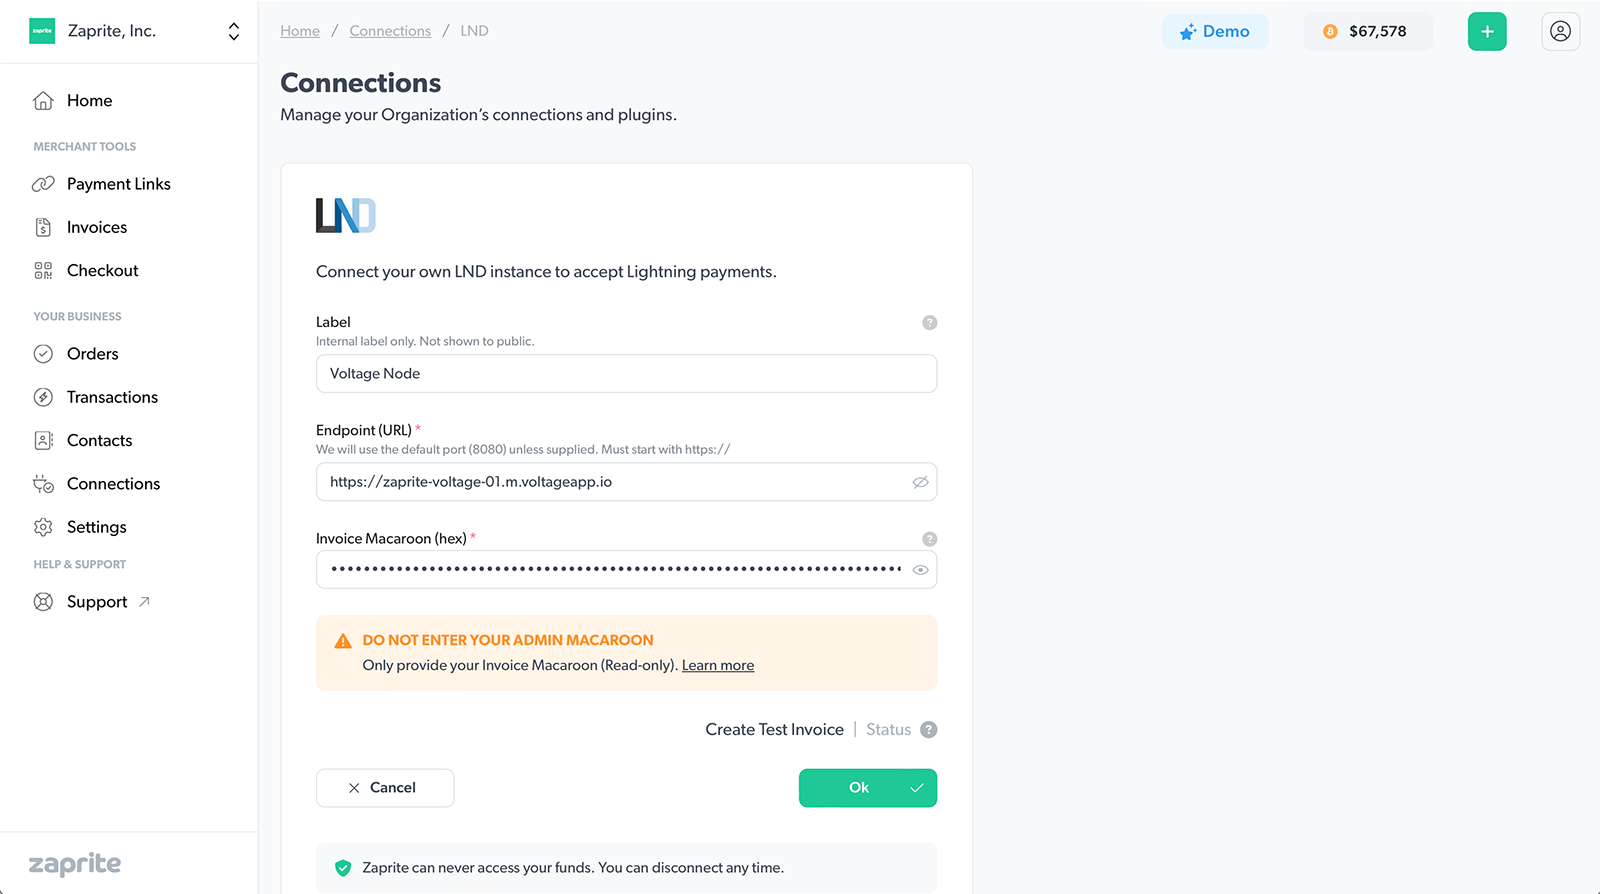
Step 2: Configure your connection
The next step involves adding your node Endpoint (URL) and Invoice Macaroon (HEX).
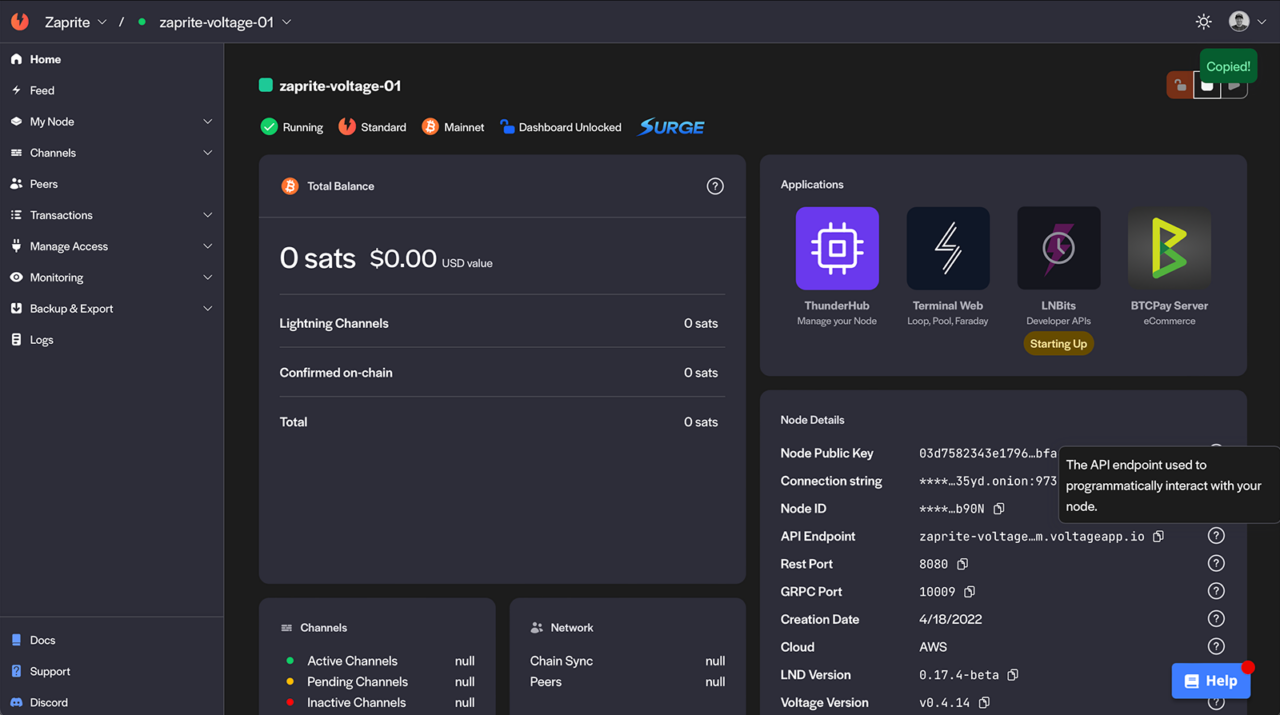
You can find this information by logging into your Voltage account at https://app.voltage.cloud and navigating to your node’s dashboard.
Endpoint URL
Copy the API Endpoint shown in the Node Details section of your node’s dashboard screen. Paste the URL into the Endpoint (URL) field in Zaprite, making sure to add https:// in front URL.
Invoice Macaroon
Next, navigate to Manage Access > Macaroon Bakery. Copy the Hex format of the Invoice Macaroon shown.
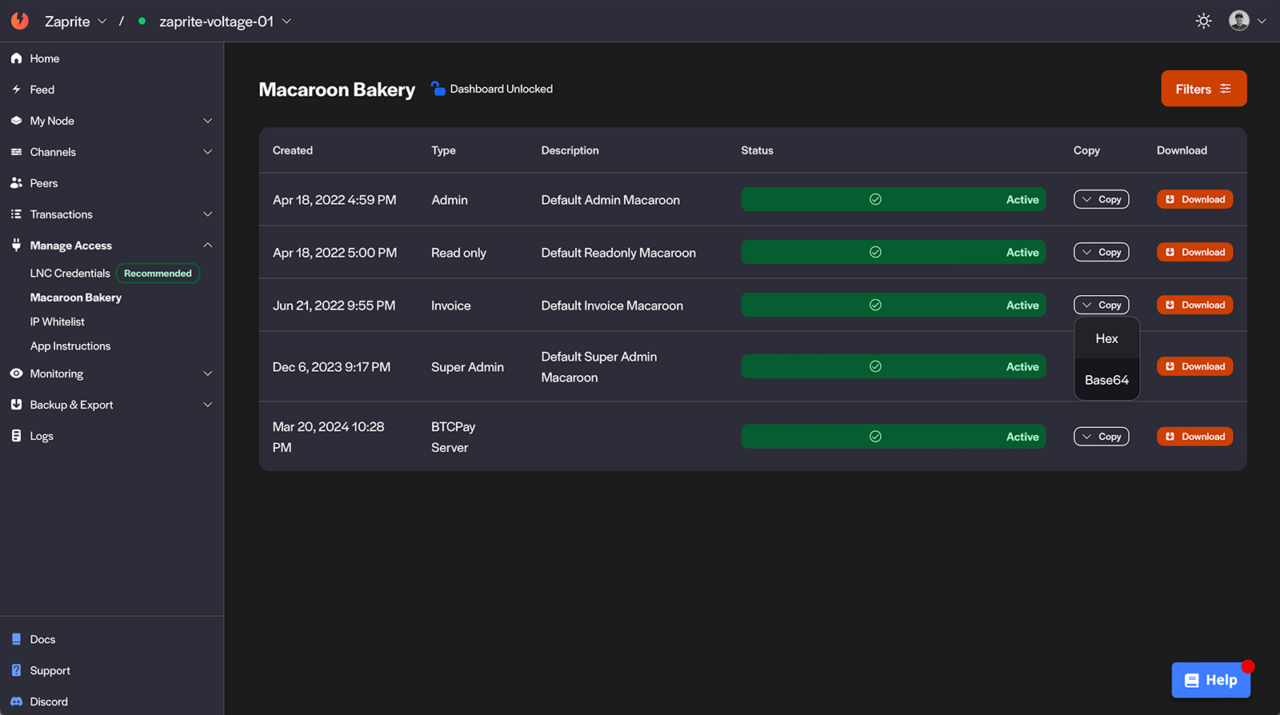
Paste the macaroon into the Invoice Macaroon (HEX) field in Zaprite.
You may need to unlock your node to copy the Invoice macaroon.
DO NOT ADD AN ADMIN MACAROON! This will give Zaprite too much access. Only provide an Invoice Macaroon.
When ready, click the Create Test Invoice text link to create a small test Invoice on your Voltage node. If this is successful, your node will be connected and you can click OK to finalize the connection and be redirected to the LND Settings page.

You can Edit or Disconnect your Voltage account and node at any time. If disconnected, the information will be removed immediately from our database. This will not delete any associated Transactions which will remain in your account.
Step 3: Enable LND on Checkouts
Now that you have your Voltage node connected, you can enable Lightning payments on your Zaprite Checkouts. To edit your Default Checkout settings, click the Configure Checkout button on the LND Settings screen, or click the Checkout button on the main navigation.
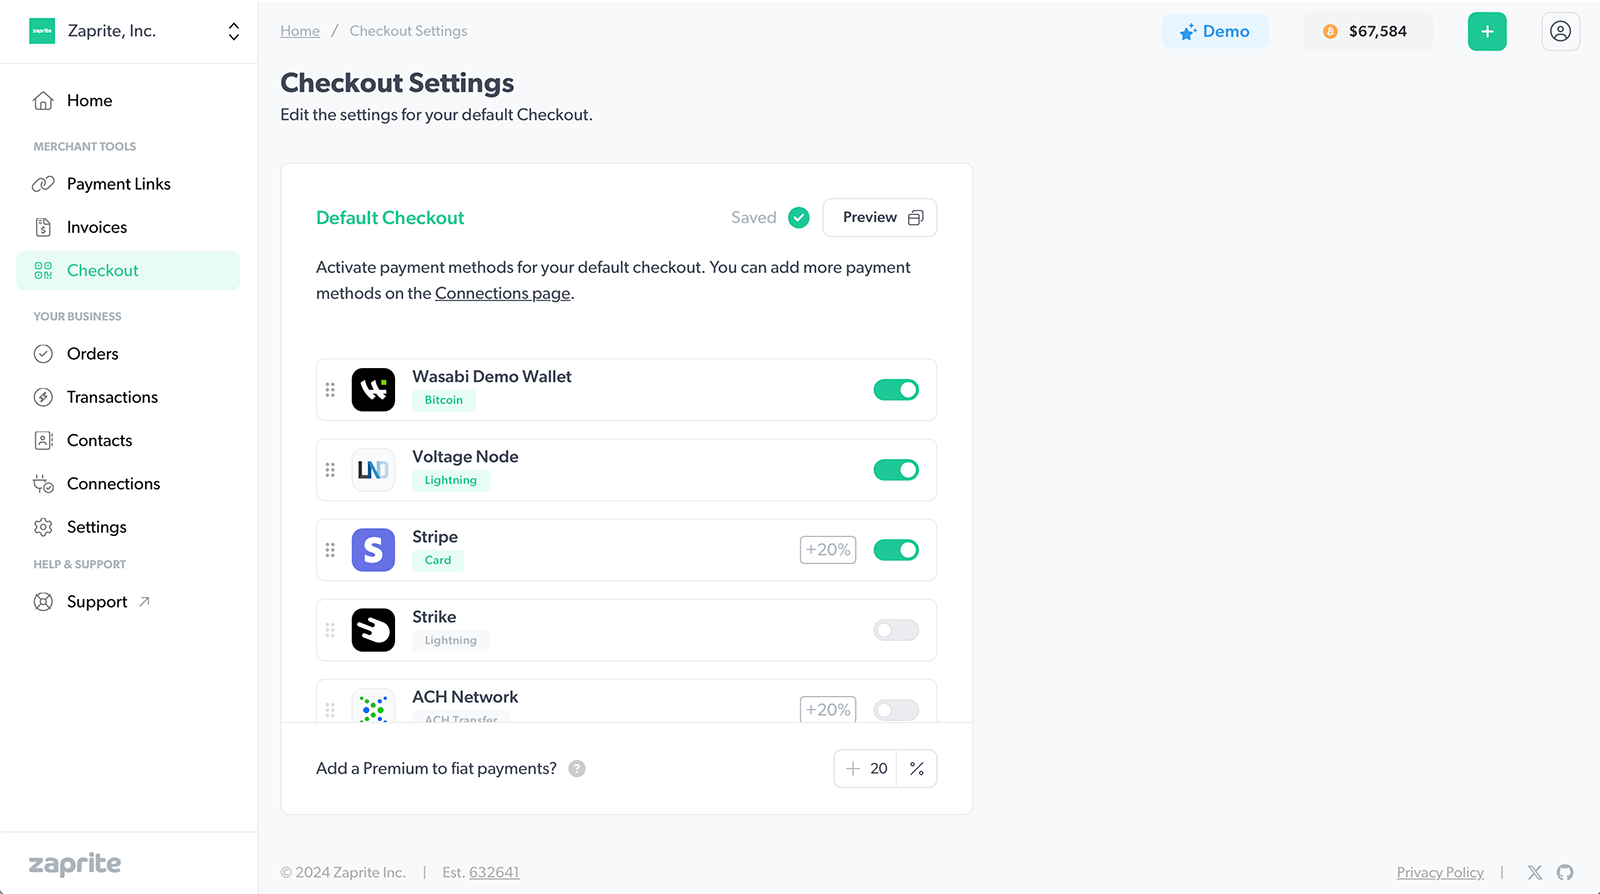
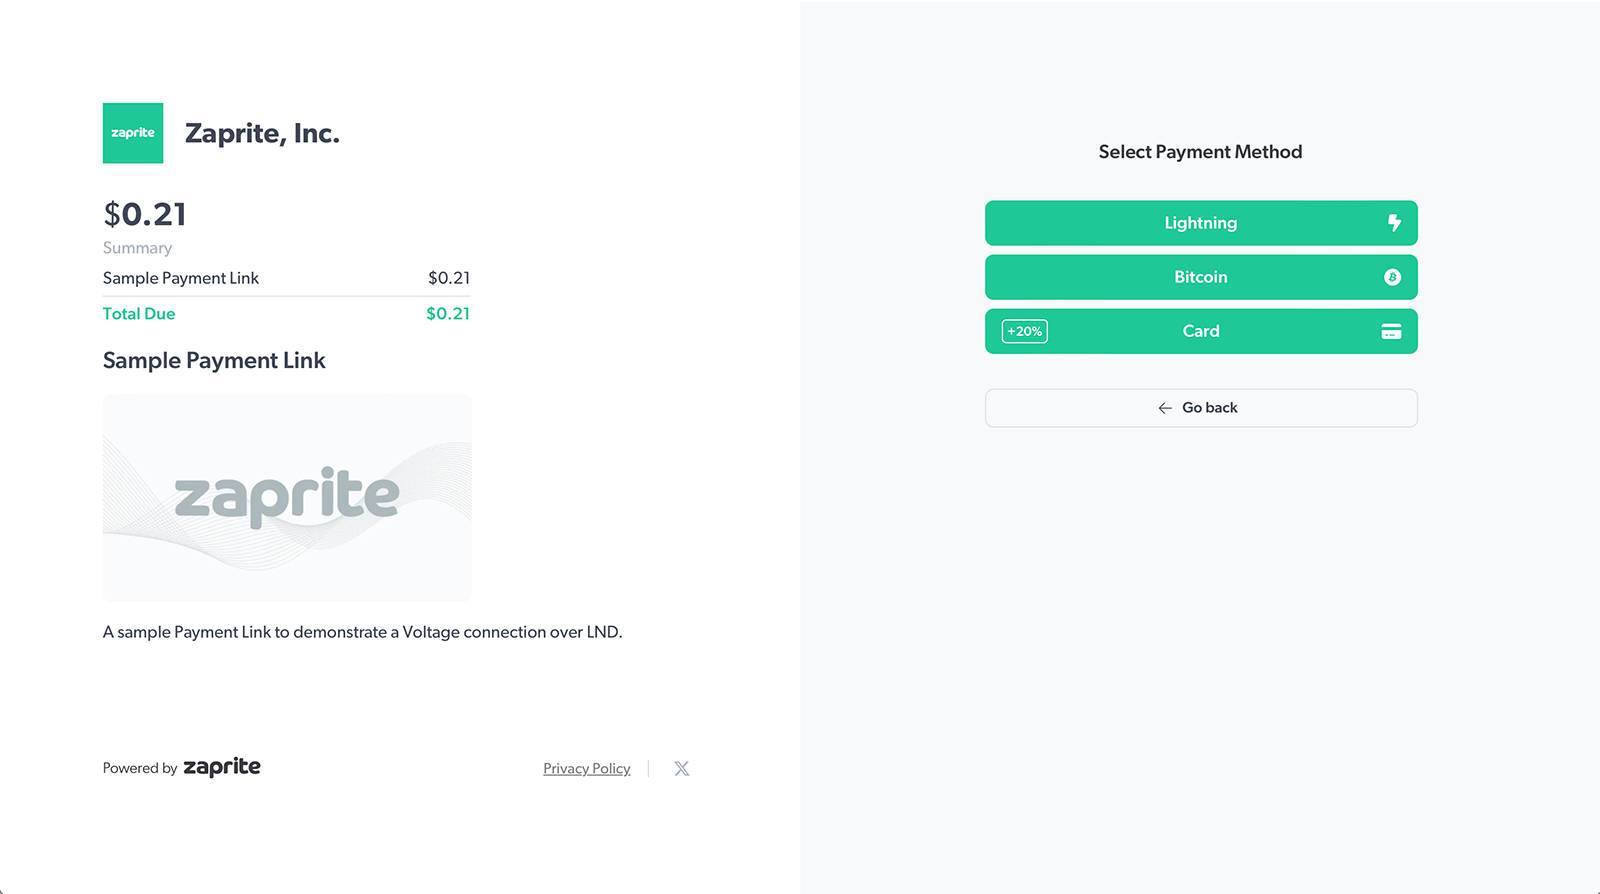
When your customer visits your Checkout and clicks the Lightning button, Zaprite will automatically request a lightning invoice from your Voltage node, using the live BTC rate at the time. When the Order is complete, you will receive an email notification with the payment details and the payer will receive an email receipt.
Success!
That’s it! You should now have your Voltage node successfully integrated with Zaprite, enabling Lightning payment options on your Zaprite Checkouts.
All Transaction information can be viewed on the Transaction page in your Zaprite account, as well as directly within your Voltage account.
More Information
Visit the Voltage docs website for information on how to get inbound liquidity, as well as other articles and node management guides.
Video Tutorial
A video tutorial is available on our YouTube channel.
Help & Support
If you run into any issues connecting your Voltage node, or have general questions about using Zaprite, feel free to Submit a Request at https://help.zaprite.com.